


It’s no secret I love a good gallery wall. In fact in my last apartment, I had so many of them that I probably needed an intervention. I think they bring so much charm to a space, and there are so many different ways to do one. Whether its a perfect grid family photo wall, or a floor to ceiling display, a gallery wall can bring so much character to your space. And for an art lover like me, it’s a great way to showcase all my fun finds.
Now that I’m on my third gallery wall in my current home, I thought I’d outline 4 easy steps to follow when creating one yourself. And while I love a good grid–I plan to do one of my family photos soon–below is a guide for a free flowing gallery wall–perfect for newbies!
Step 1: Pick an overall “theme.”
Are you aiming to do a collage of family photos? Art? Mirrors? Clocks? A nice combo wall? Are you going going for a color scheme?
Step 2: Grab everythaannnnnng.
And by that I mean, grab everything that’s a possibility for the wall and place it all in one space. This way you can look at it all together and get a “feel” for it. It may not be up on the wall, but by placing it all on the floor together, you can get an idea if you like what you see, or if you need to shop around for more stuff.
Step 3: Map it out.
Once you have all the “things” you want, start arranging them on the floor. It may not be exact, but thinking it through on the floor is helpful. The most important? Pick the middle (or most prominent) piece first, that way you have a nice starting point. I ALWAYS start from the middle.
**If you have significantly larger pieces along with smaller pieces, see my tips below for that too.
Step 4: Grab your hammer and don’t overcomplicate things.
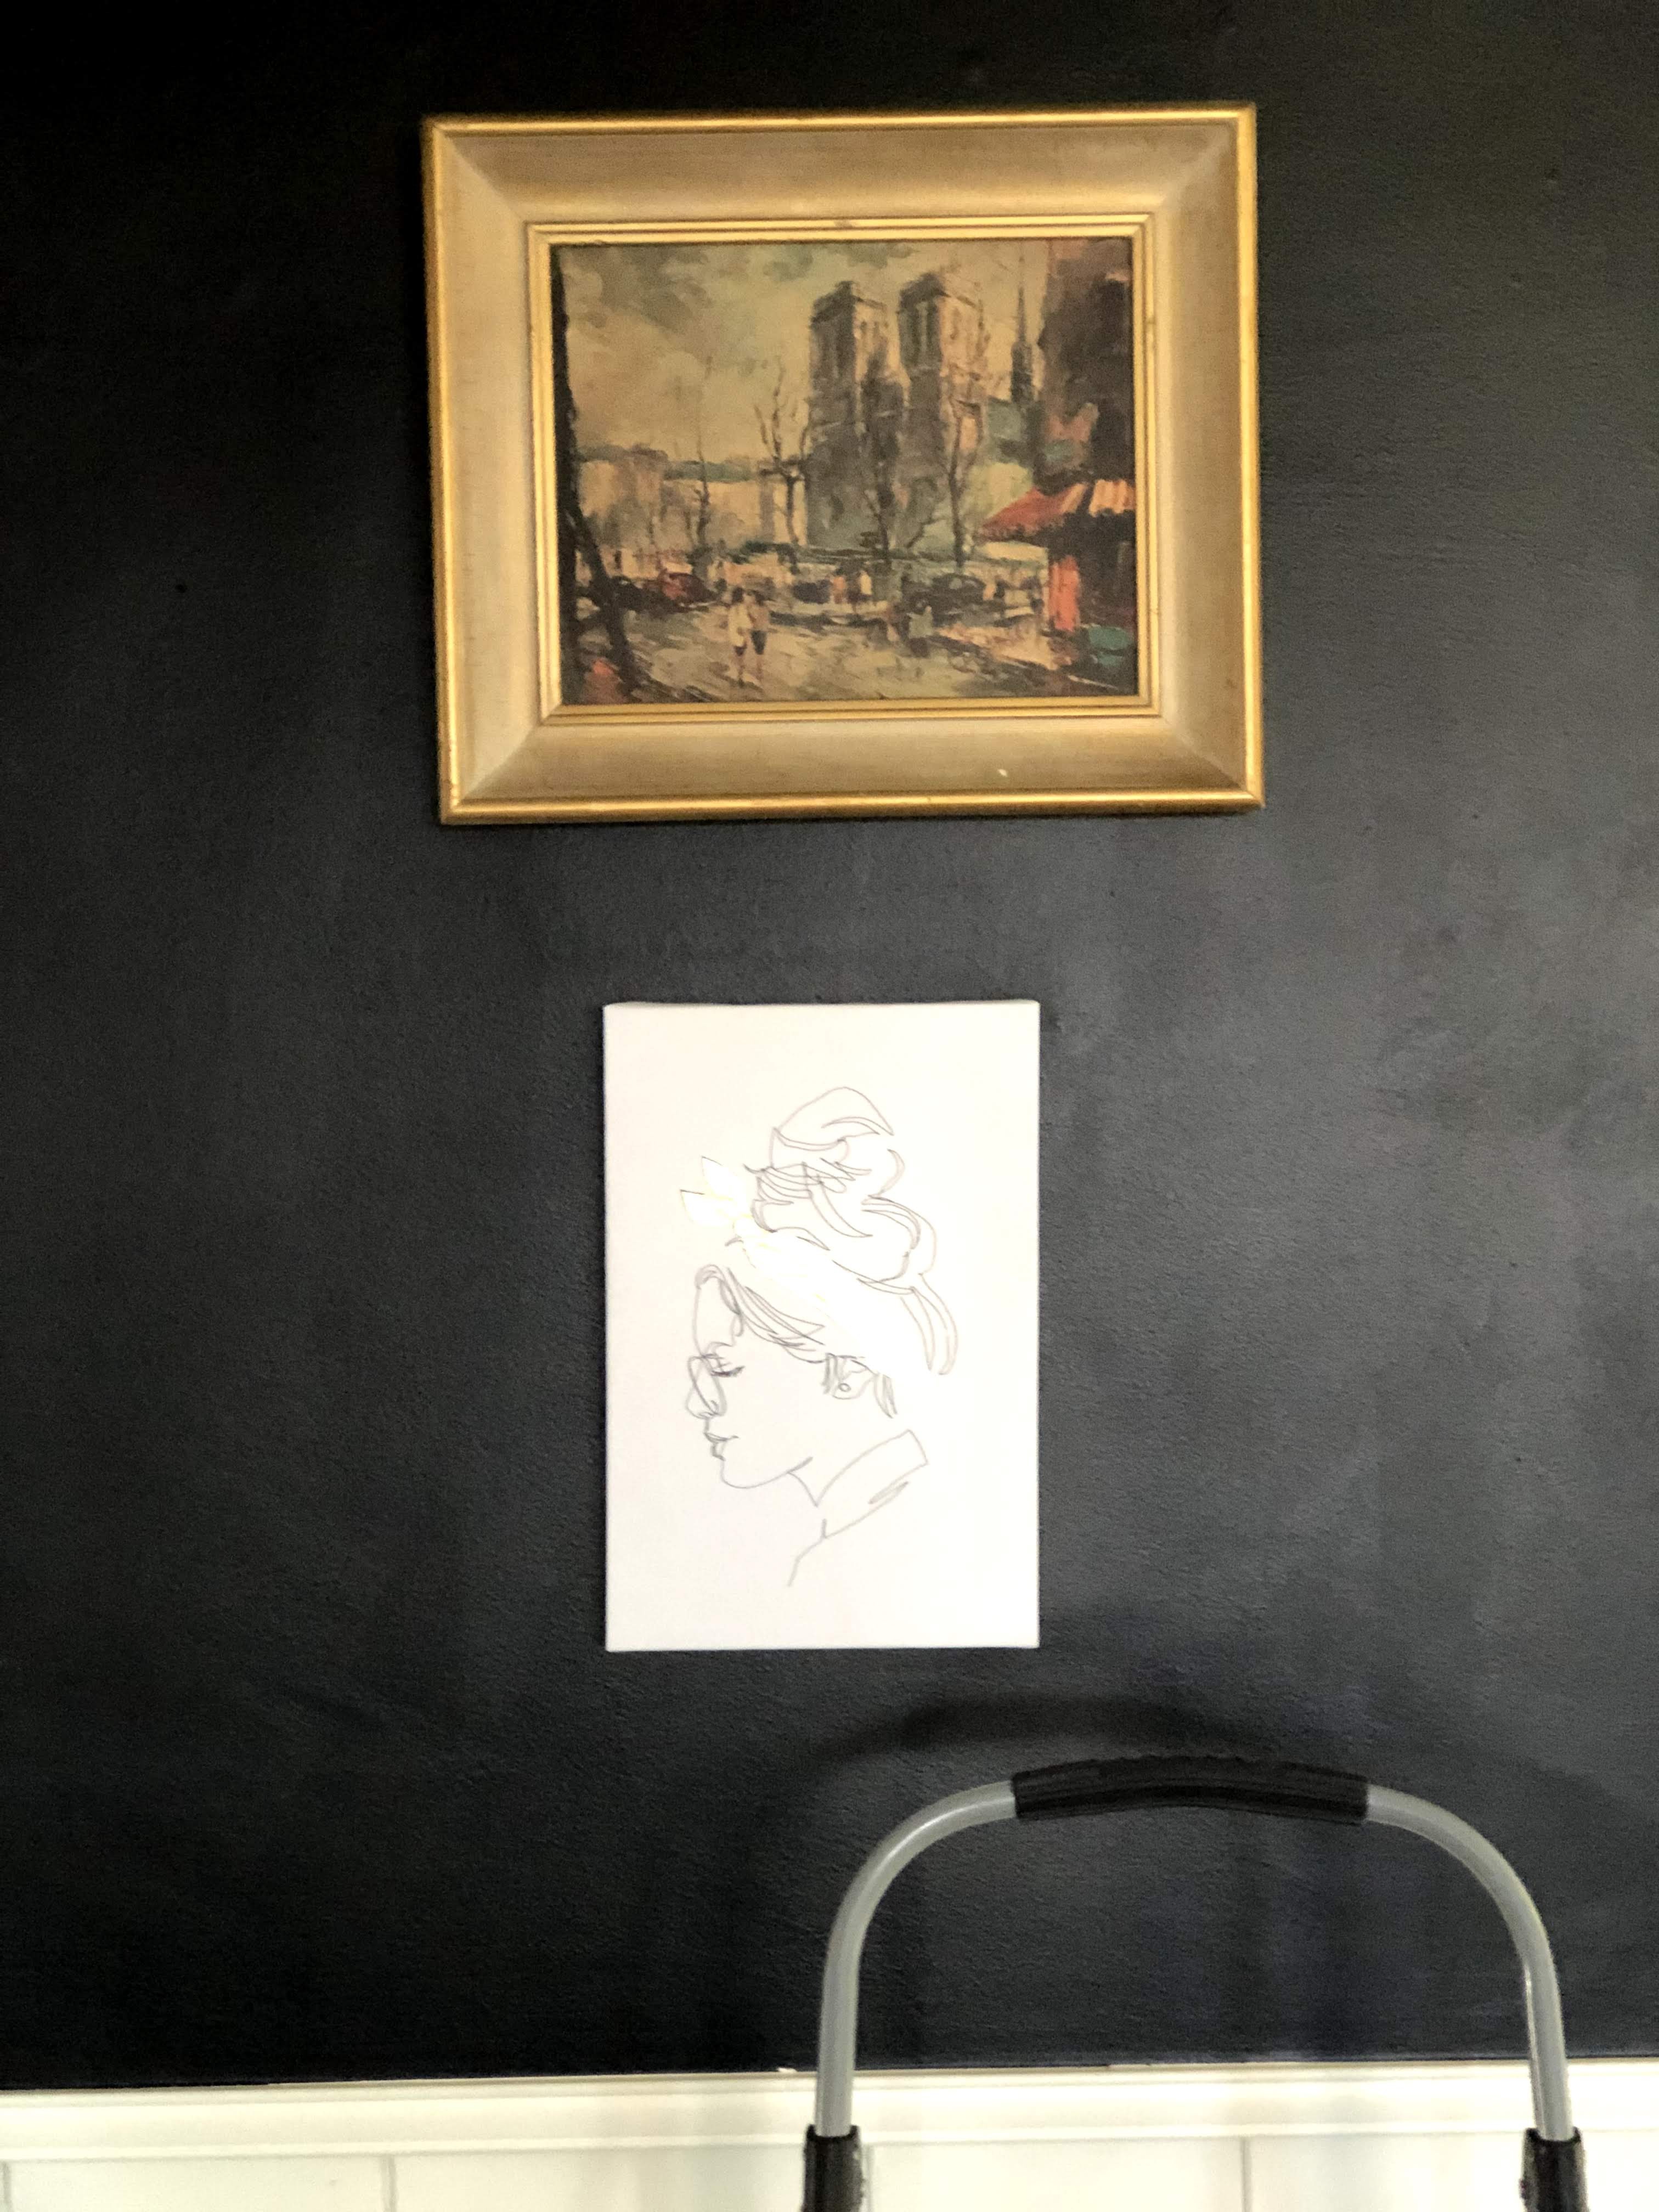
Grab the piece that will be in the “middle” and hang it up. Don’t think about it, just do it–remember you already mapped it out the step before this. Here’s an example below. I knew the white canvass was going to cover my thermostat, so I hung that up first and then started to go “around” it.
 And kept going….
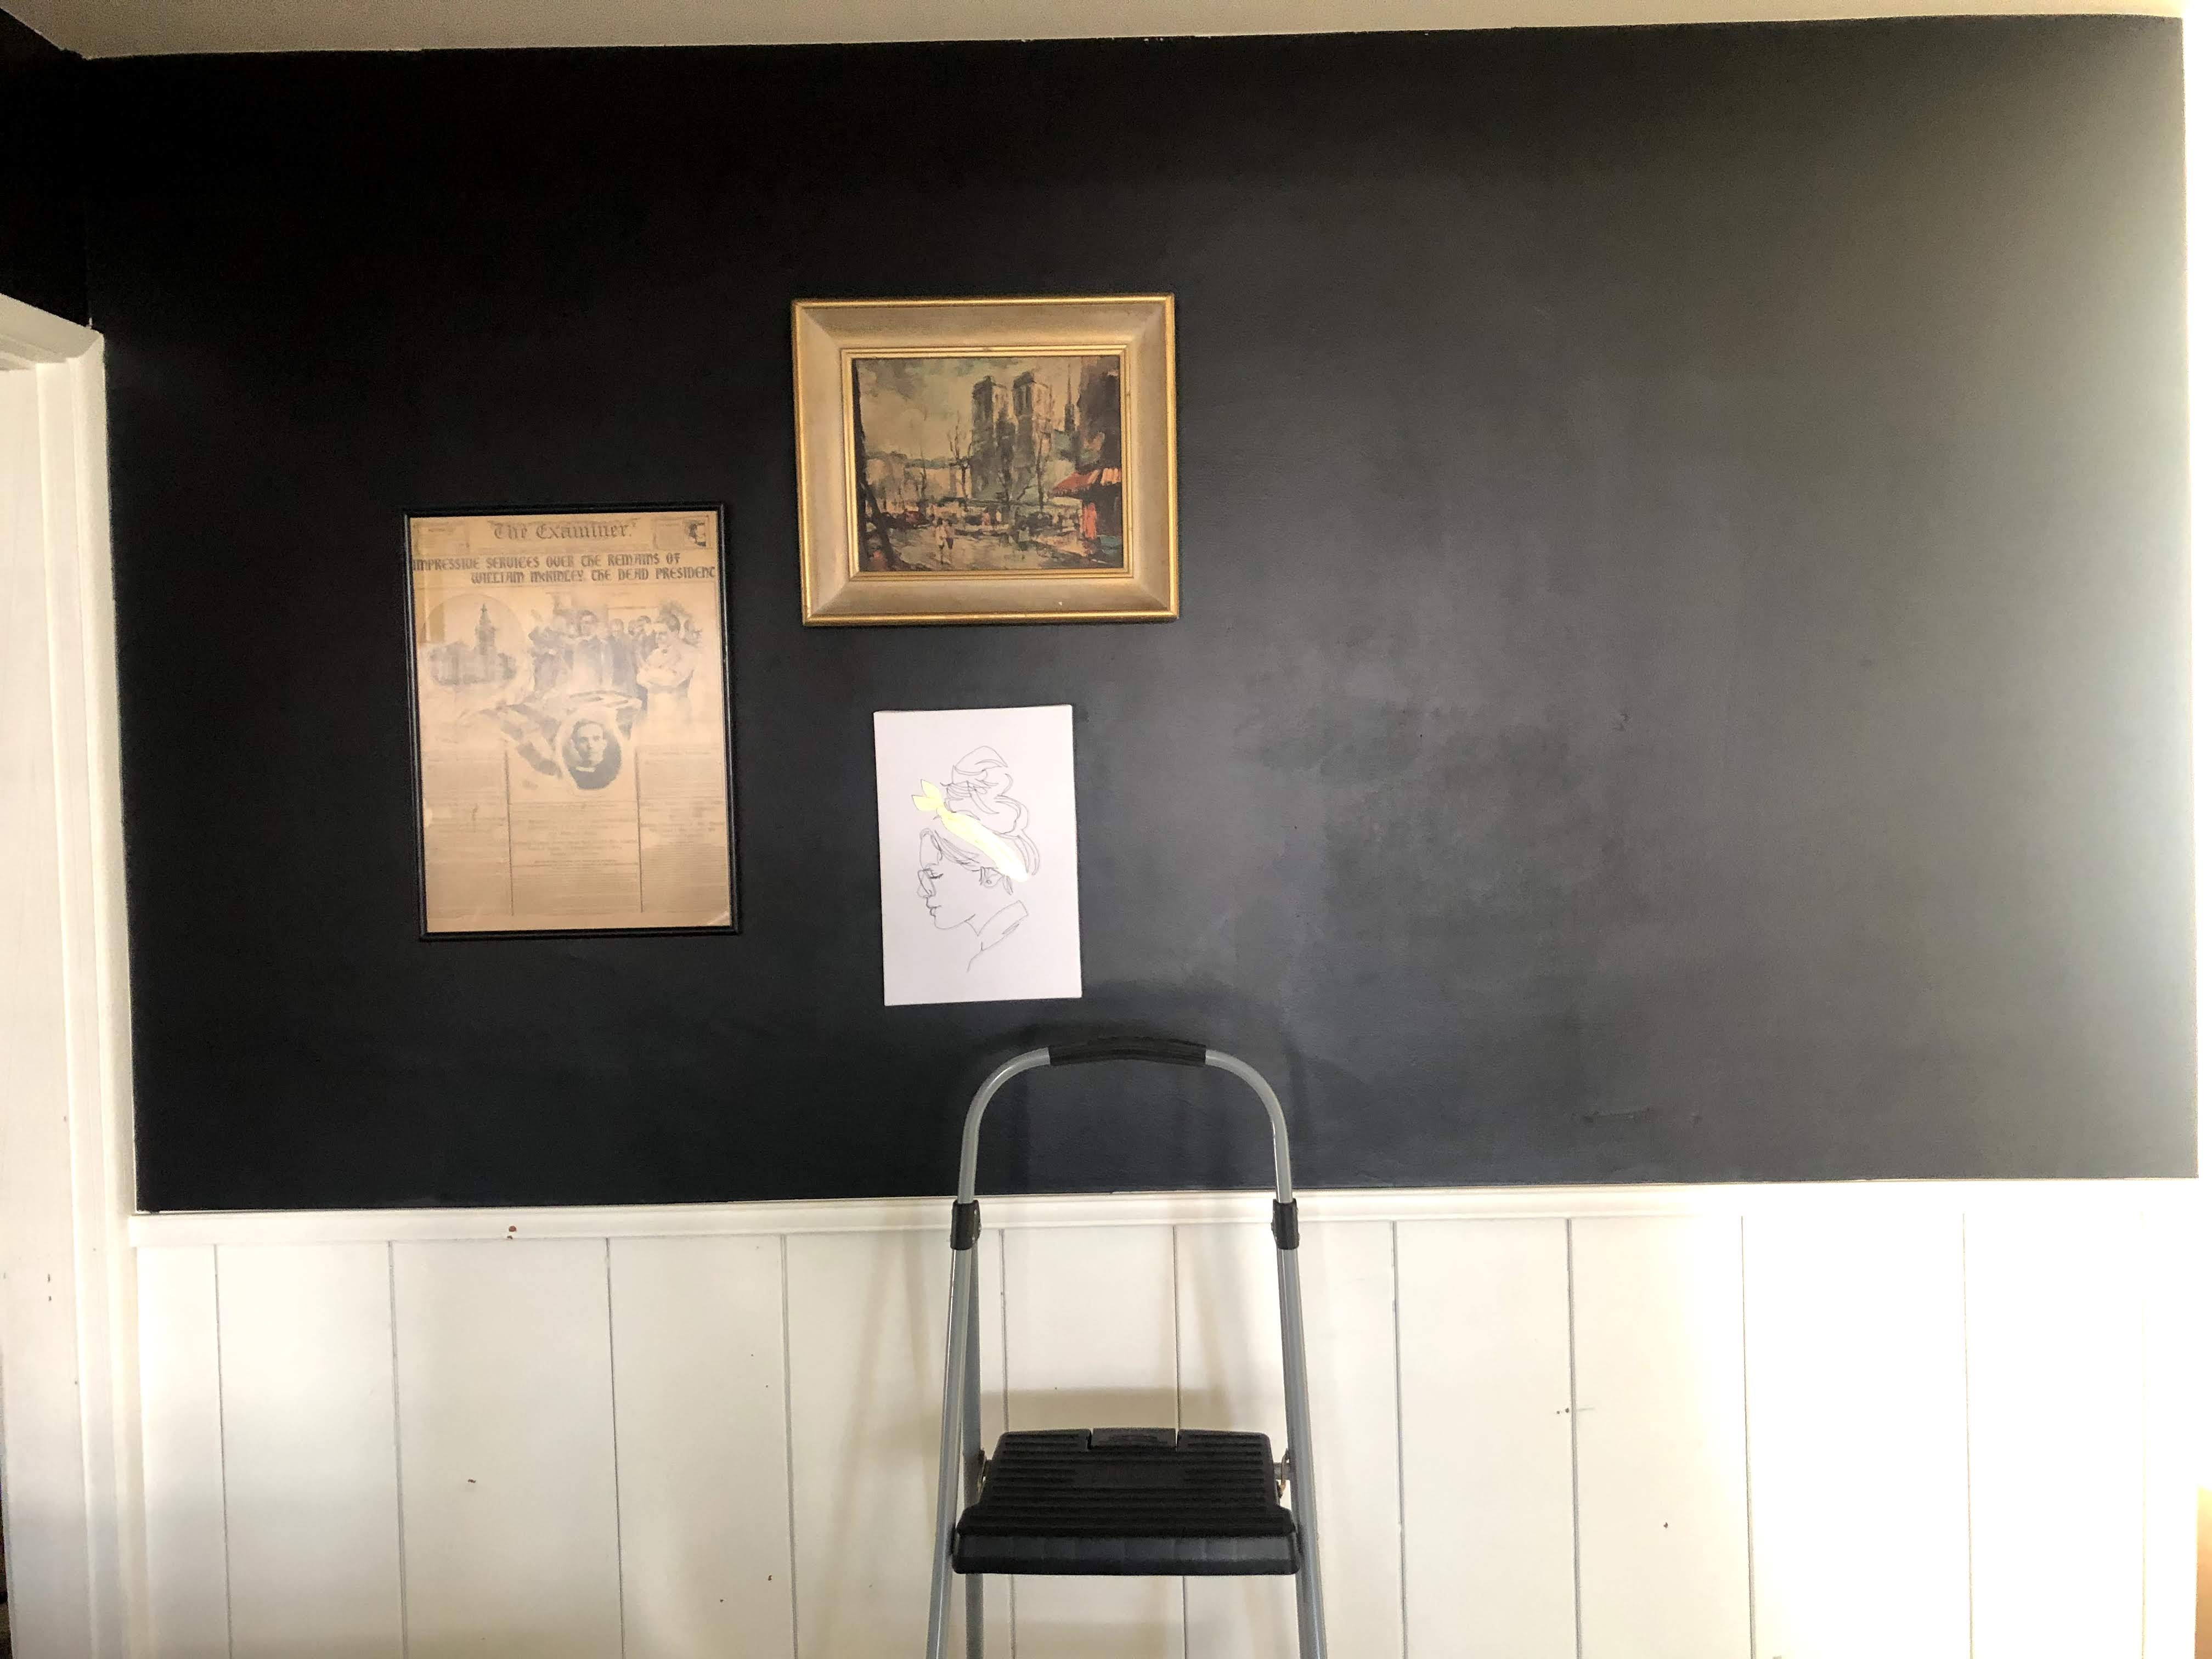 and going…
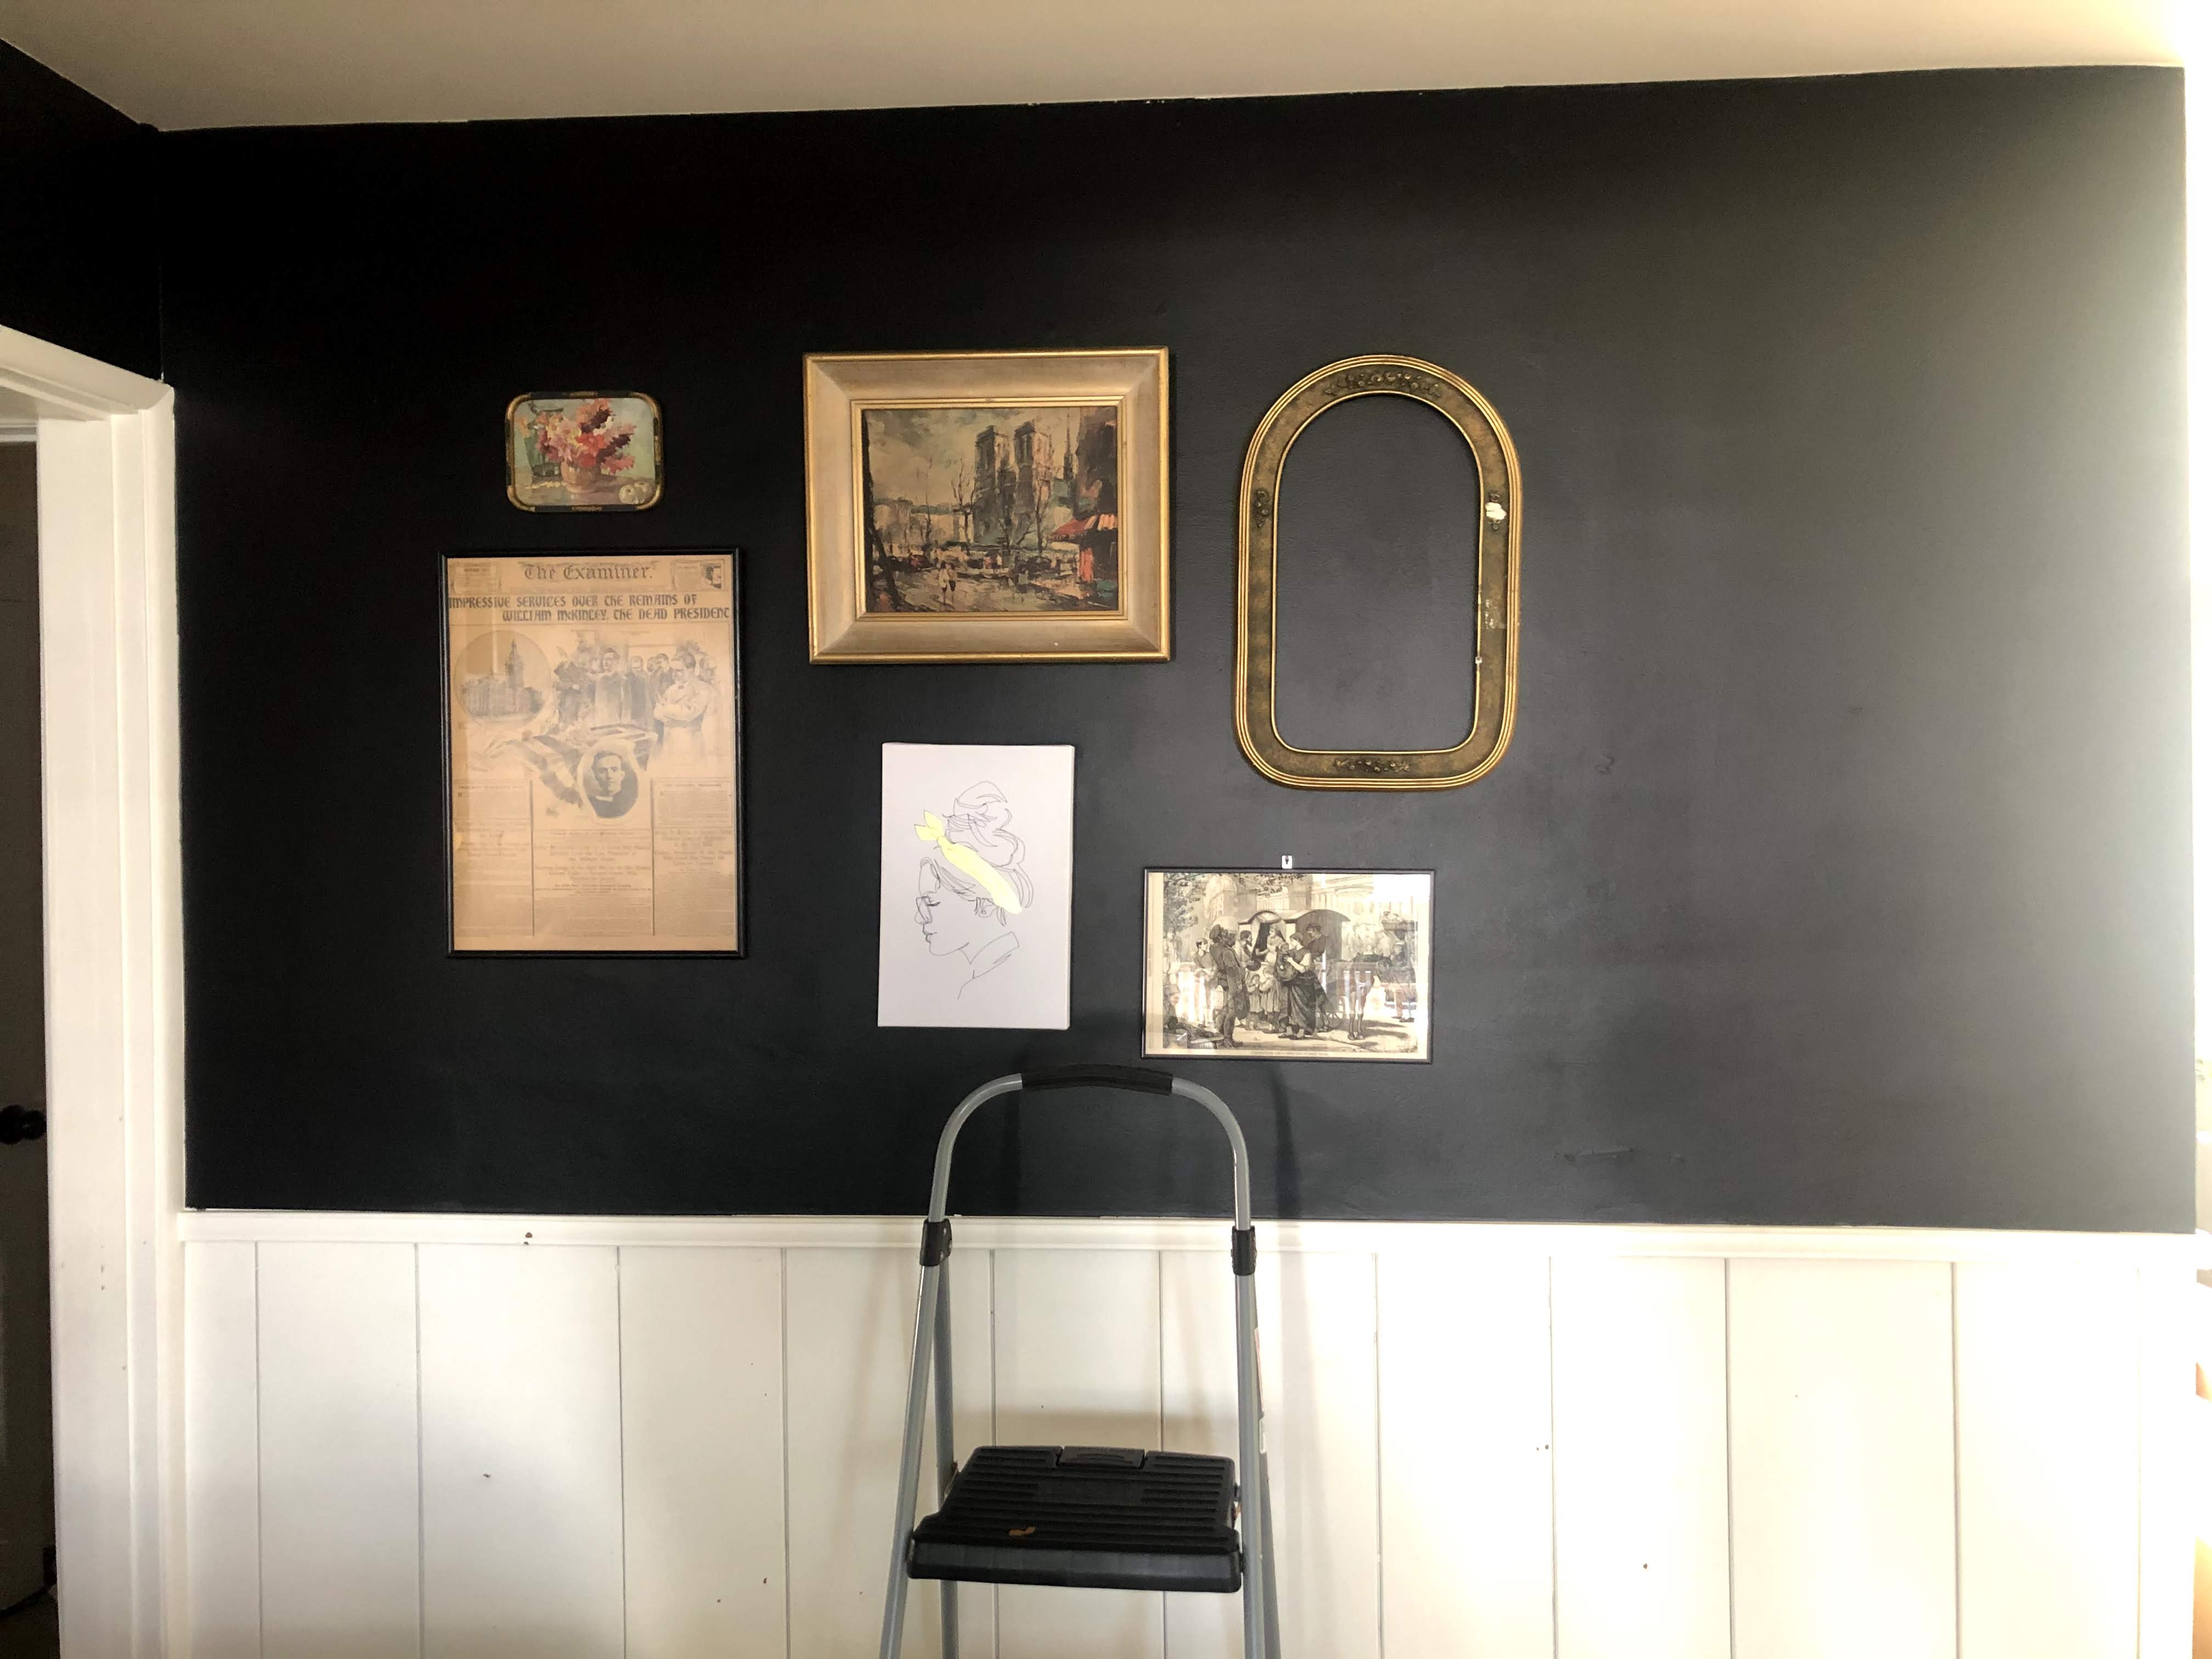 …and going until I was finished!
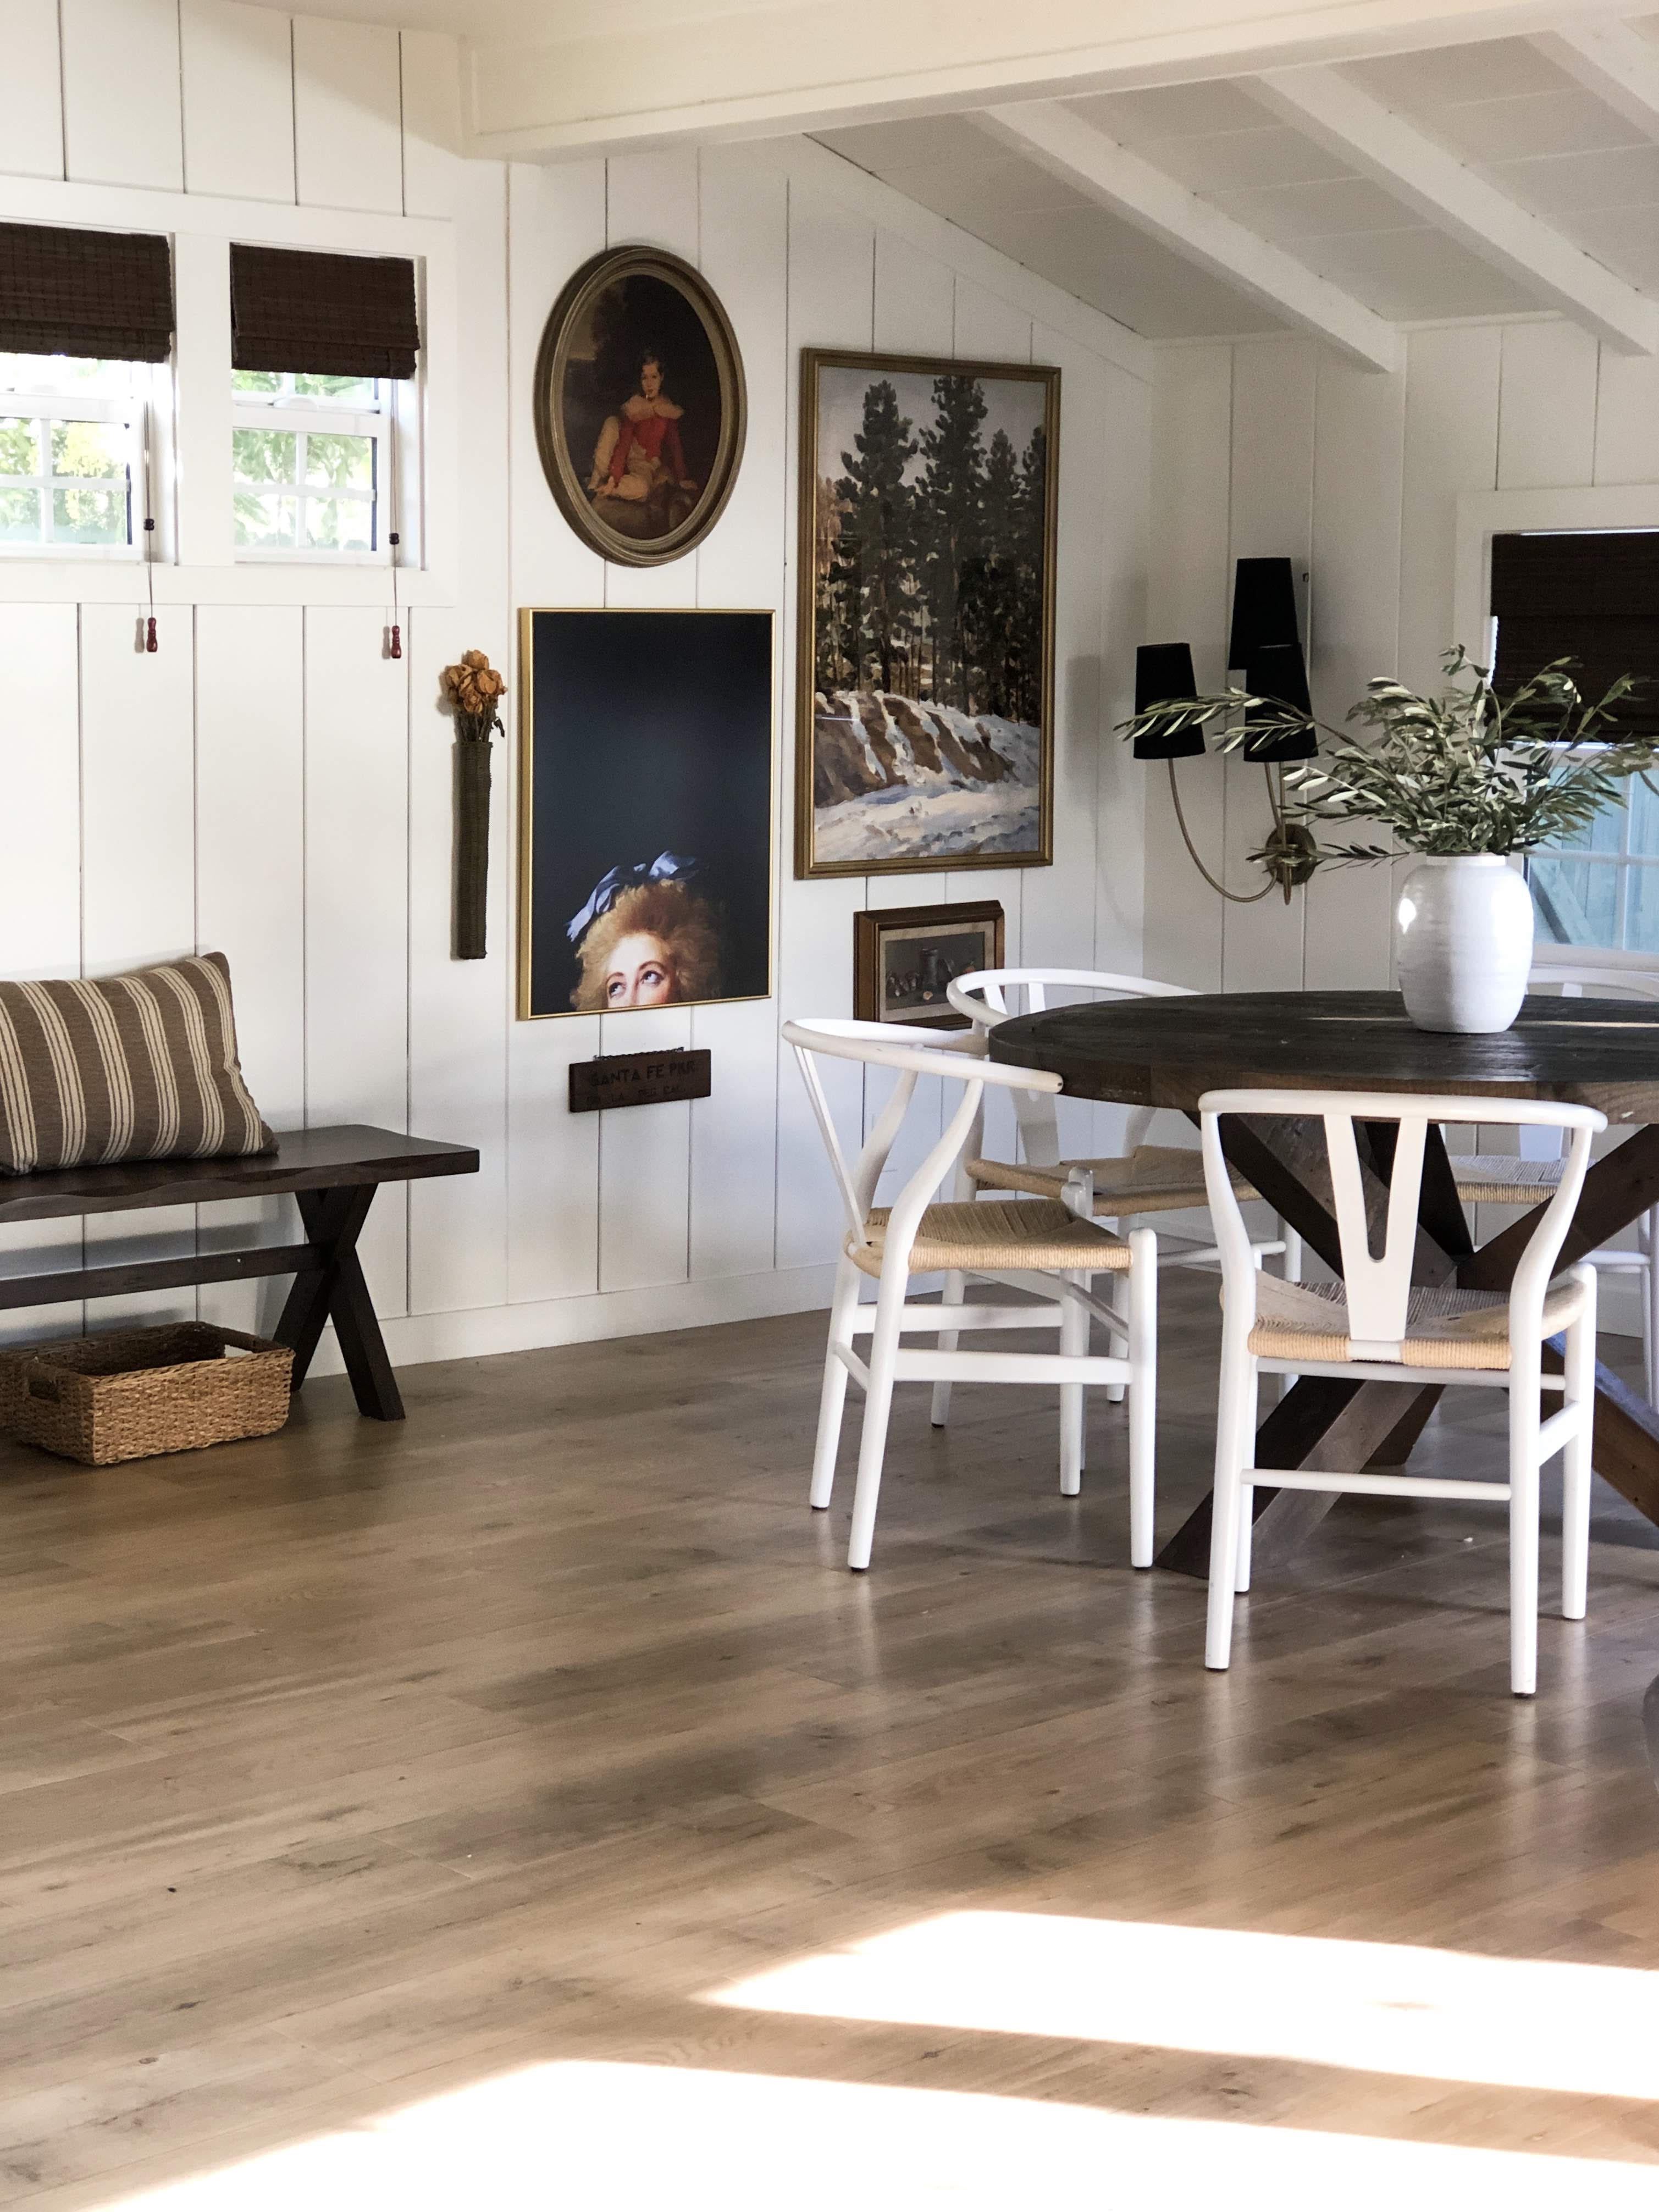
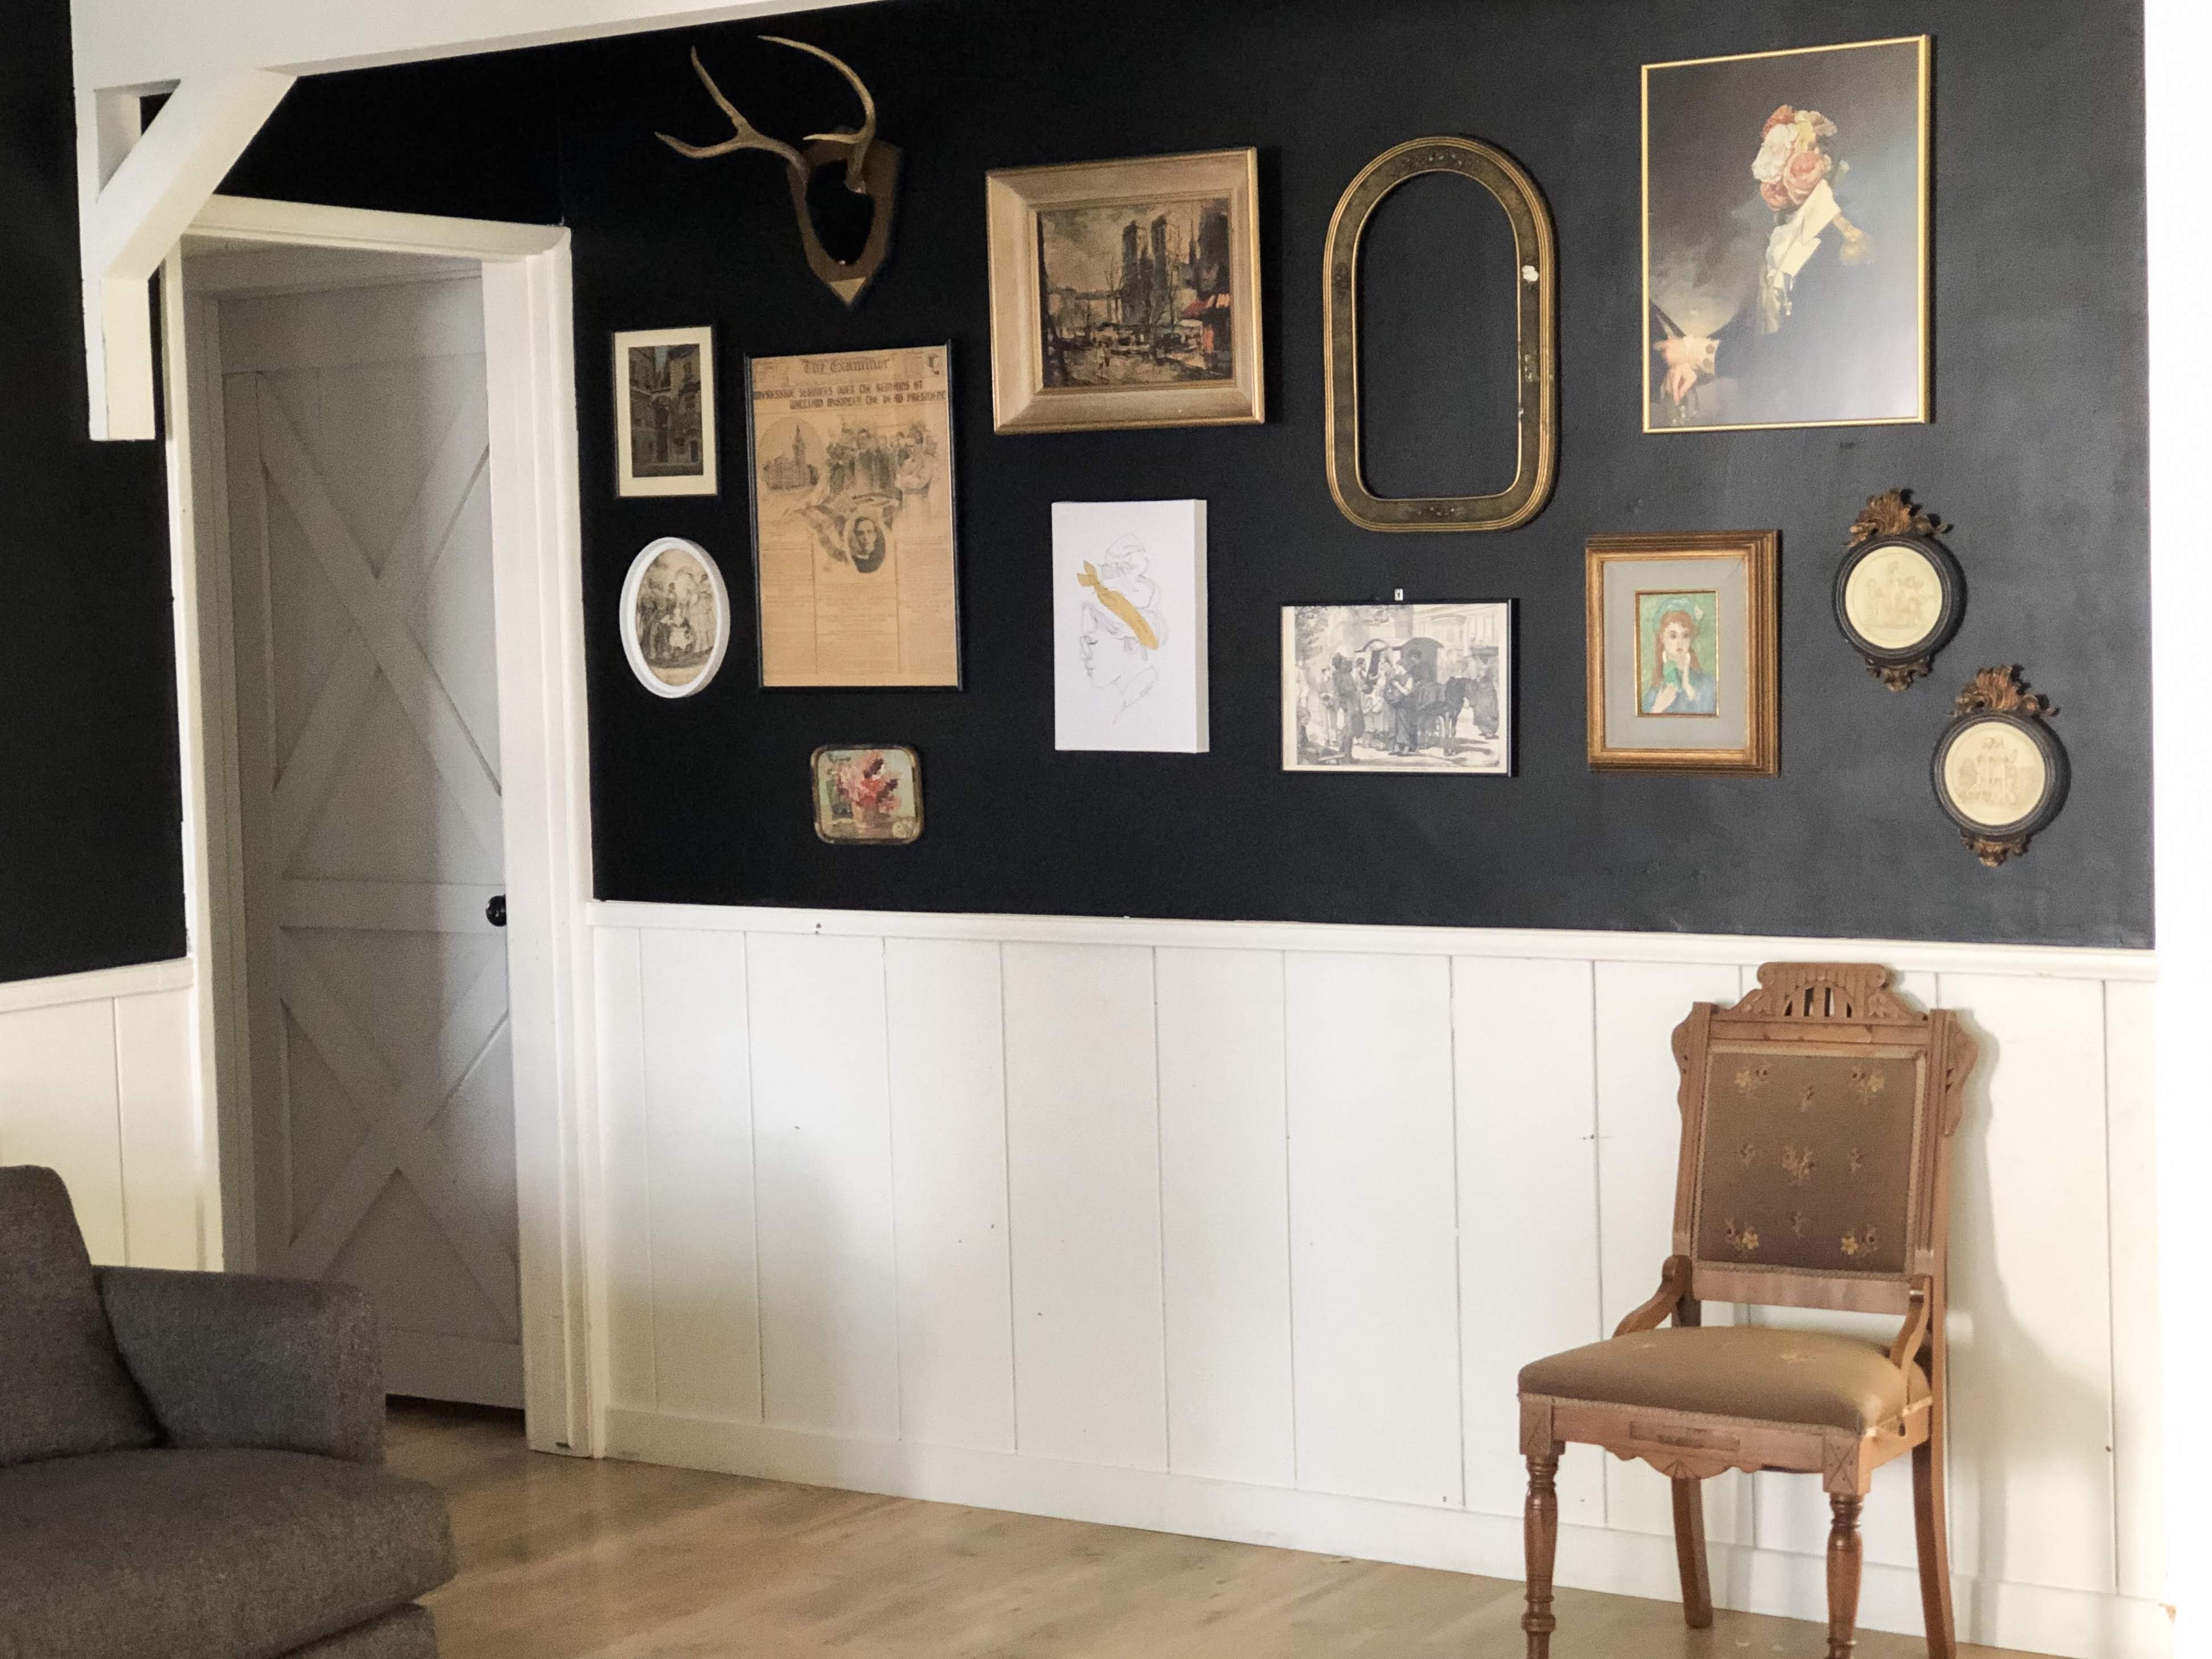 Another way to do it, is to start with the larger pieces and go around those. So for example, that’s what I did with my most recent gallery wall–I picked the two larger pieces, placed them, and then worked the smaller art around them.
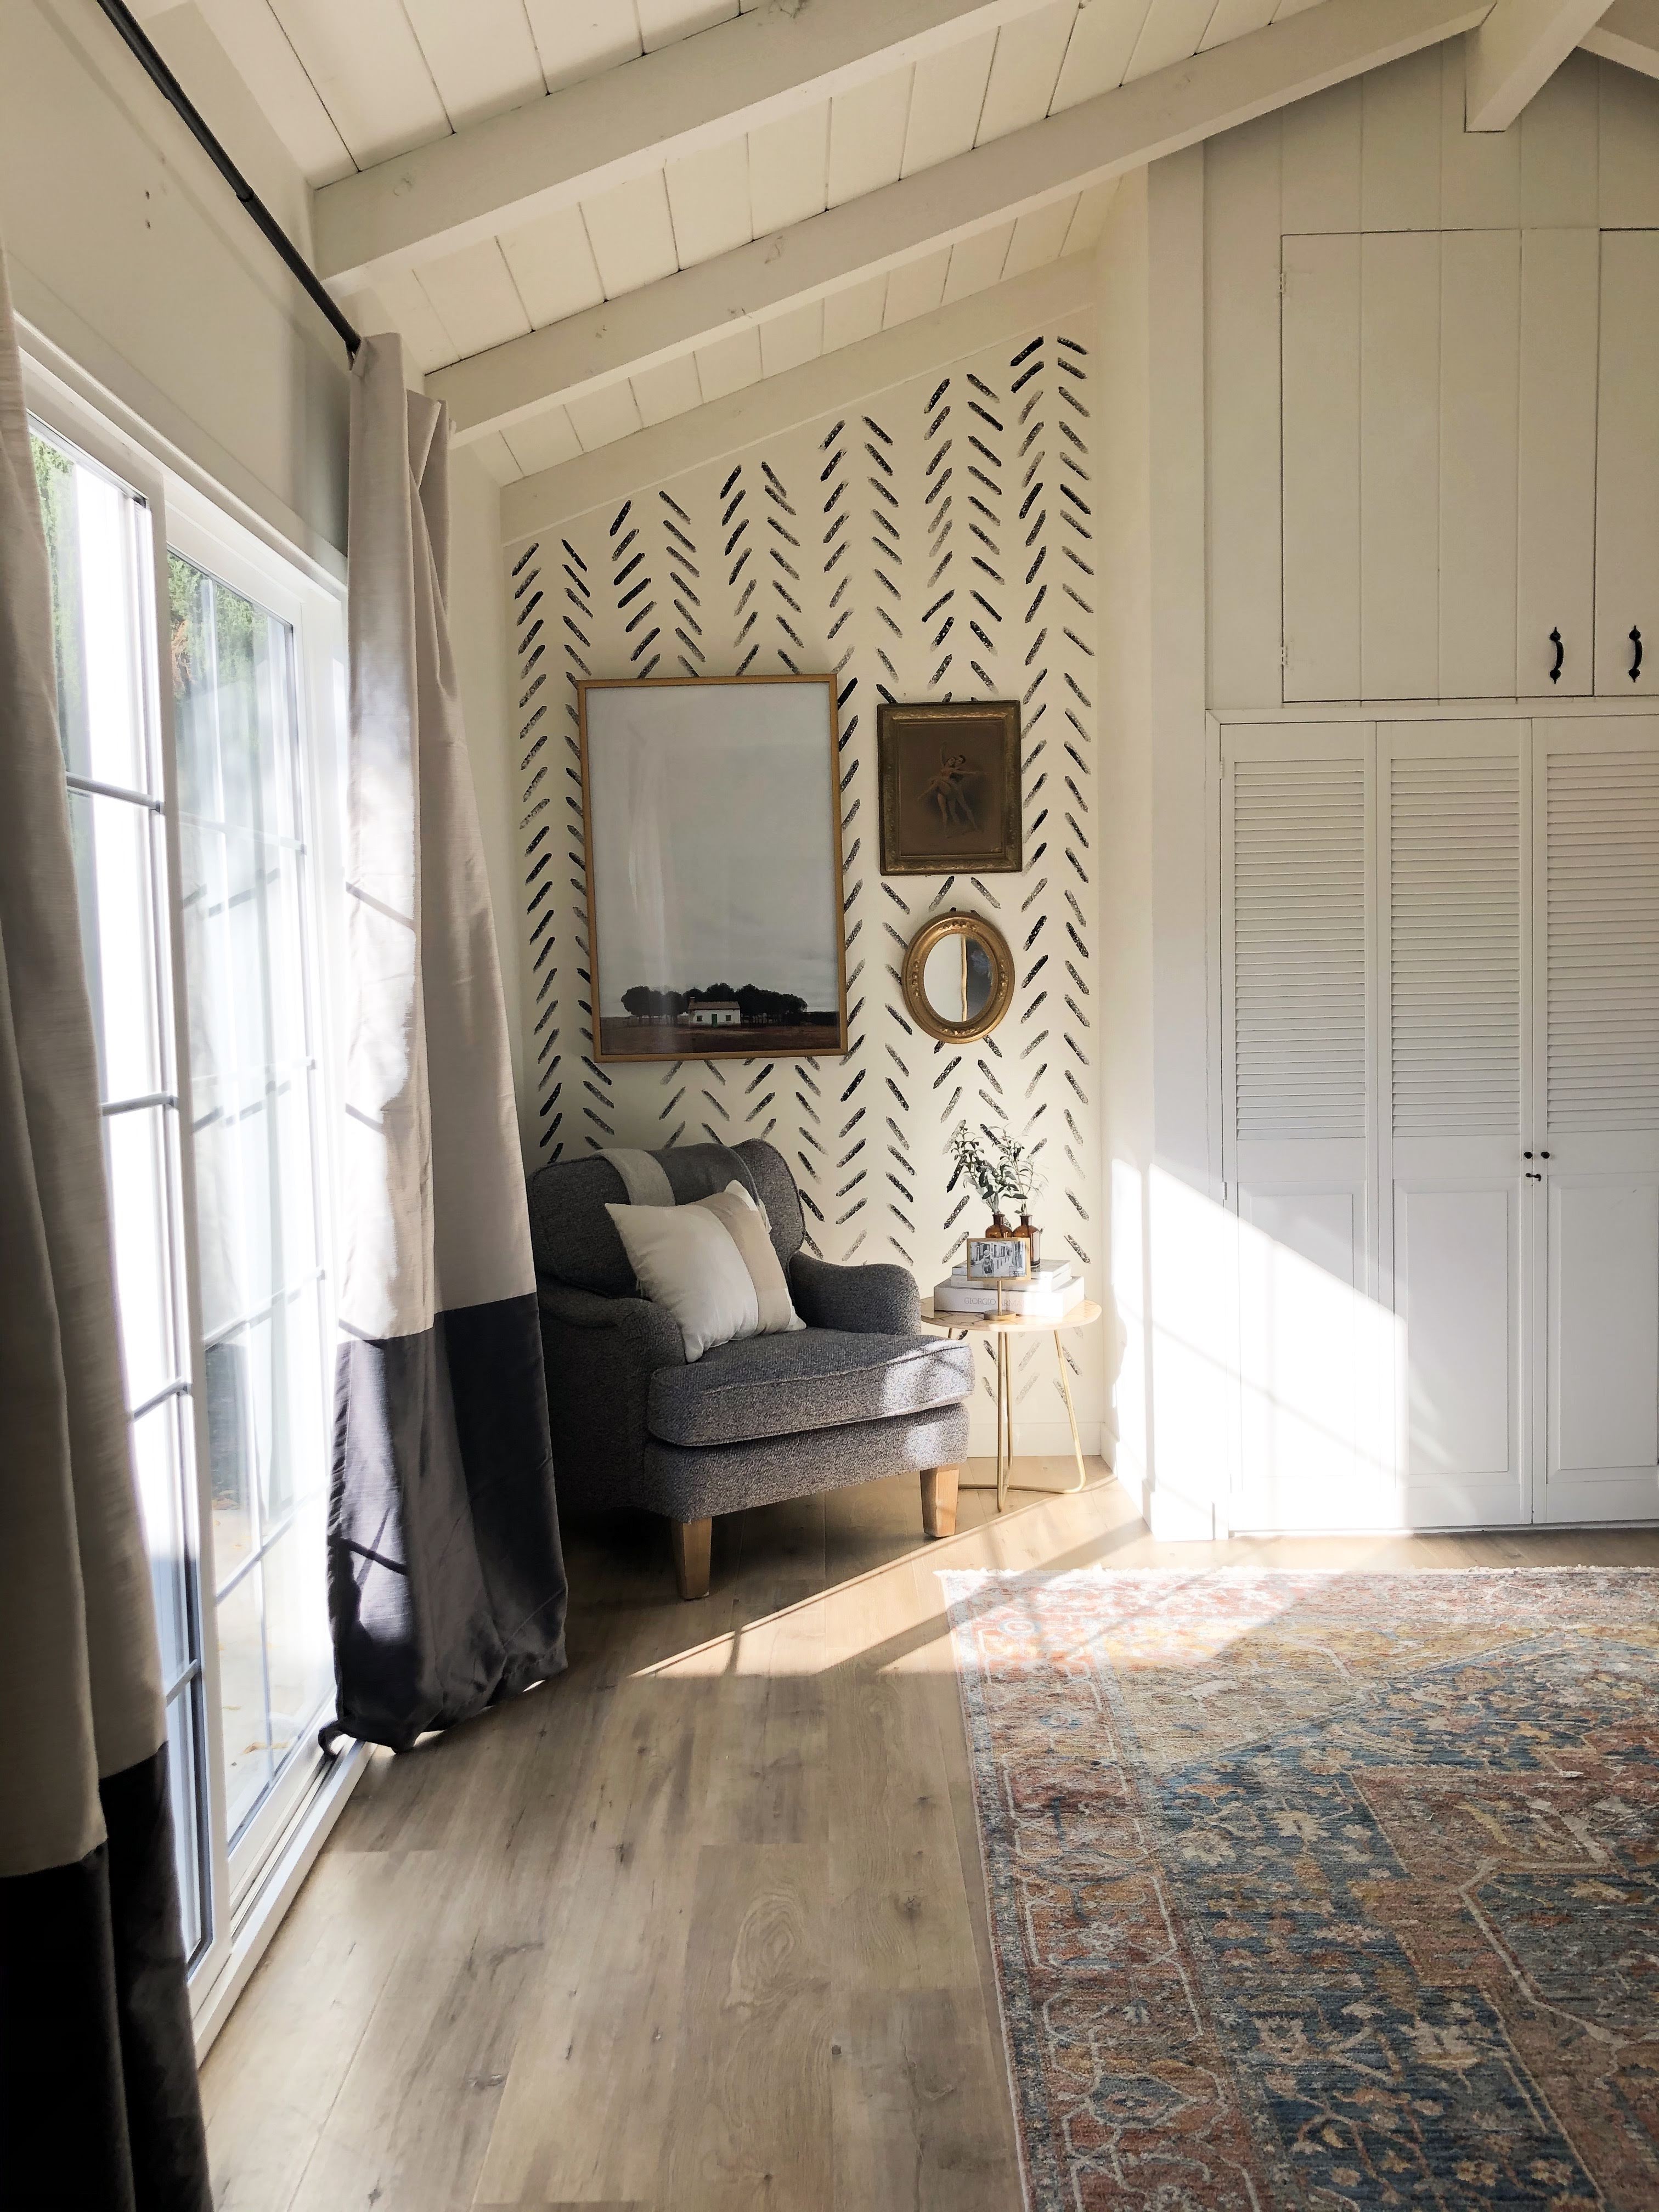
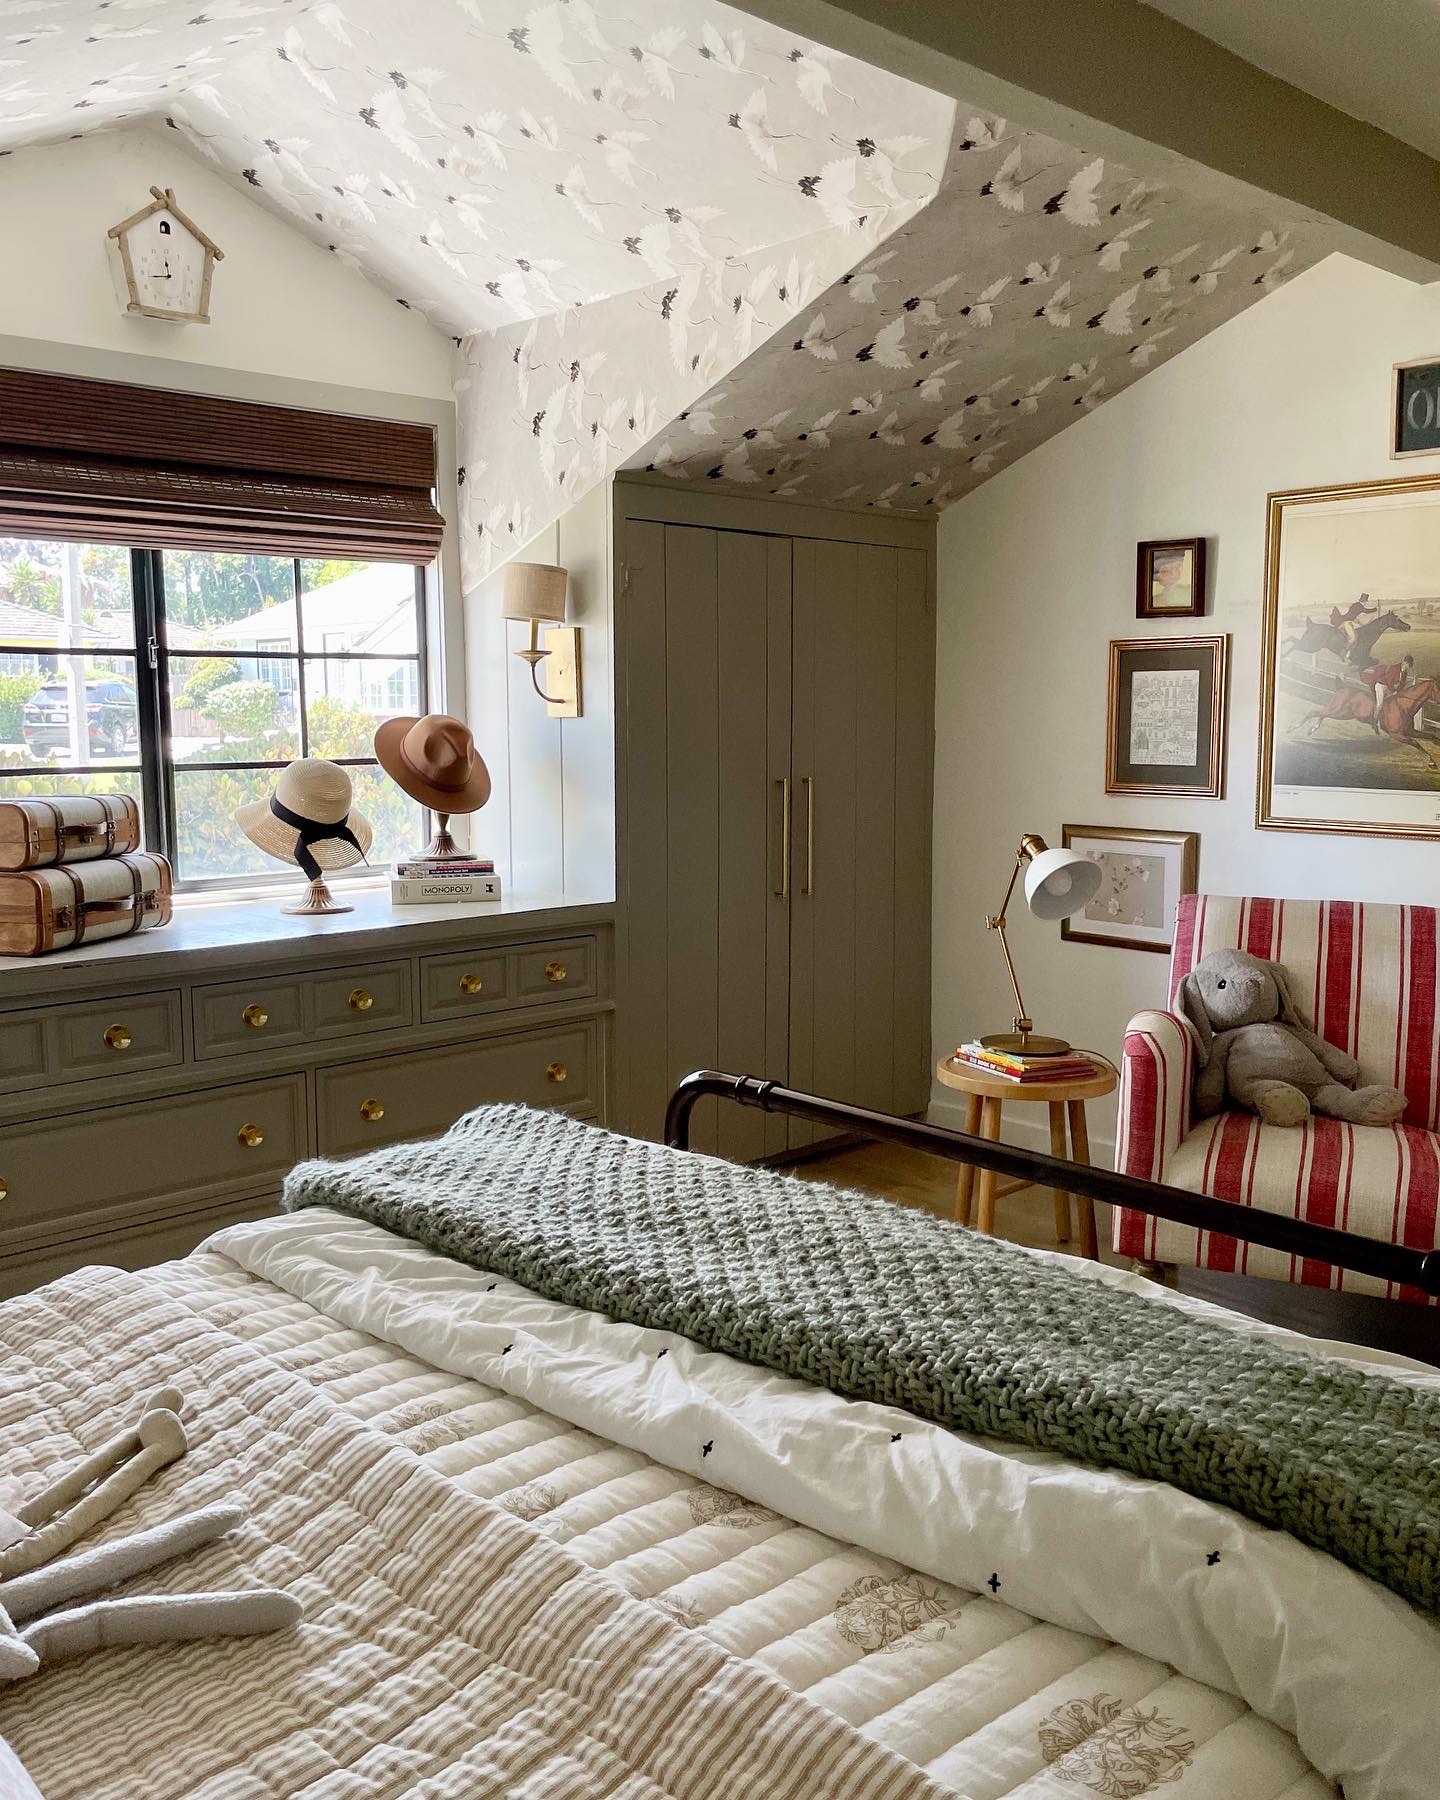
 And I did the same thing with my “mini” gallery wall in my bedroom–a reminder, not all gallery walls need to fill an entire wall. I grabbed the larger piece, and added smaller pieces around it.
 Alright, you ready? And don’t worry if you don’t like something after you hang it up, simply remove it, and rehang it–it’s so easy to patch up nail holes. I promise you, I’ve done it hundreds of times. Now go on and start that gallery wall and make me proud. And send me a DM on Instagram and show me what it looks like! And please, sign up for my email updates below. I promise I won’t spam you. We can be best buds.
Love,
Deema
Feedback? Comment below, or email me: (Deema Tabbara Lopez) at prettyonfridays@gmail.com
Follow me on Instagram
Sign up for Newsletter updates
Follow me on Pinterest
Alright, you ready? And don’t worry if you don’t like something after you hang it up, simply remove it, and rehang it–it’s so easy to patch up nail holes. I promise you, I’ve done it hundreds of times. Now go on and start that gallery wall and make me proud. And send me a DM on Instagram and show me what it looks like! And please, sign up for my email updates below. I promise I won’t spam you. We can be best buds.
Love,
Deema
Feedback? Comment below, or email me: (Deema Tabbara Lopez) at prettyonfridays@gmail.com
Follow me on Instagram
Sign up for Newsletter updates
Follow me on Pinterest
And kept going….
and going…
…and going until I was finished!
Another way to do it, is to start with the larger pieces and go around those. So for example, that’s what I did with my most recent gallery wall–I picked the two larger pieces, placed them, and then worked the smaller art around them.
And I did the same thing with my “mini” gallery wall in my bedroom–a reminder, not all gallery walls need to fill an entire wall. I grabbed the larger piece, and added smaller pieces around it.
Alright, you ready? And don’t worry if you don’t like something after you hang it up, simply remove it, and rehang it–it’s so easy to patch up nail holes. I promise you, I’ve done it hundreds of times. Now go on and start that gallery wall and make me proud. And send me a DM on Instagram and show me what it looks like! And please, sign up for my email updates below. I promise I won’t spam you. We can be best buds.
Love,
Deema
Feedback? Comment below, or email me: (Deema Tabbara Lopez) at prettyonfridays@gmail.com
Follow me on Instagram
Sign up for Newsletter updates
Follow me on Pinterest


You have a great eye for making the gallery wall look interesting and balanced! Are you able to share the wall color in the dining nook? It looks perfect with the vintage pictures!