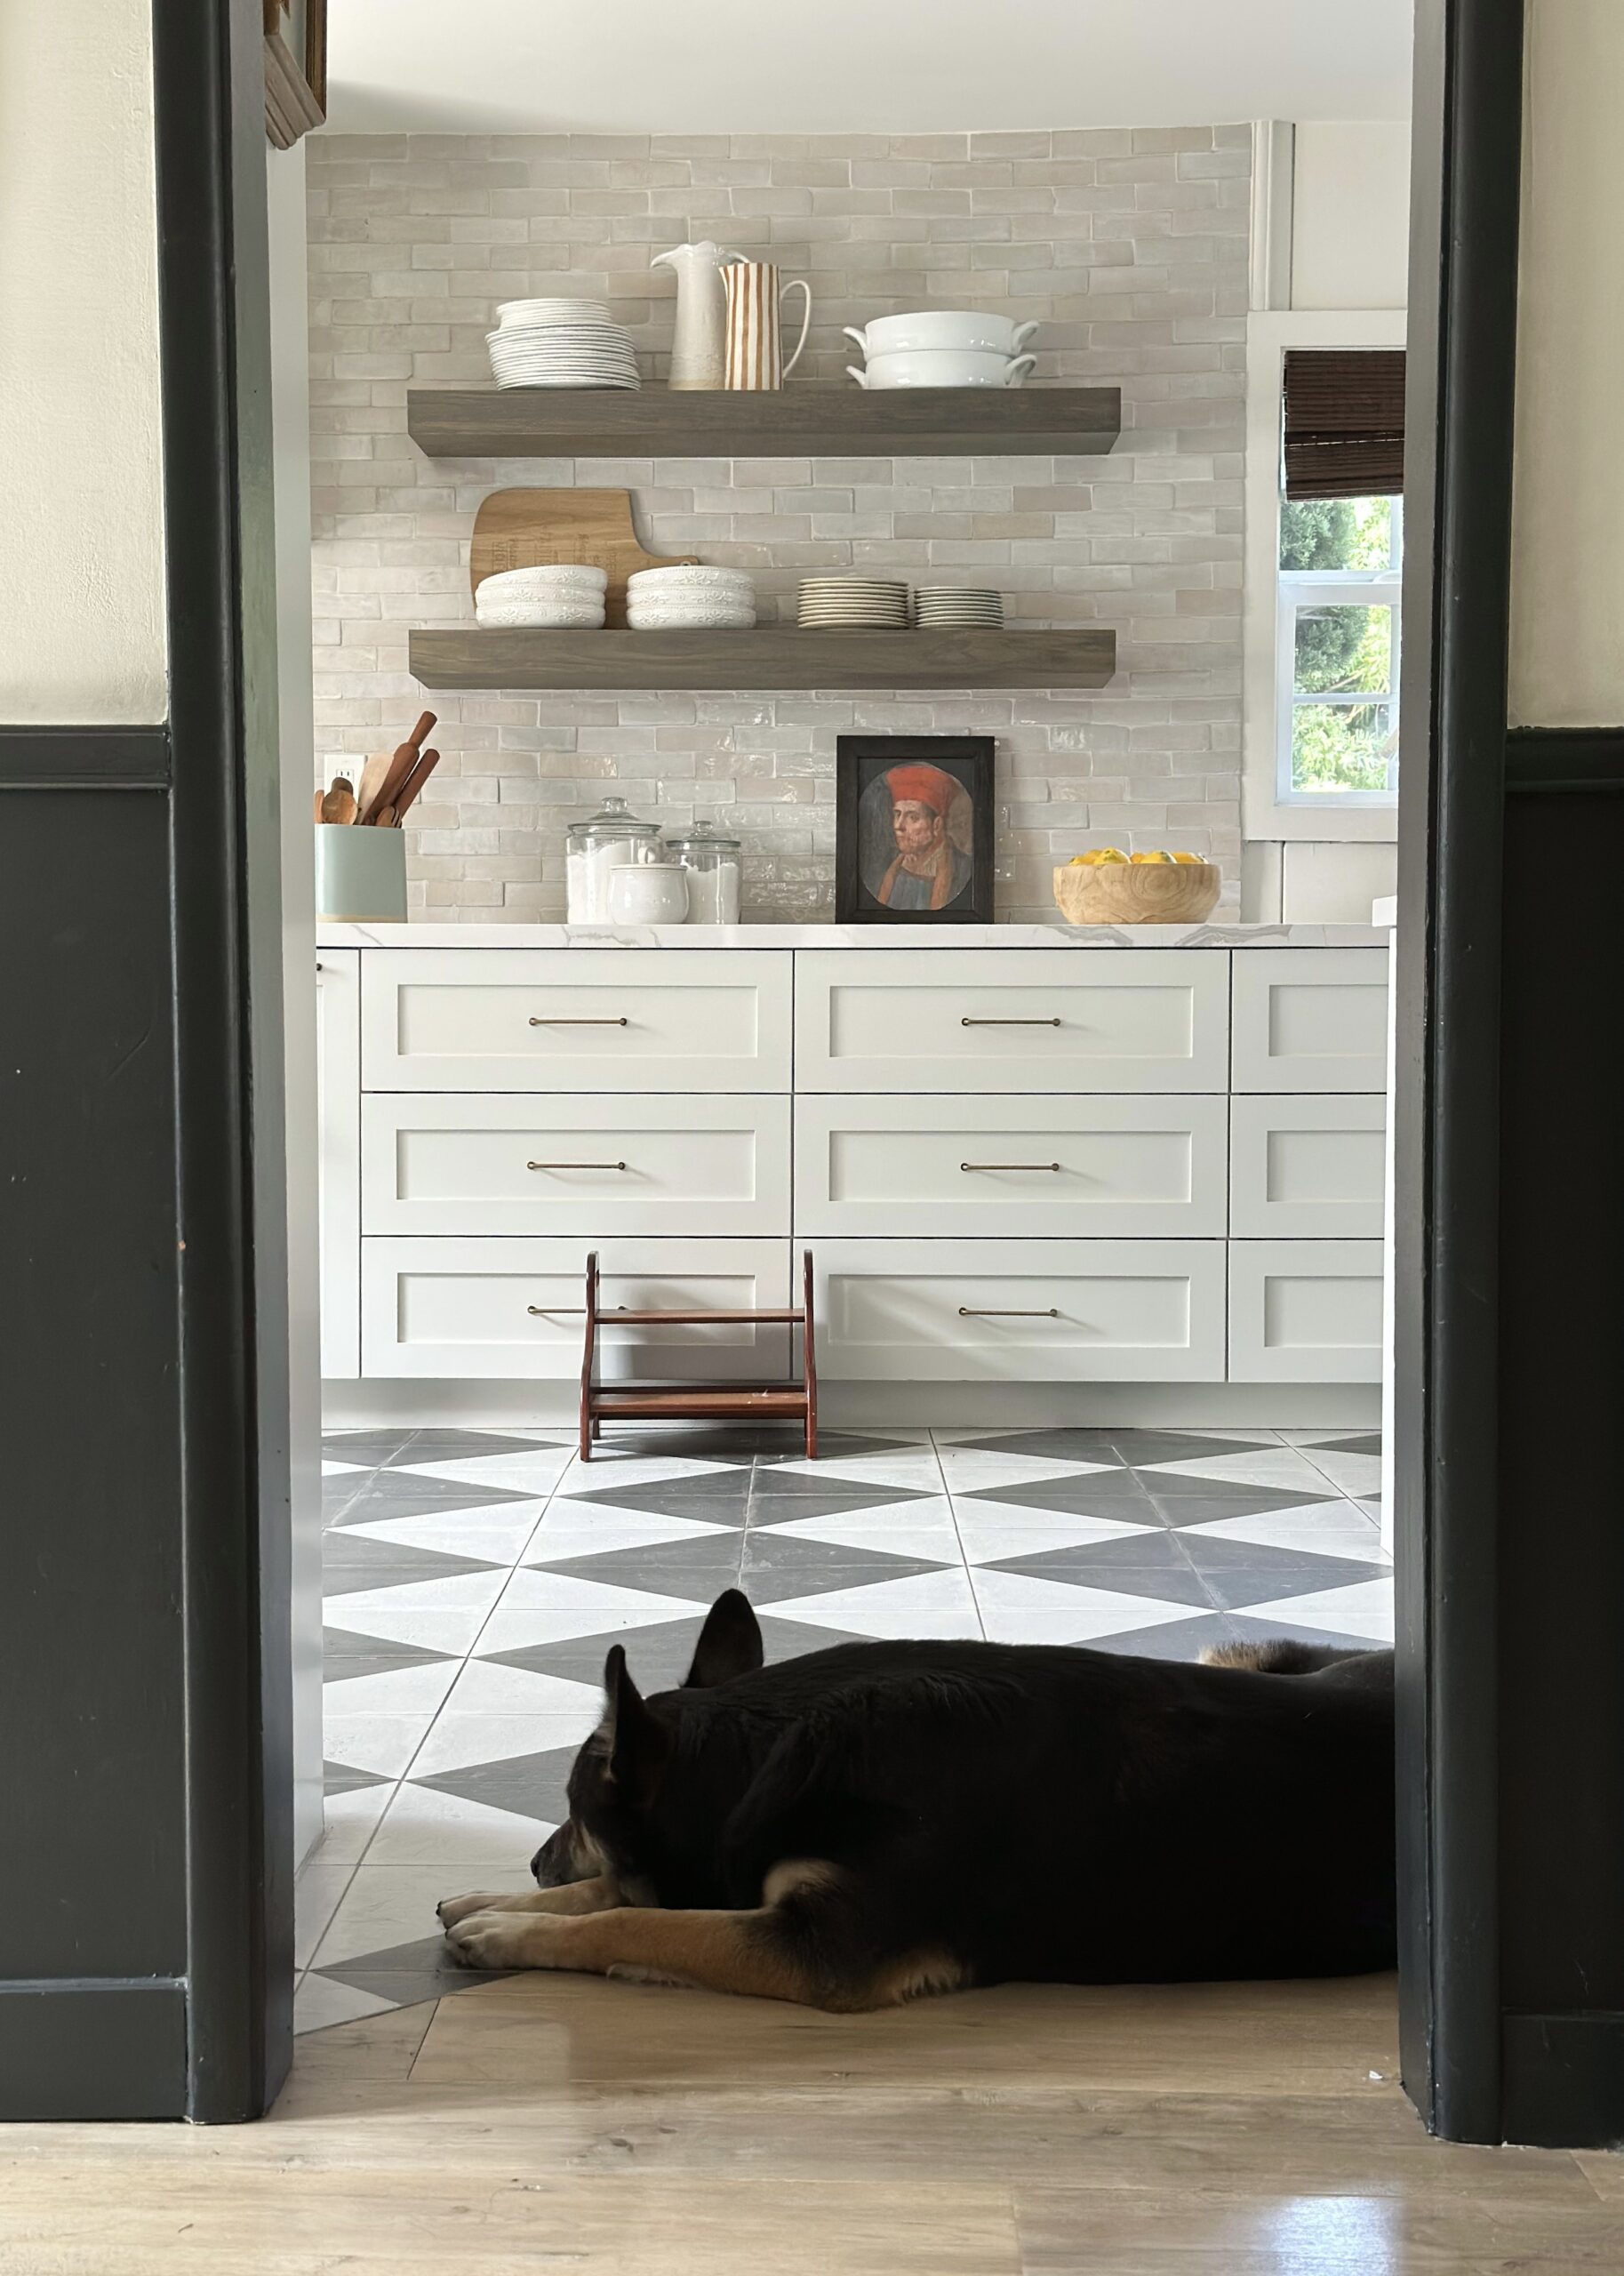
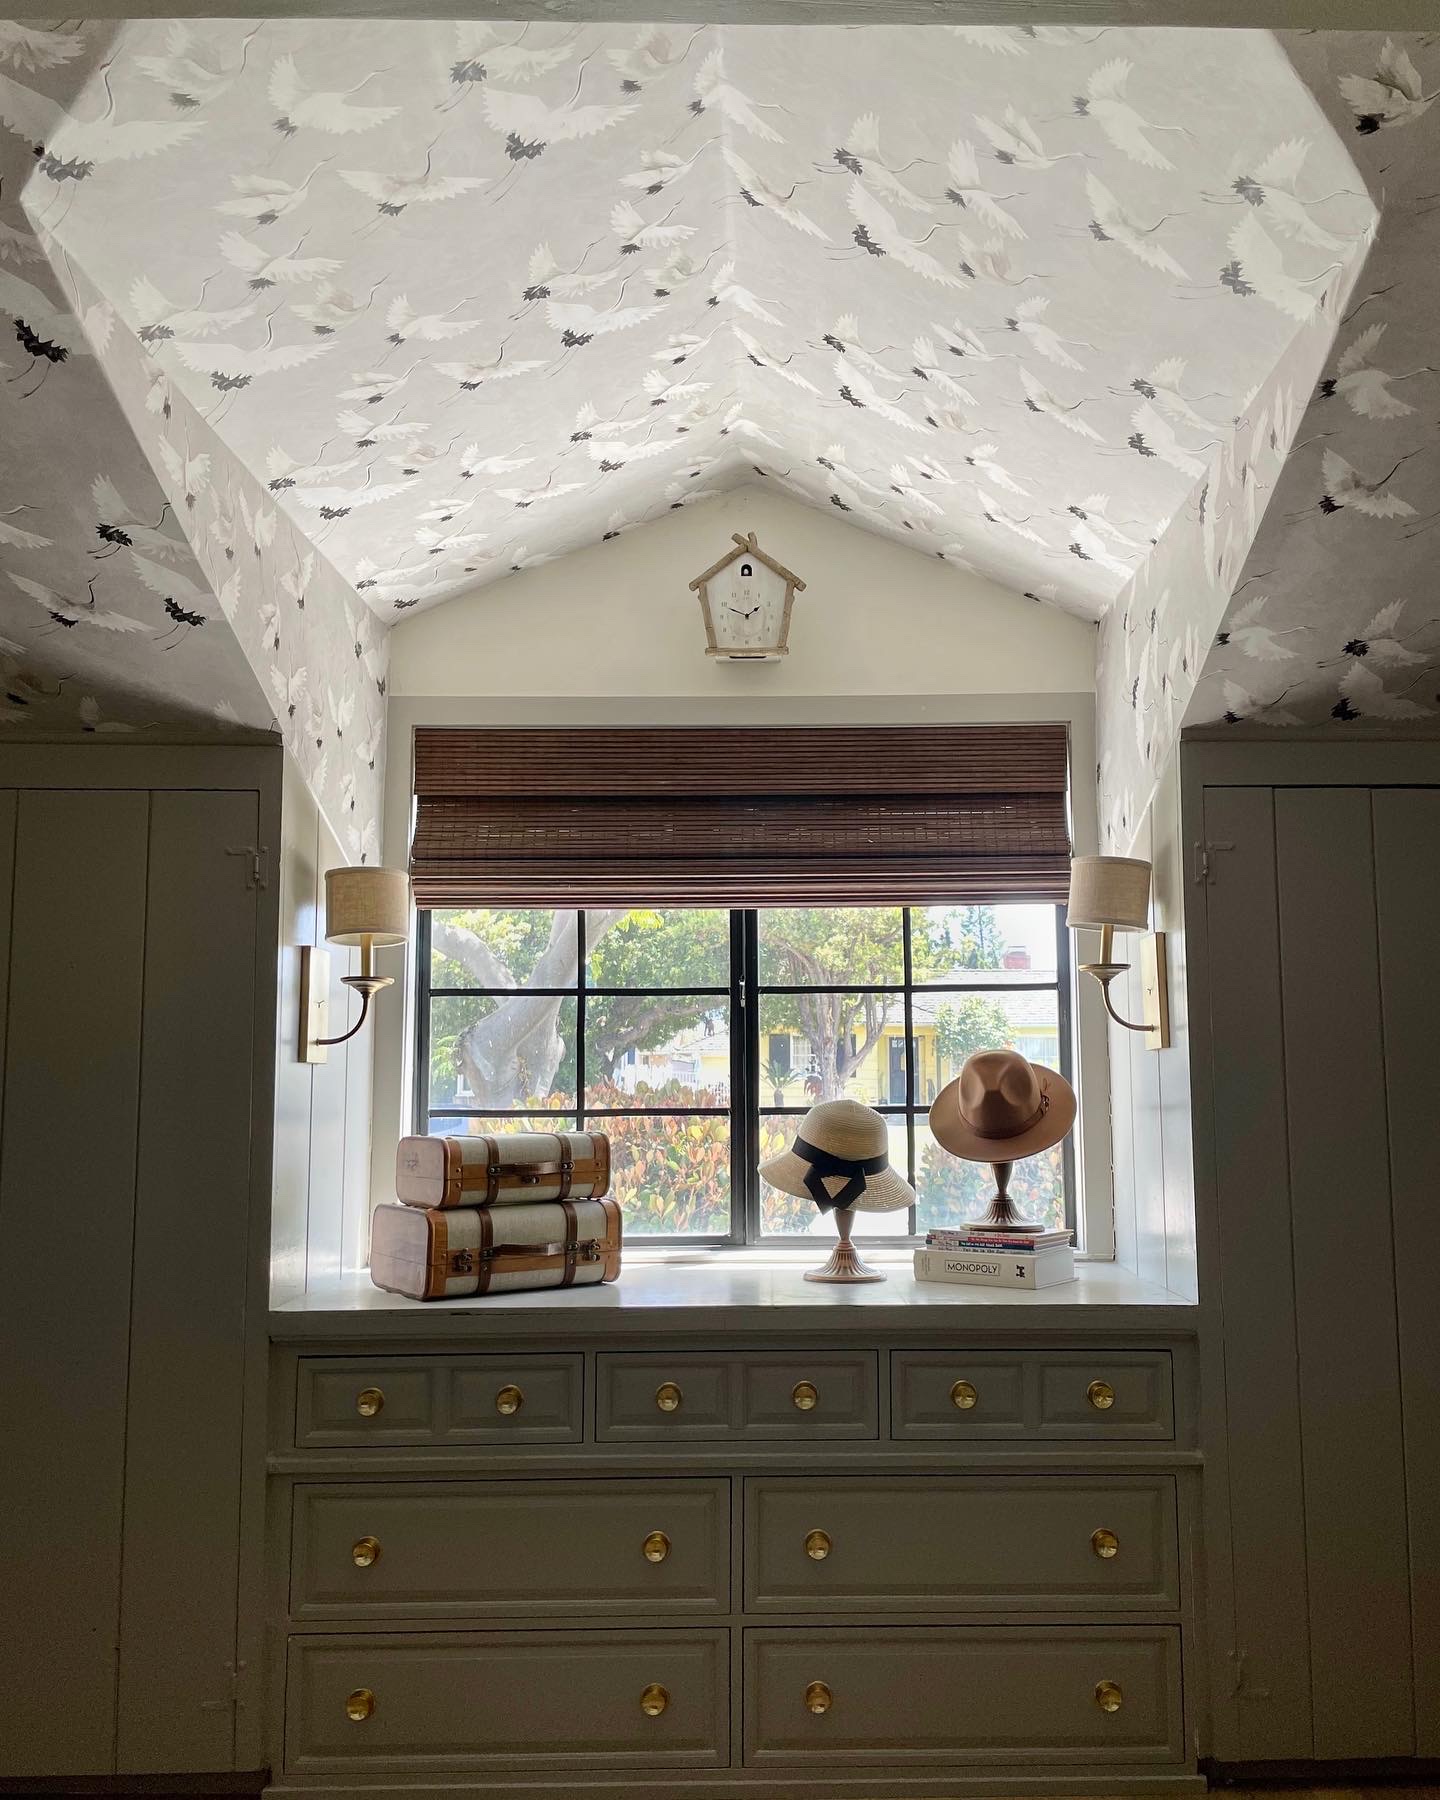
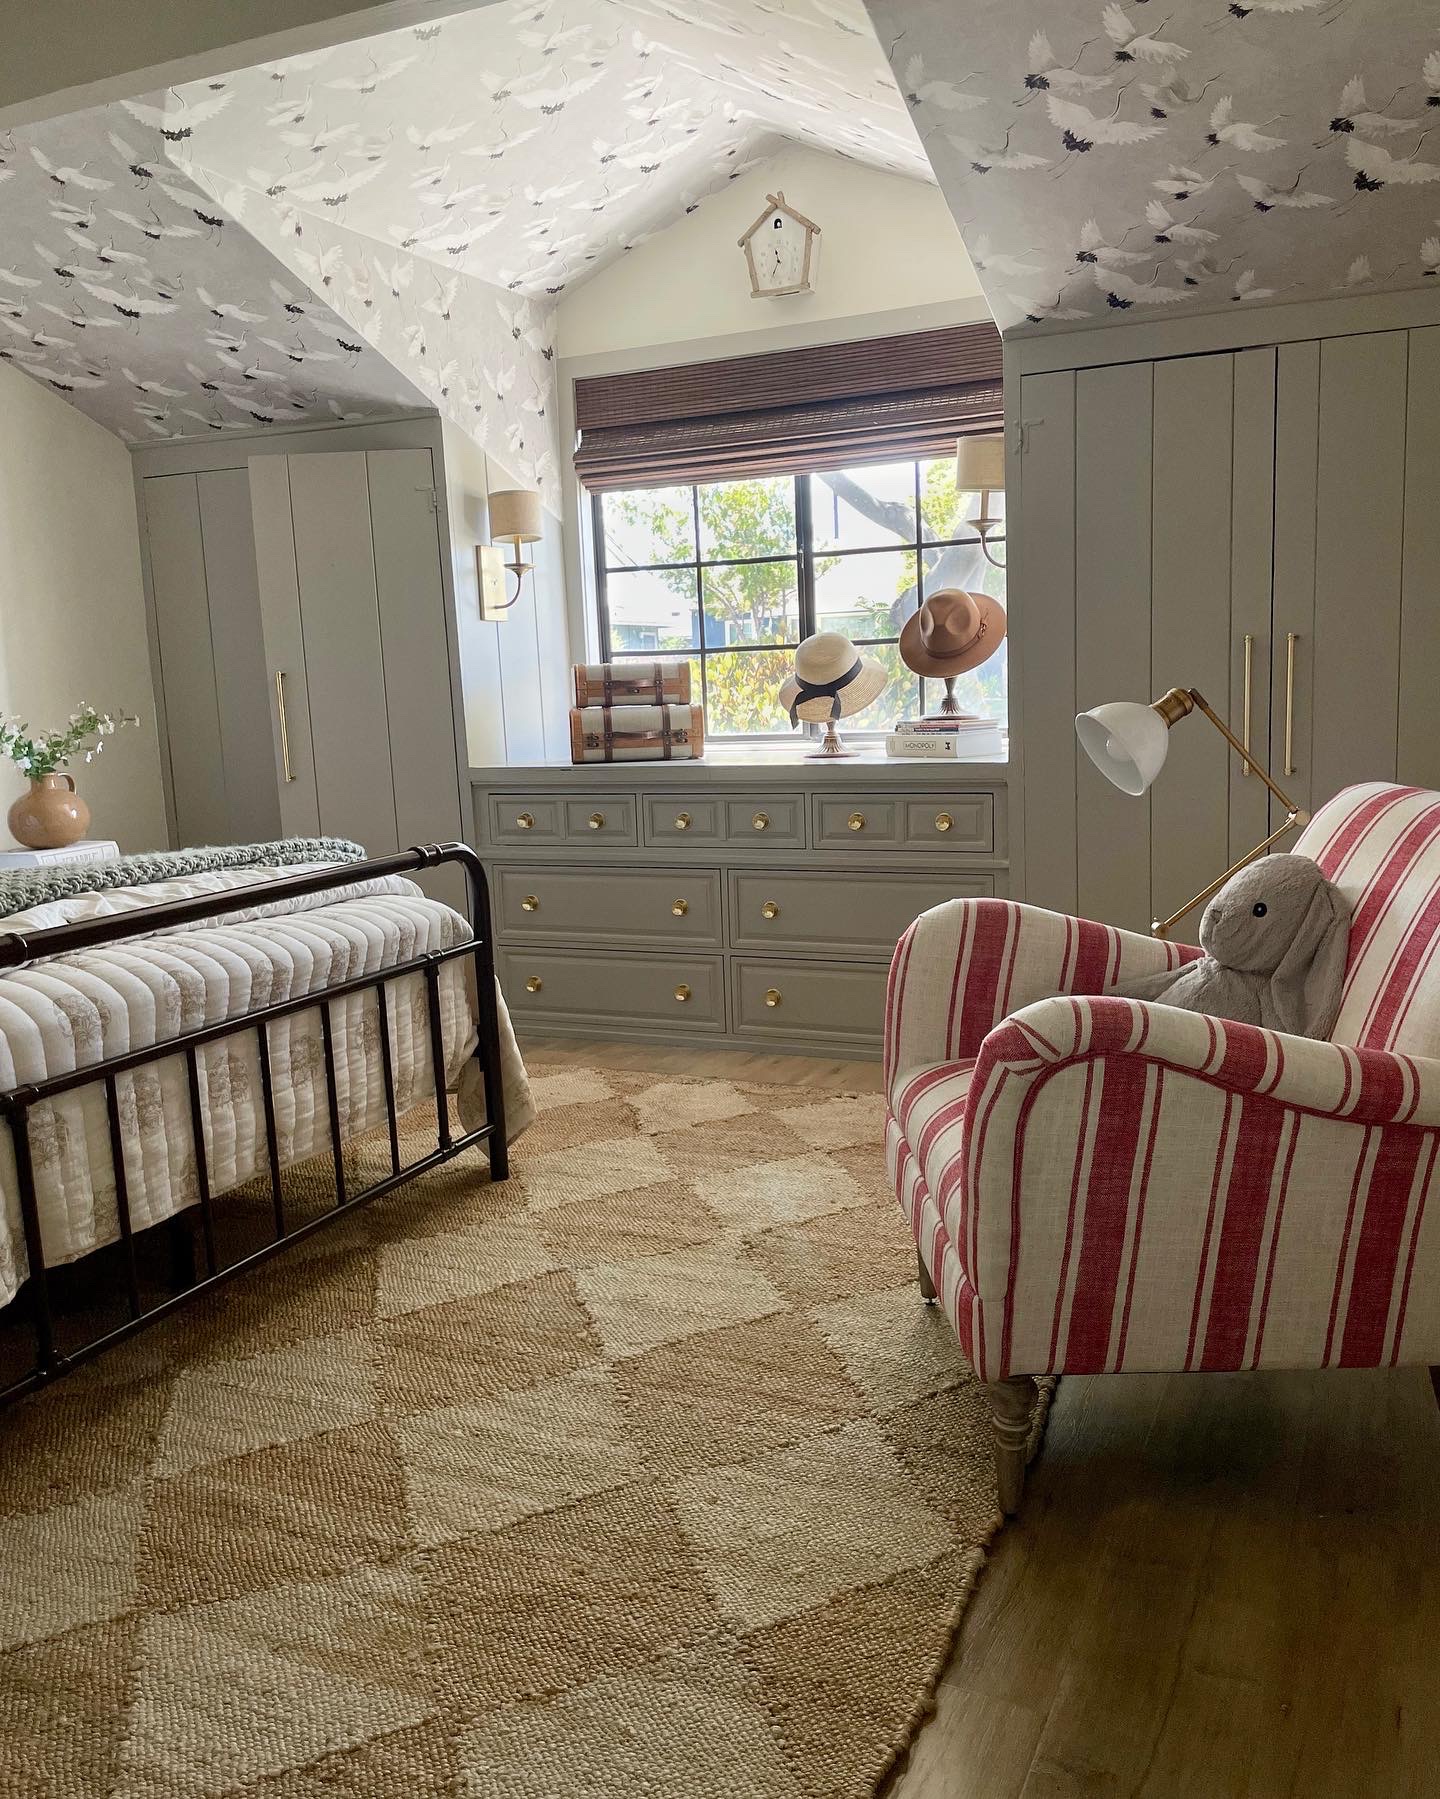
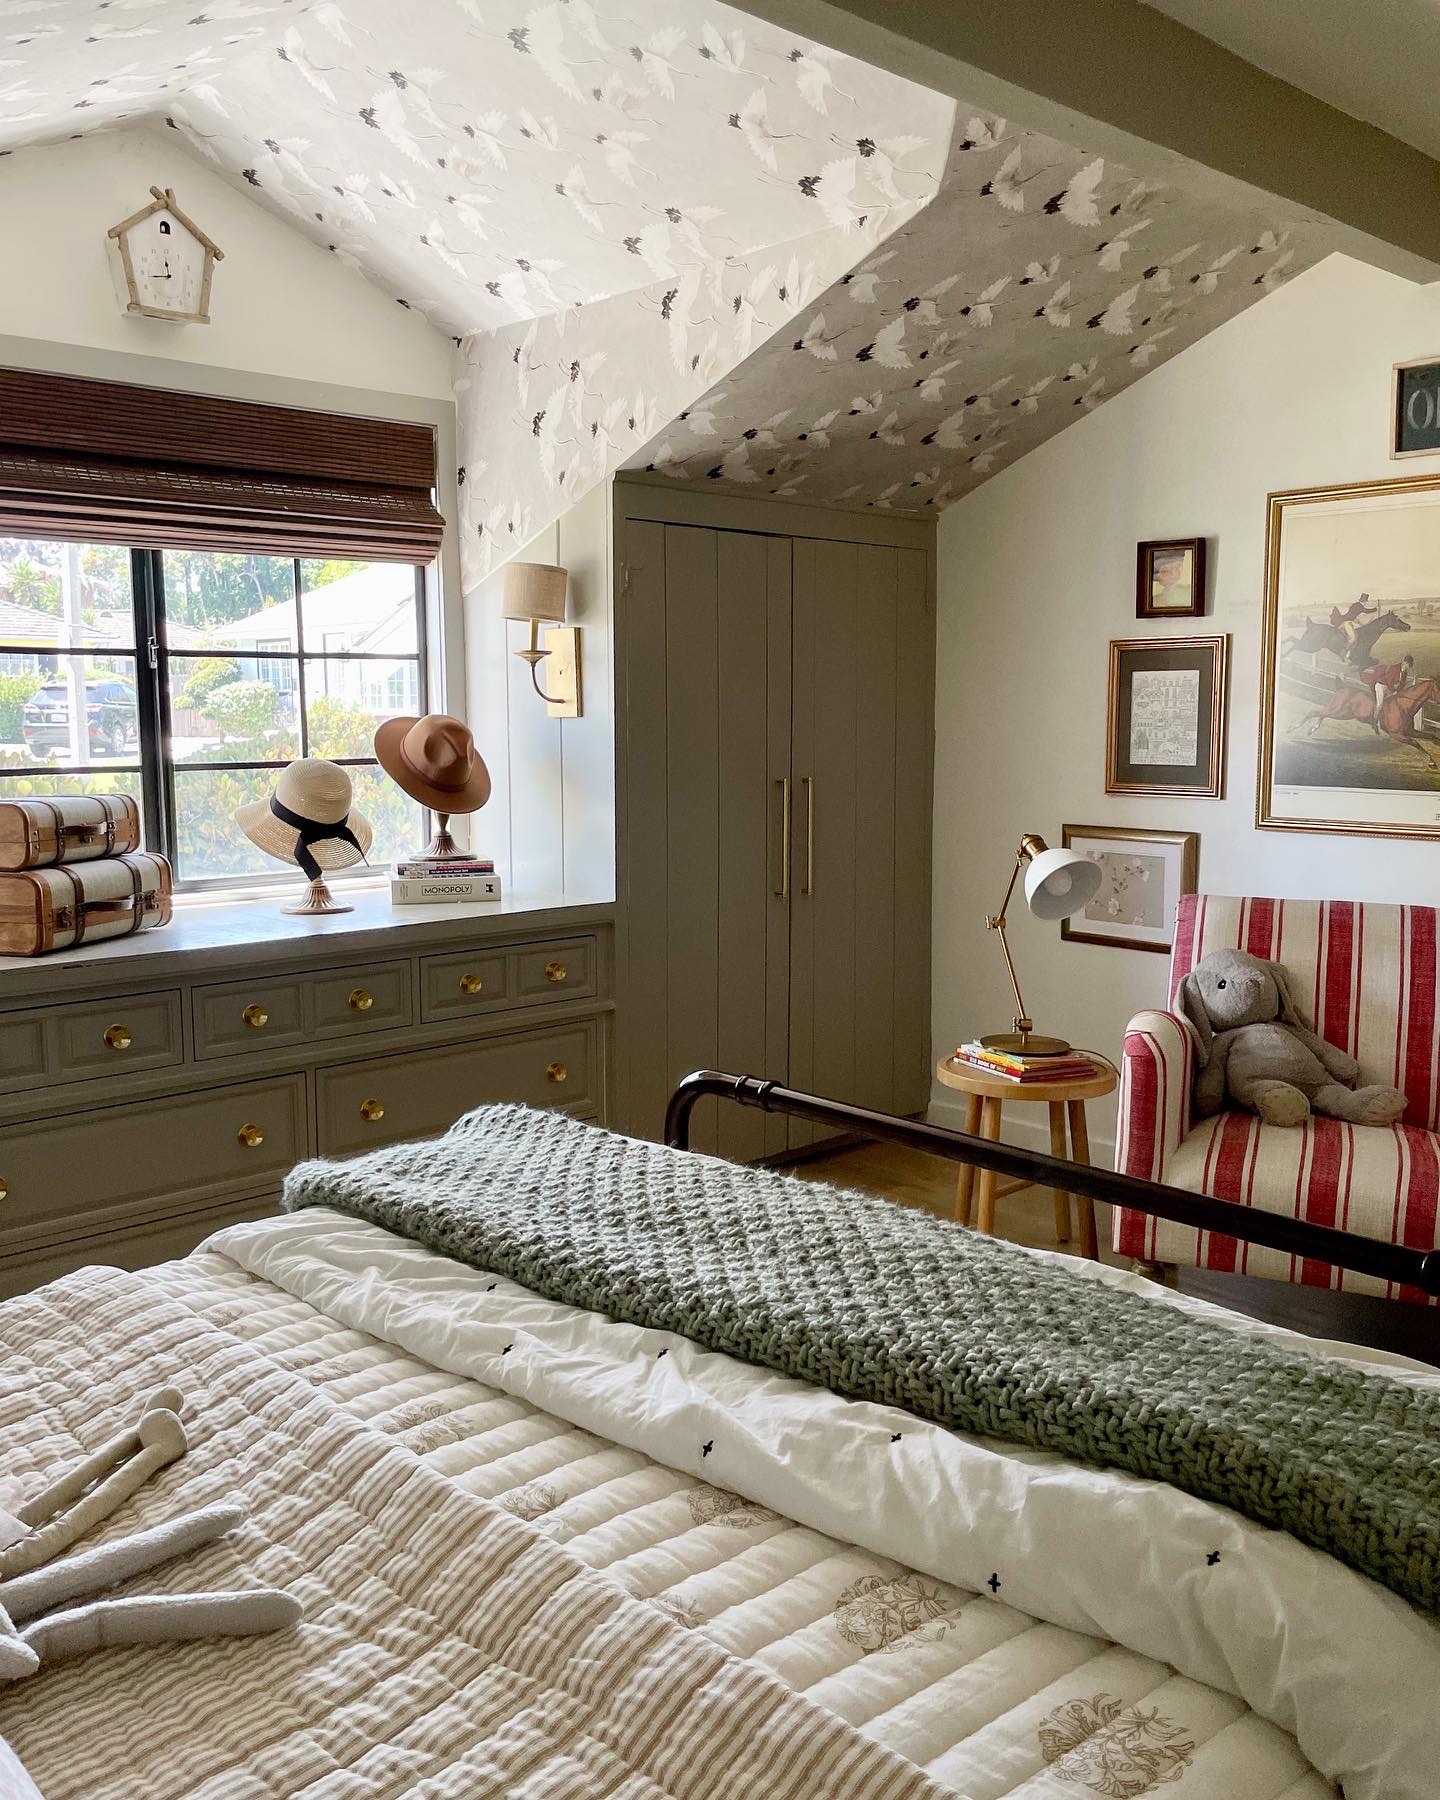
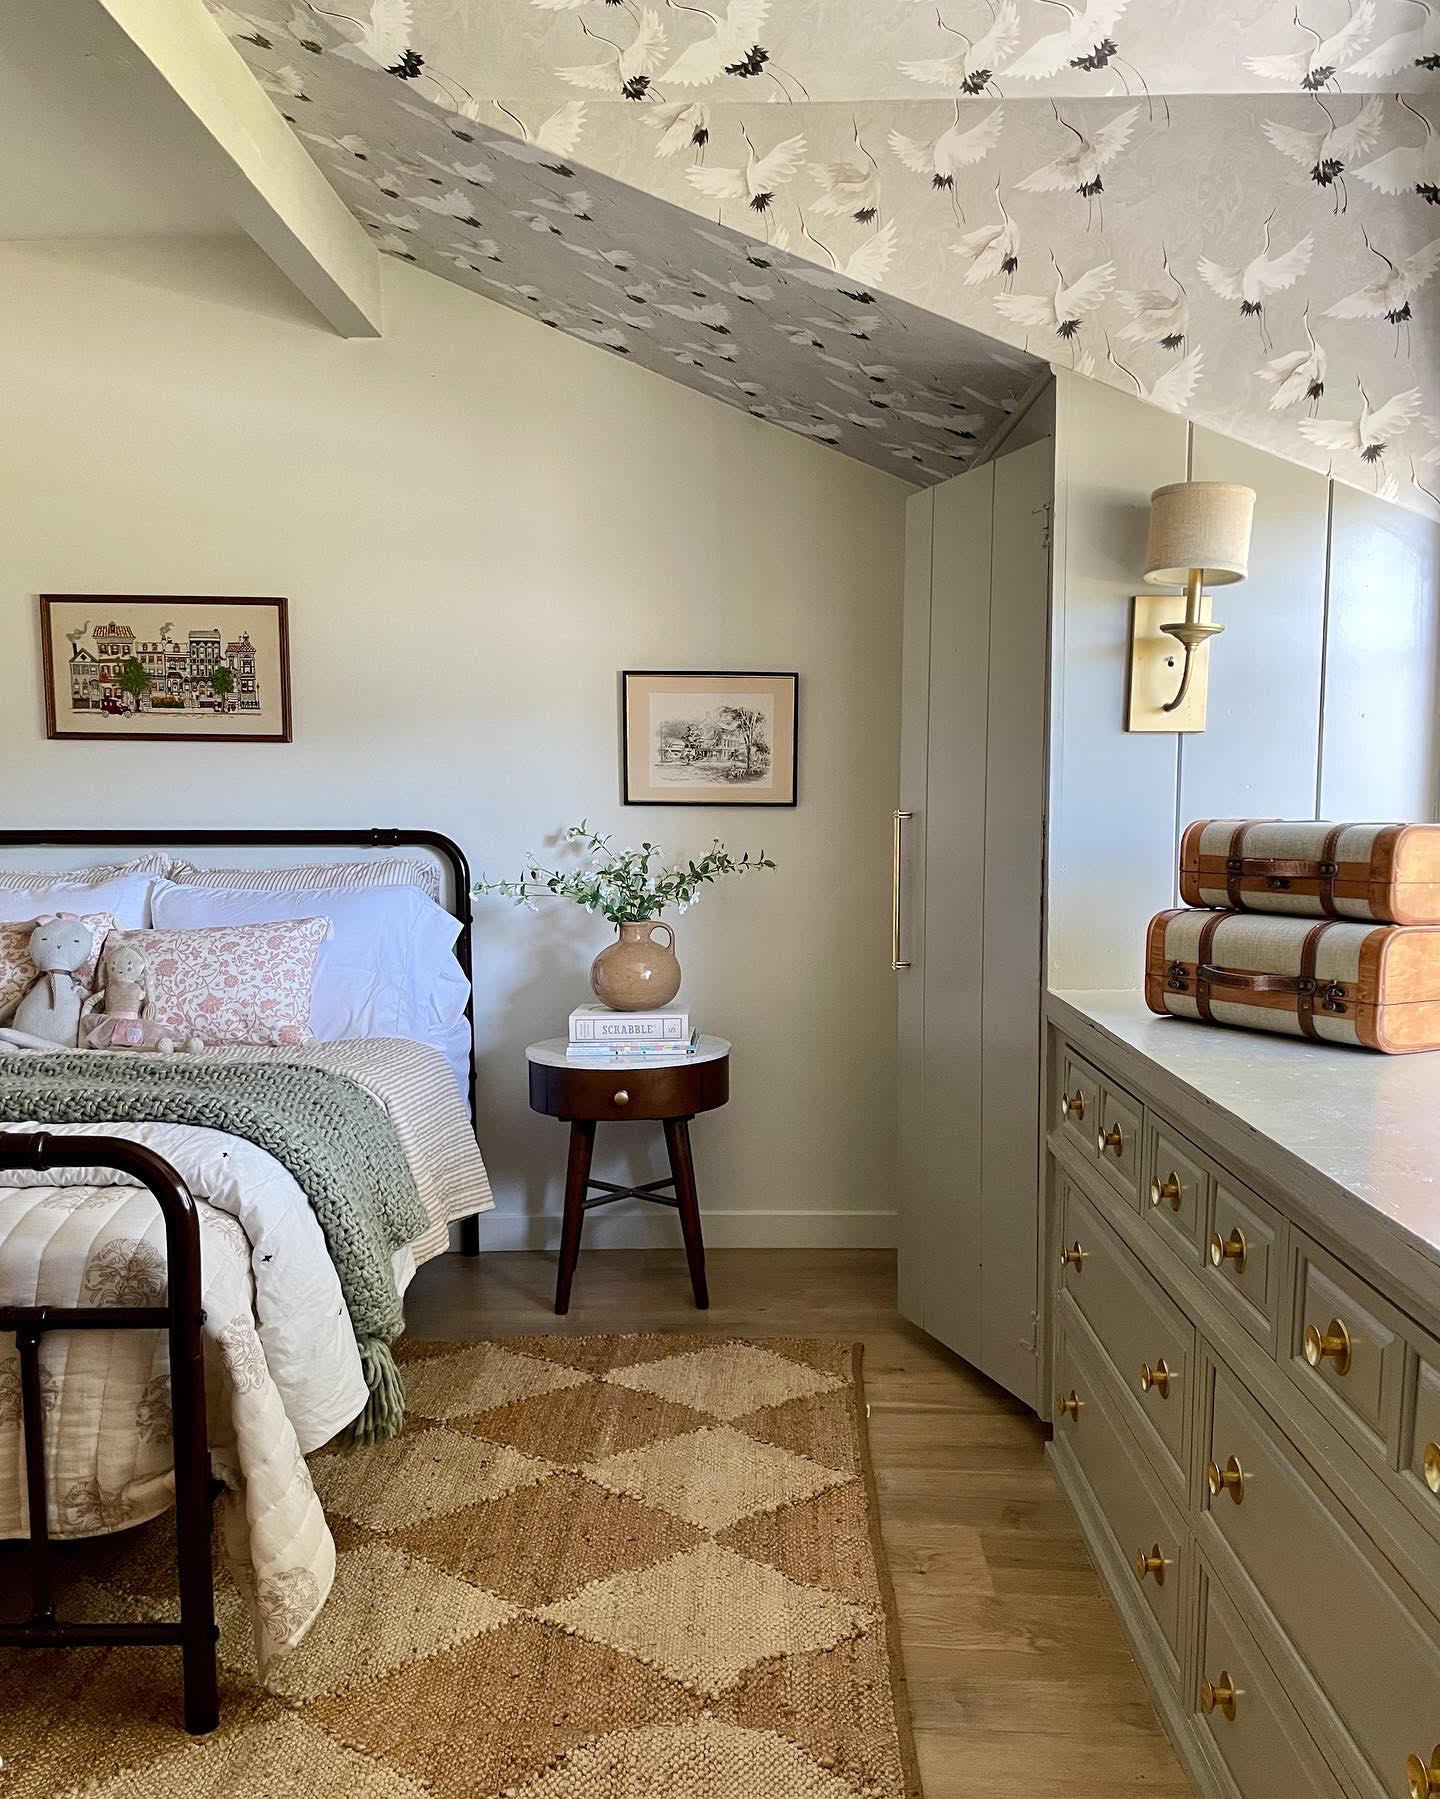
My kid’s room has a gap in between the closets and I’ve always wanted to put something in between there like a bench. However, I had an old dresser that I was going to donate, and it was the perfect match. Well, almost. I turned that dresser into a built-in.
*This post contains affiliate links. That means if you purchase something through my link, while it’s the same cost to you, I get a small commission for me and my family.
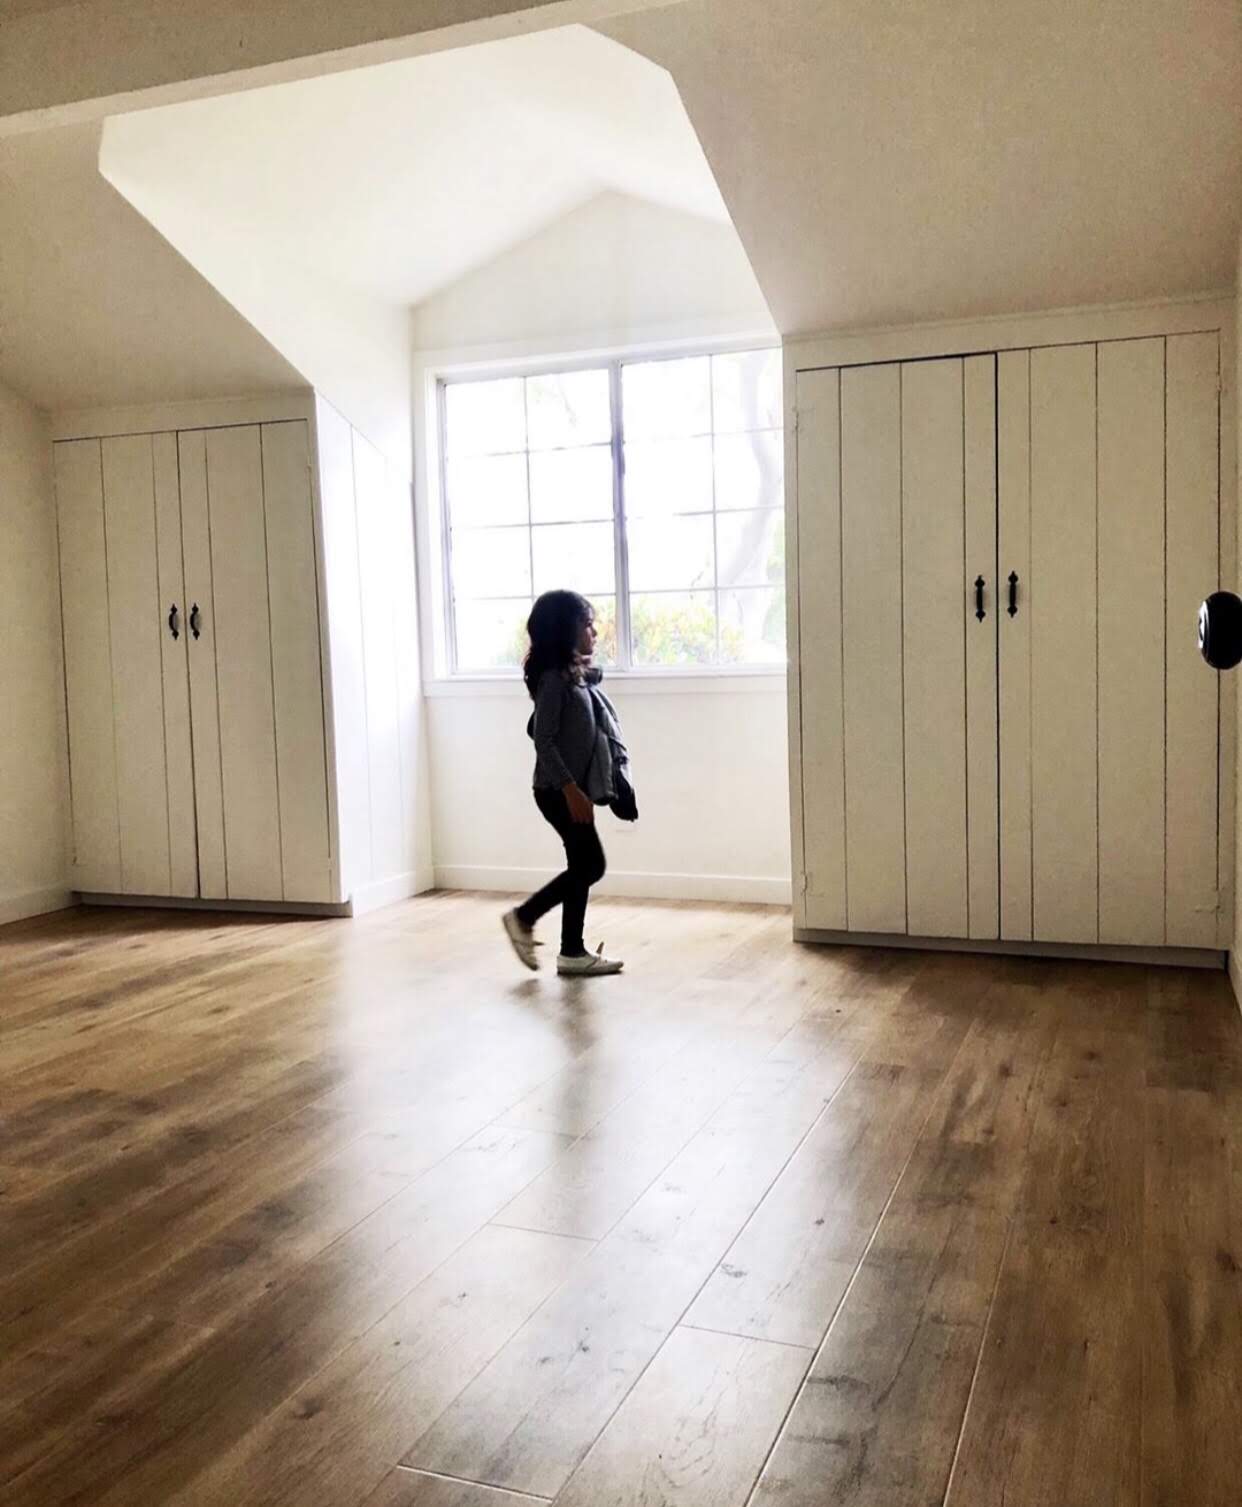
First, let me show you the space. This is my kids room the day we moved in below.
And this is the dresser that was literally an inch too wide to fit in between the closets. Serious buzz kill.
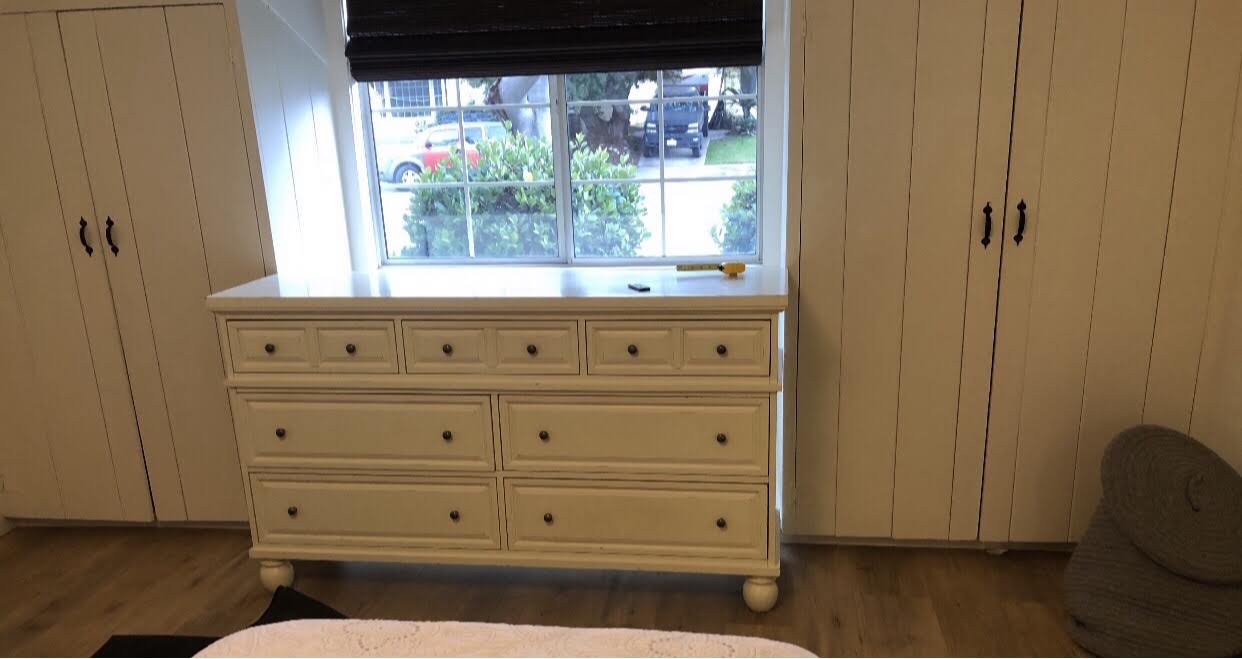
First thing I did, was have someone come and saw off the sides. And it was in!
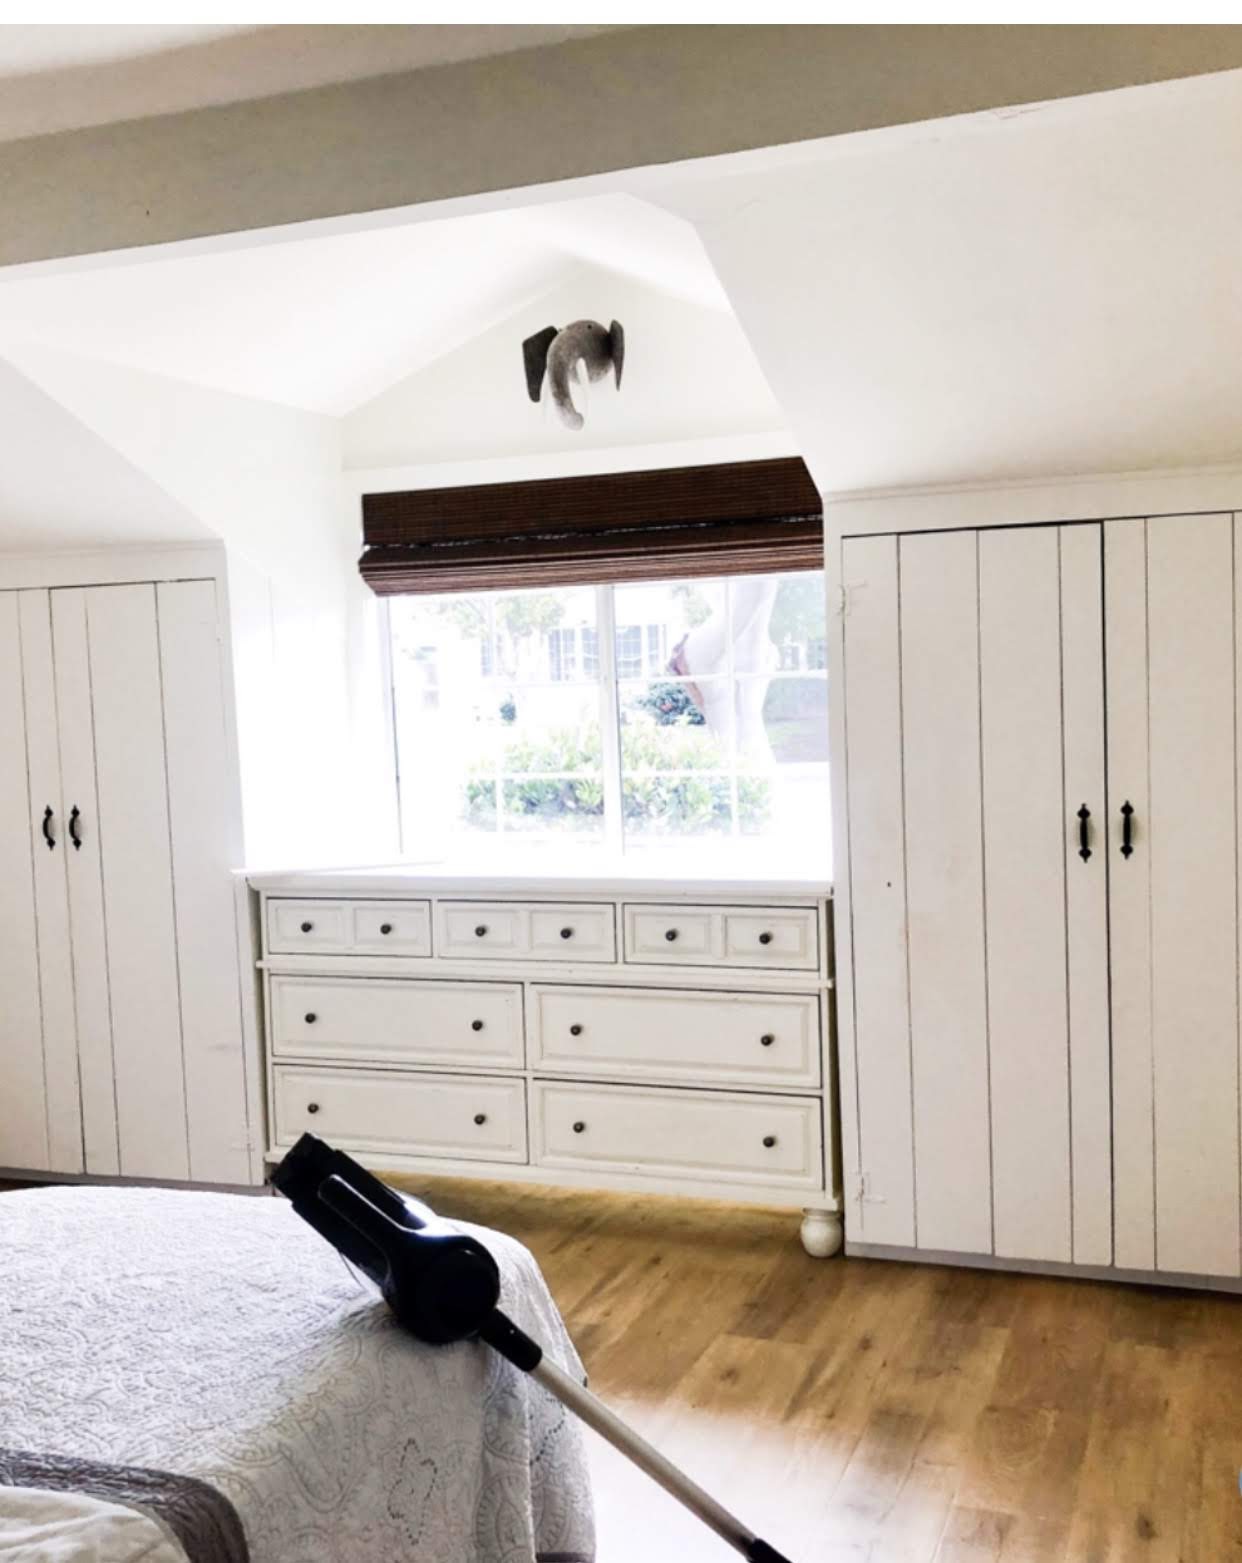
Next we removed all the feet from the bottom of the dresser for a more cohesive look so that it was flat on the ground, and also because the dresser was too high for the window. Luckily that part was easy because they screwed right off. We also got a piece of plywood, and nailed it on the top. The reason we did this is because we had a slight gap in the back of the dresser and I didn’t want anything to fall when we placed anything on top.
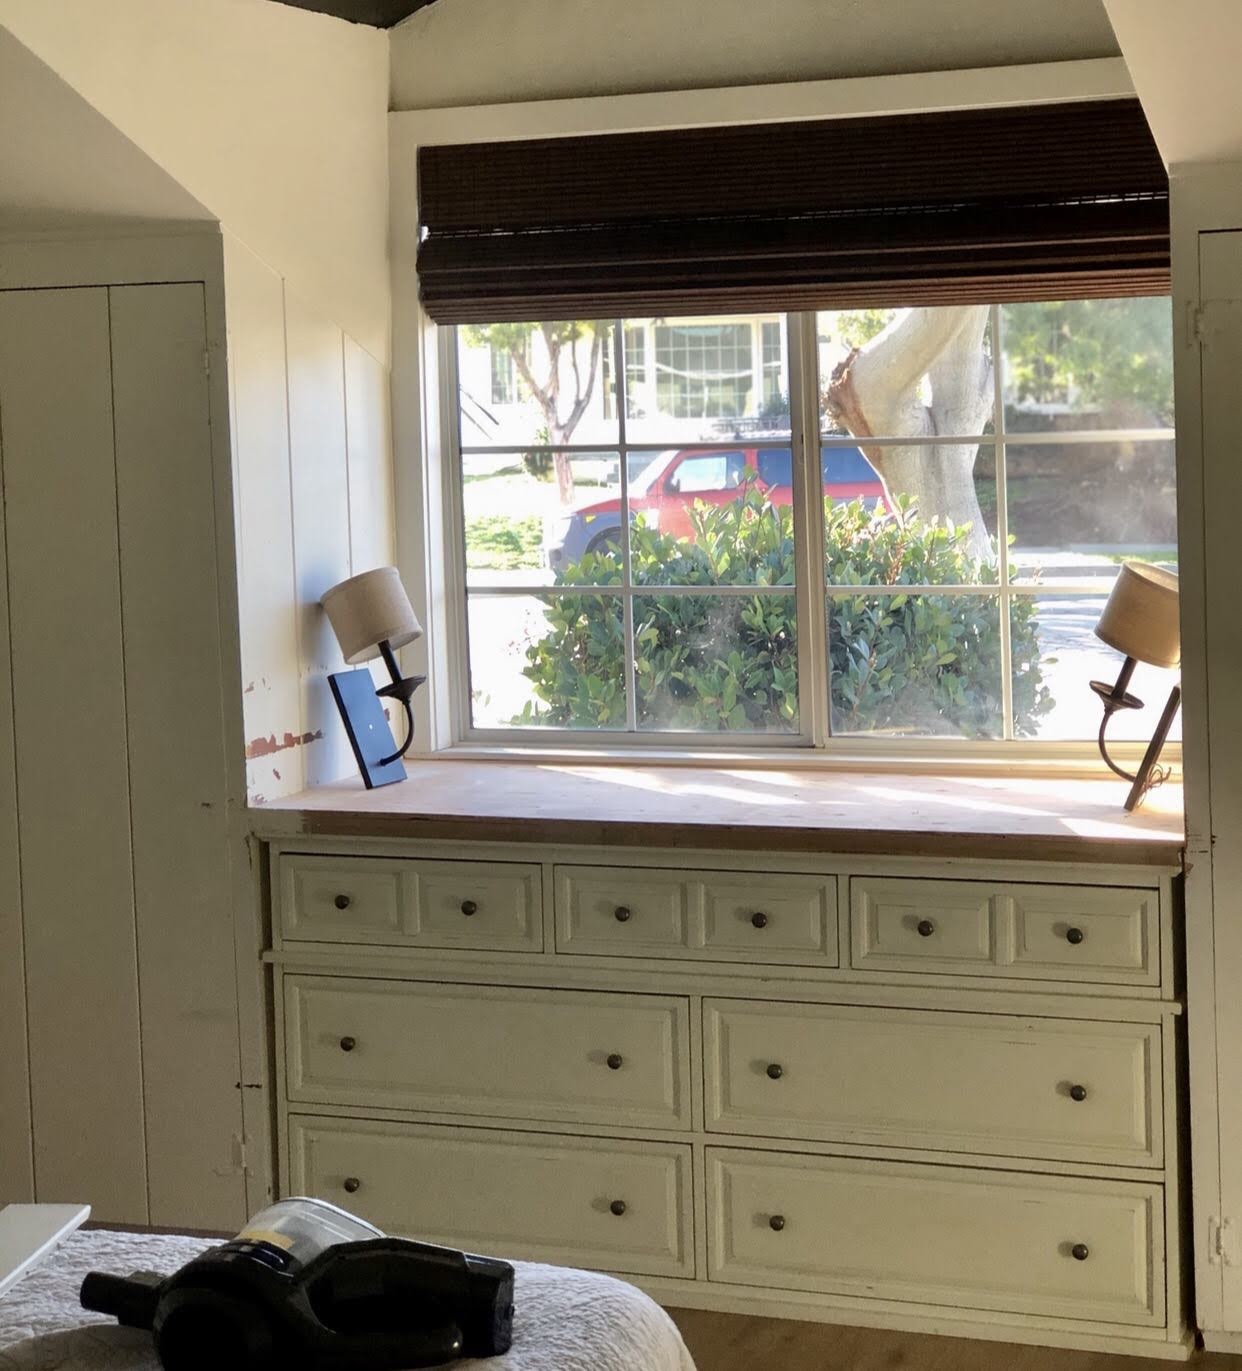
Next, we needed to fill the gap in between the dresser and the closets in order to really get that cohesive built-in look. There were a few options here, but we ended up getting insulating foam sealant and pre-mixed joint compound to fill the gaps. It took two separate days because it would shrink after drying.
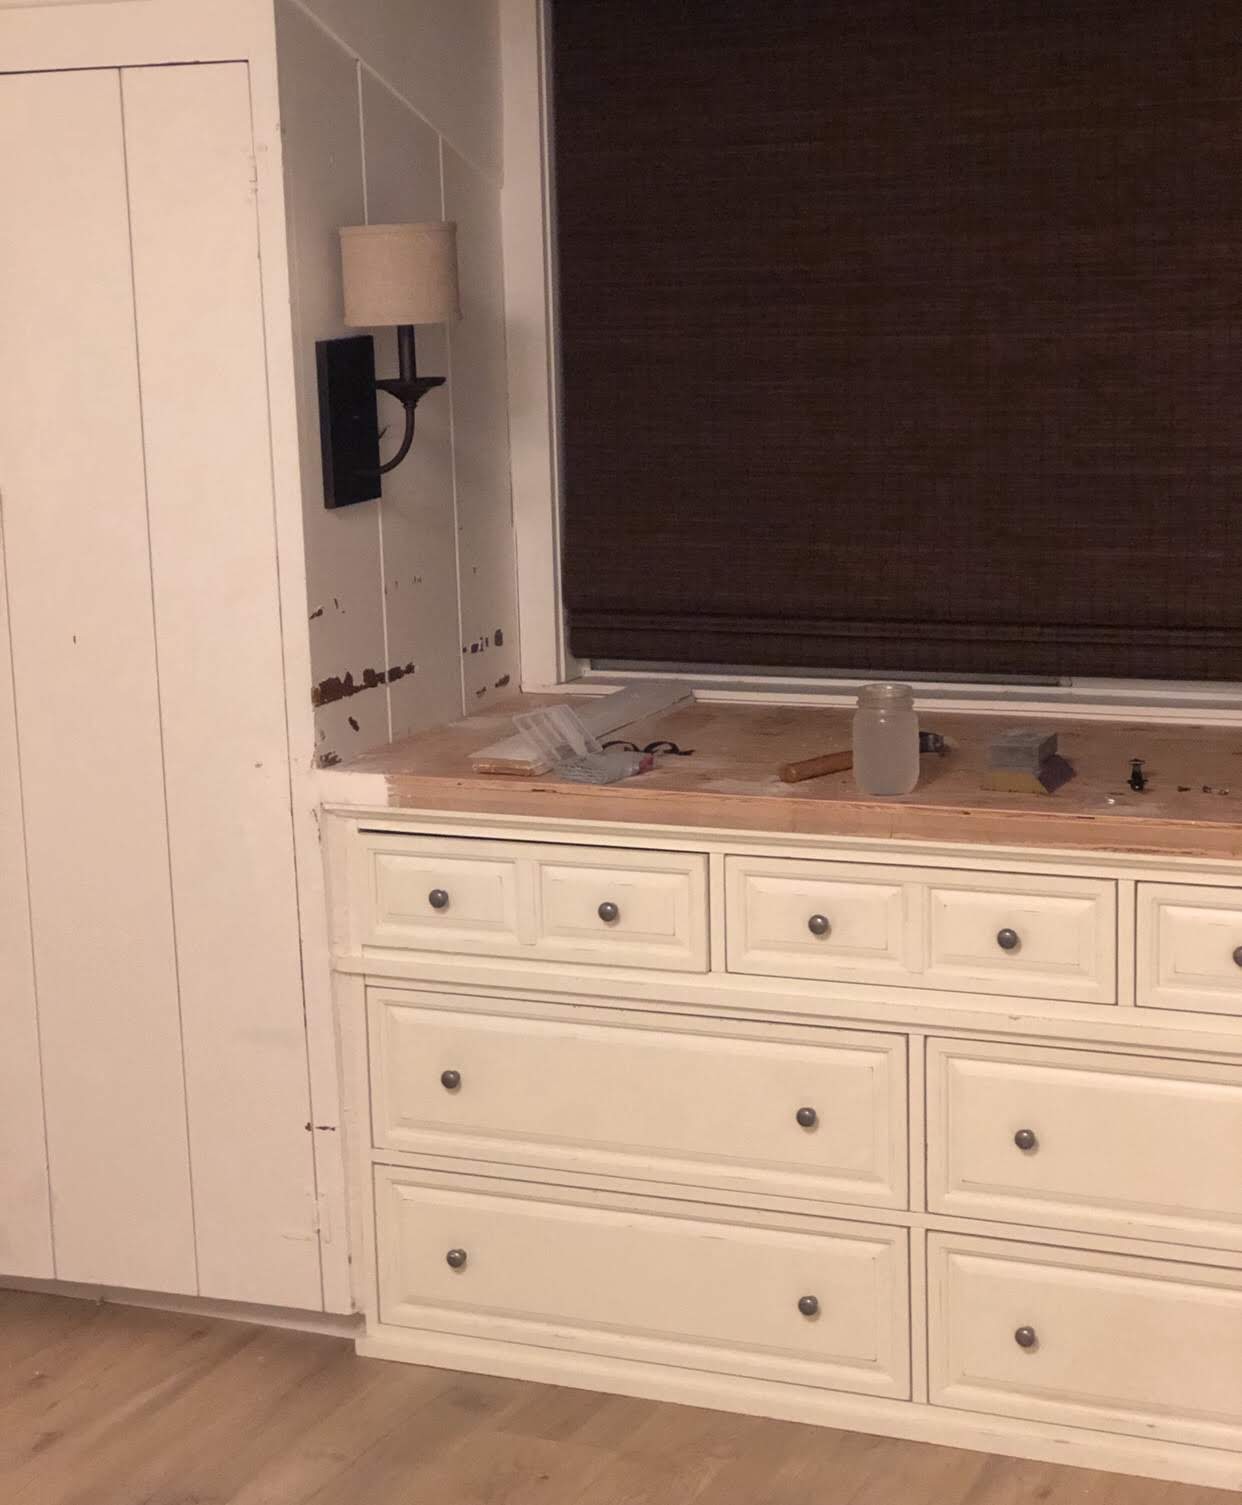
And there it is, filled up. It then took some very careful sanding to smooth it out. We had a ton of imperfections, and it was not perfect by any stretch, but I was happy with the outcome and couldn’t wait to paint and swap out the hardware!
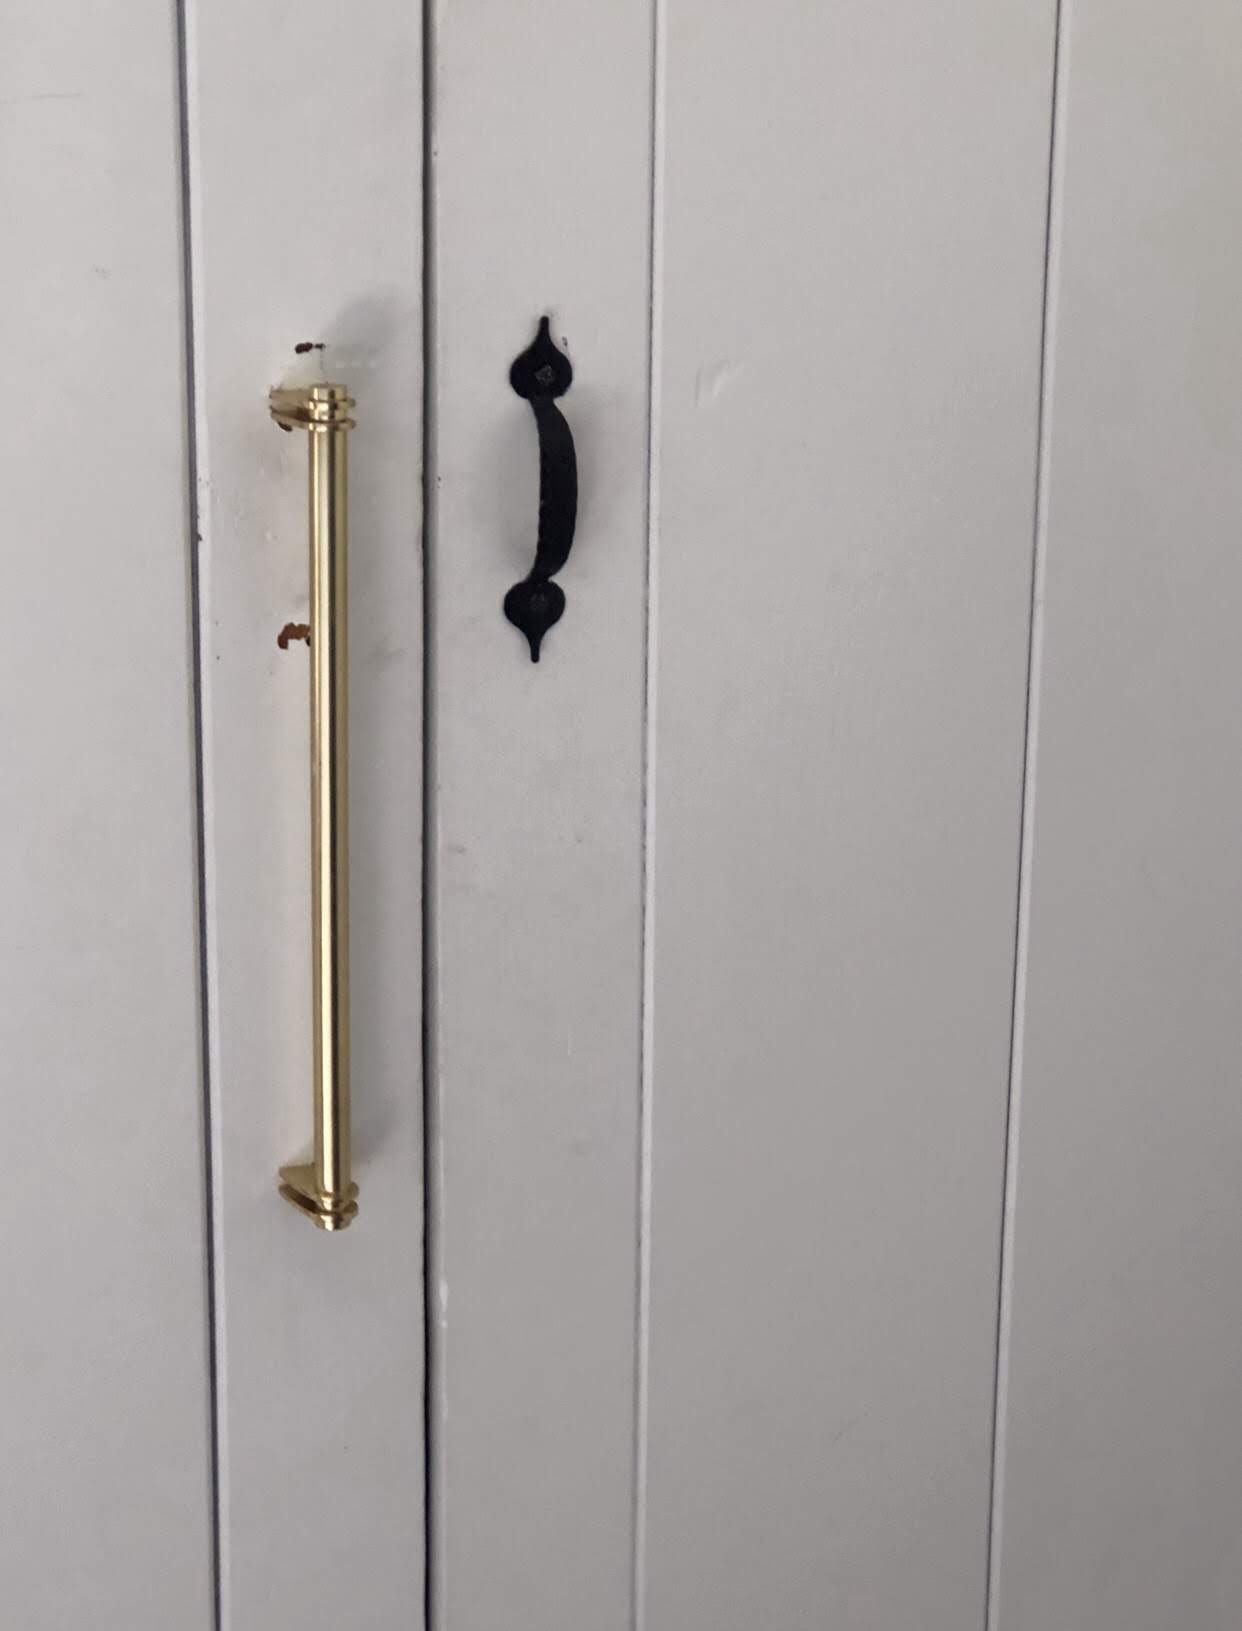
I was so excited when the Rejuvenation hardware came in, I tried it on before I painted. Just look at the difference in the closet handles. This is actually a drawer pull–it’s the 12-inch Elroy Drawer Pull and it was worth every penny.
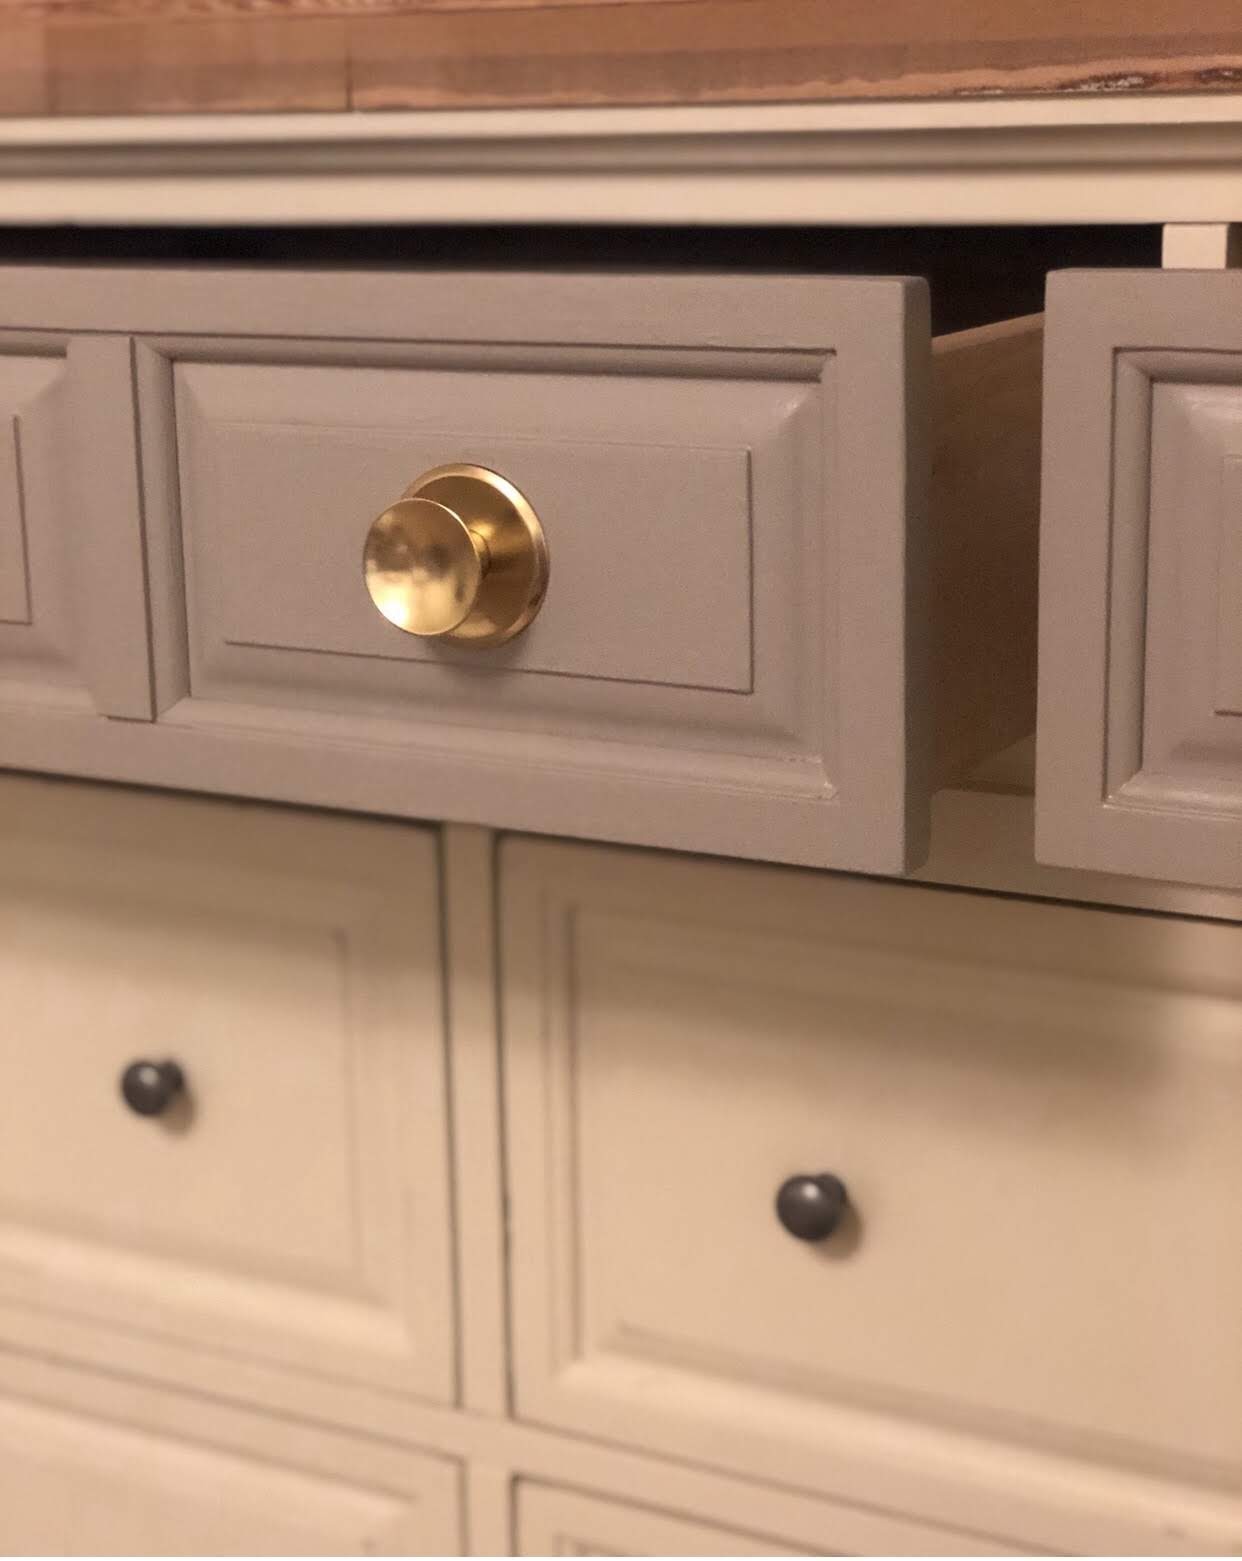
And for the dresser, I bought the Dish Cabinet Knob with round plate. The work on all the Rejuvenation hardware is absolutely beautiful. I then painted everything using Greige Trim Paint from Clare Paint and I was done!
If you want a video version, you can check it out HERE.
