


About a month ago I started to finish up the kid’s room, and felt like something was missing. The walls felt unfinished, and they needed a “layer” of something. This was also the only one of two rooms in the house without any wainscoting and it always bothered me. And while I know I could’ve added some, I wanted a quicker, cheaper, and easier way to accomplish a similar look. I had seen several color block walls on Pinterest, and I figured it was time to give it a try.
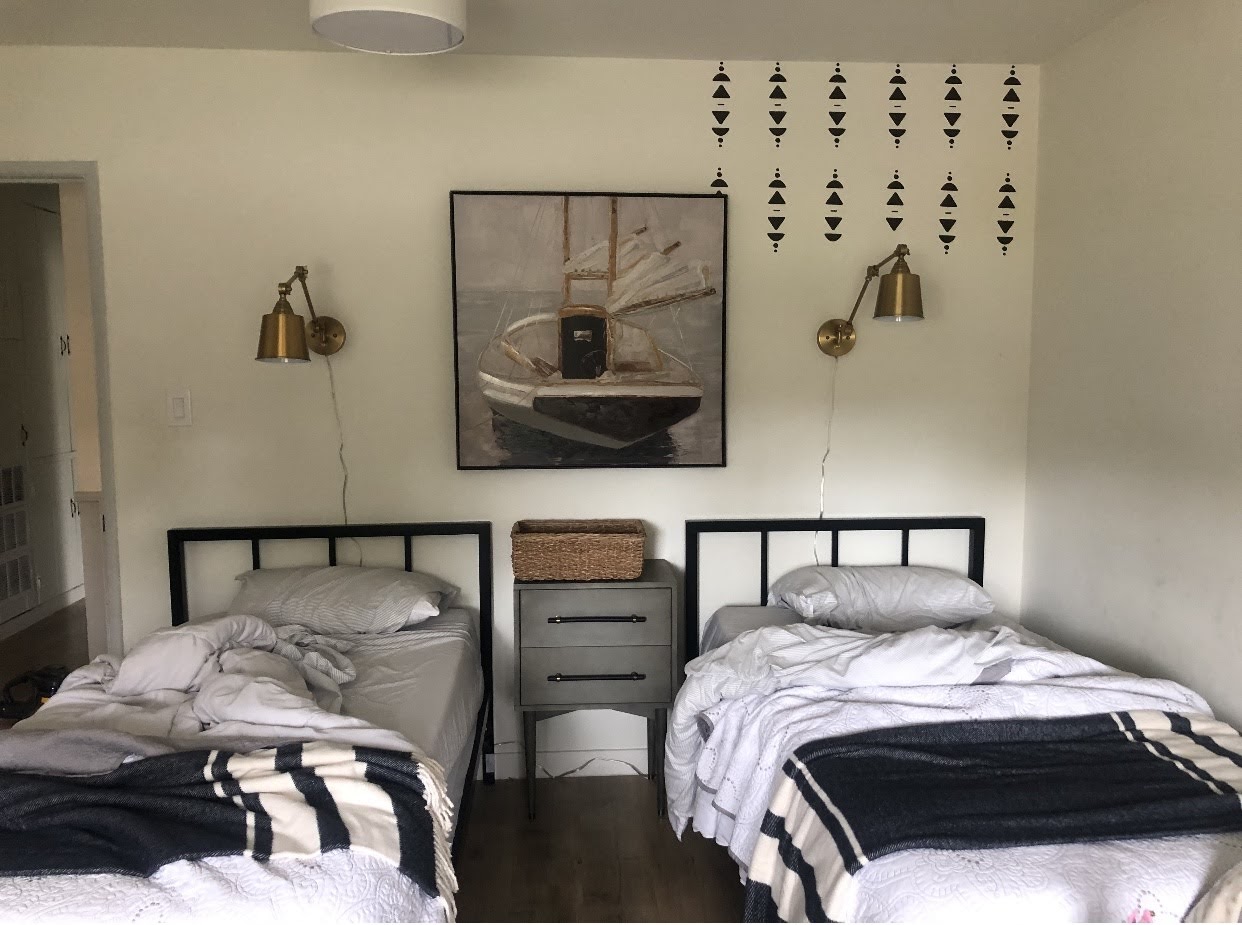
For context, this was the wall– Something just felt like it was missing, minus the fact that I hadn’t completely removed the decals that covered the entire wall yet (upper right).
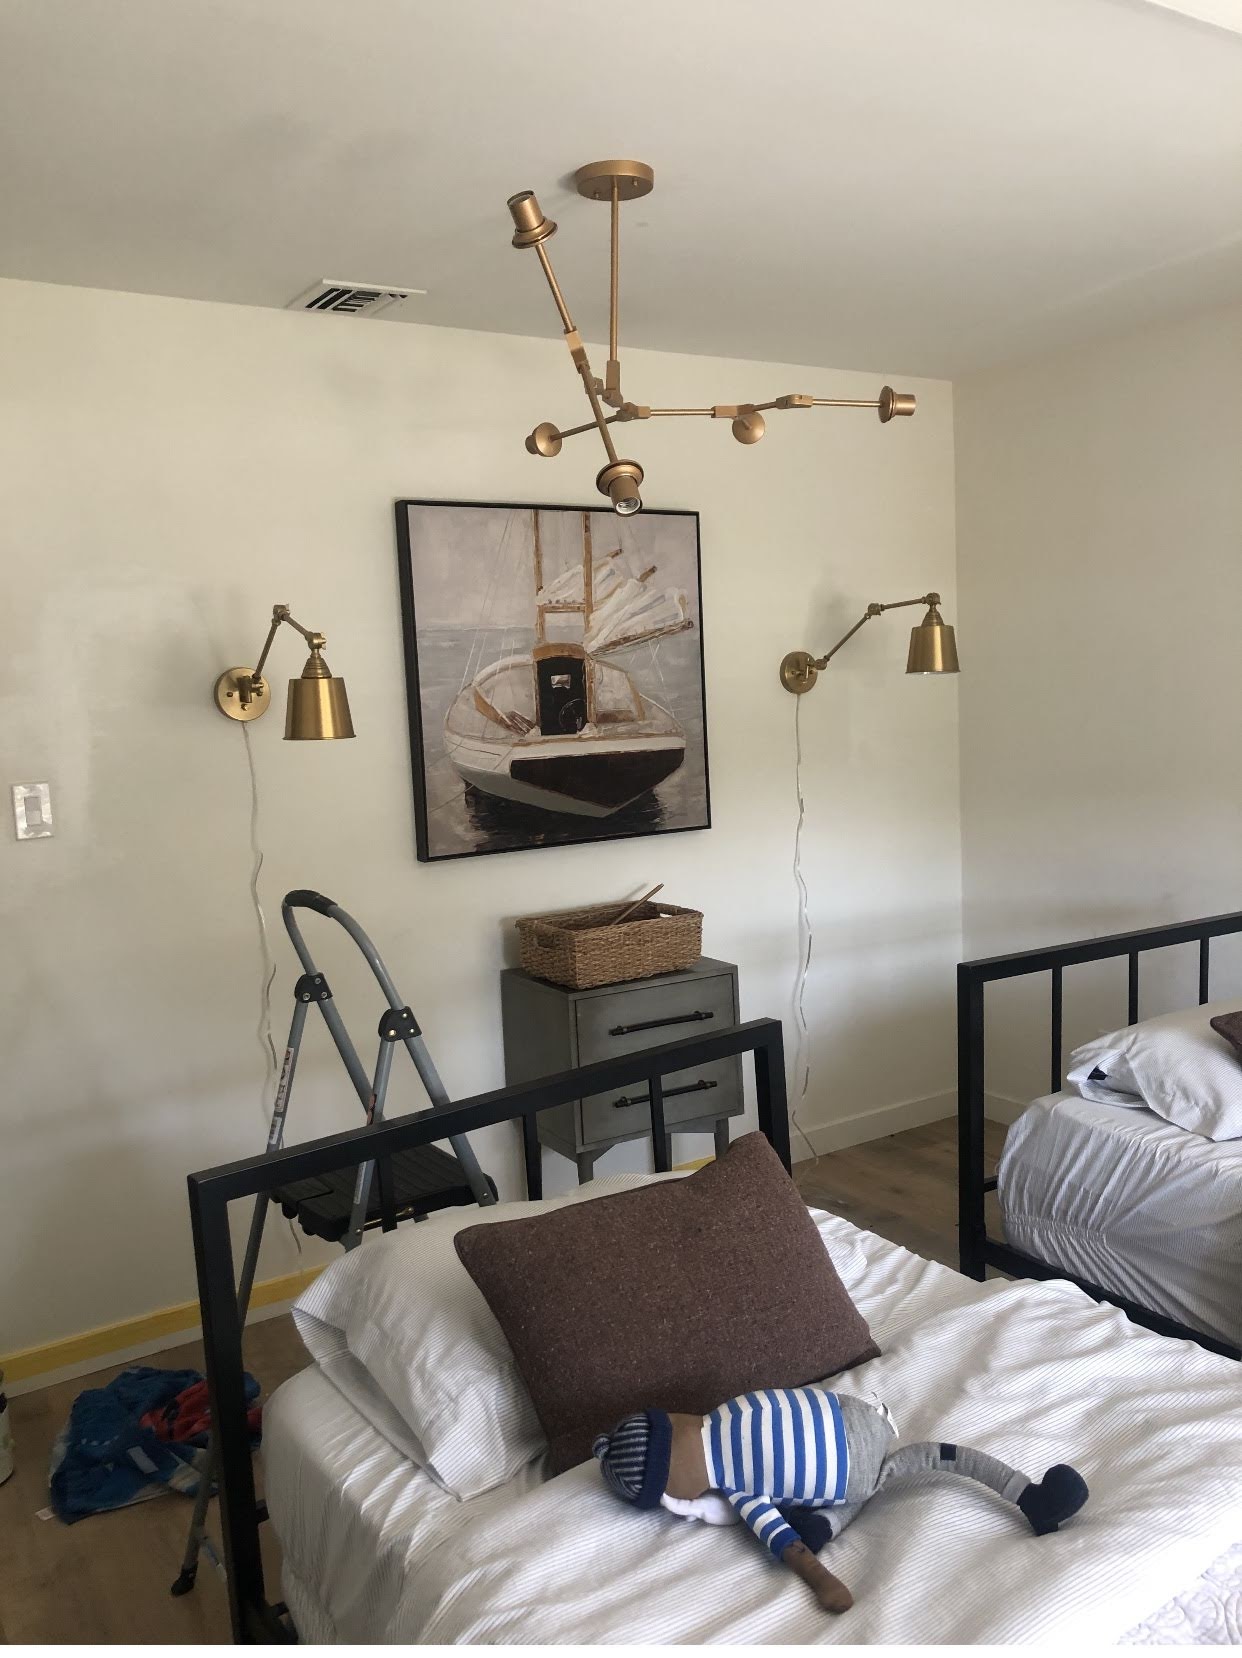
 After removing the rest of the decals, this was the bare wall.
 For starters, there is no way I could’ve gotten a straight line without my laser level linked here. I chose this because it was cheap and had great reviews on amazon–I will say that one thing I did NOT like about this level, was that the height can’t be adjusted. I literally had to stack it on top of a bunch of books to get it where I needed it–but it got the job done, and it was cheap.
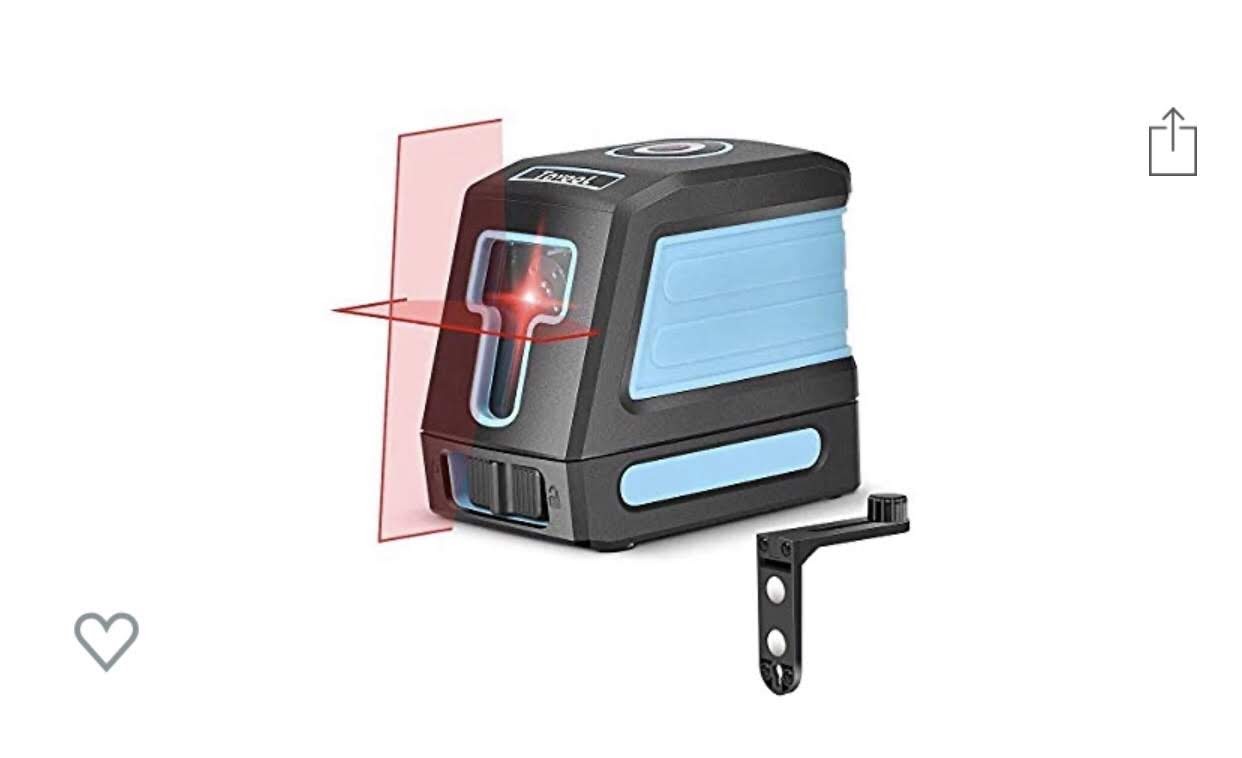 This is what it looks like, it’s pretty small, and you can place it anywhere–another option (if you don’t want to use books), is to buy a stand for it.
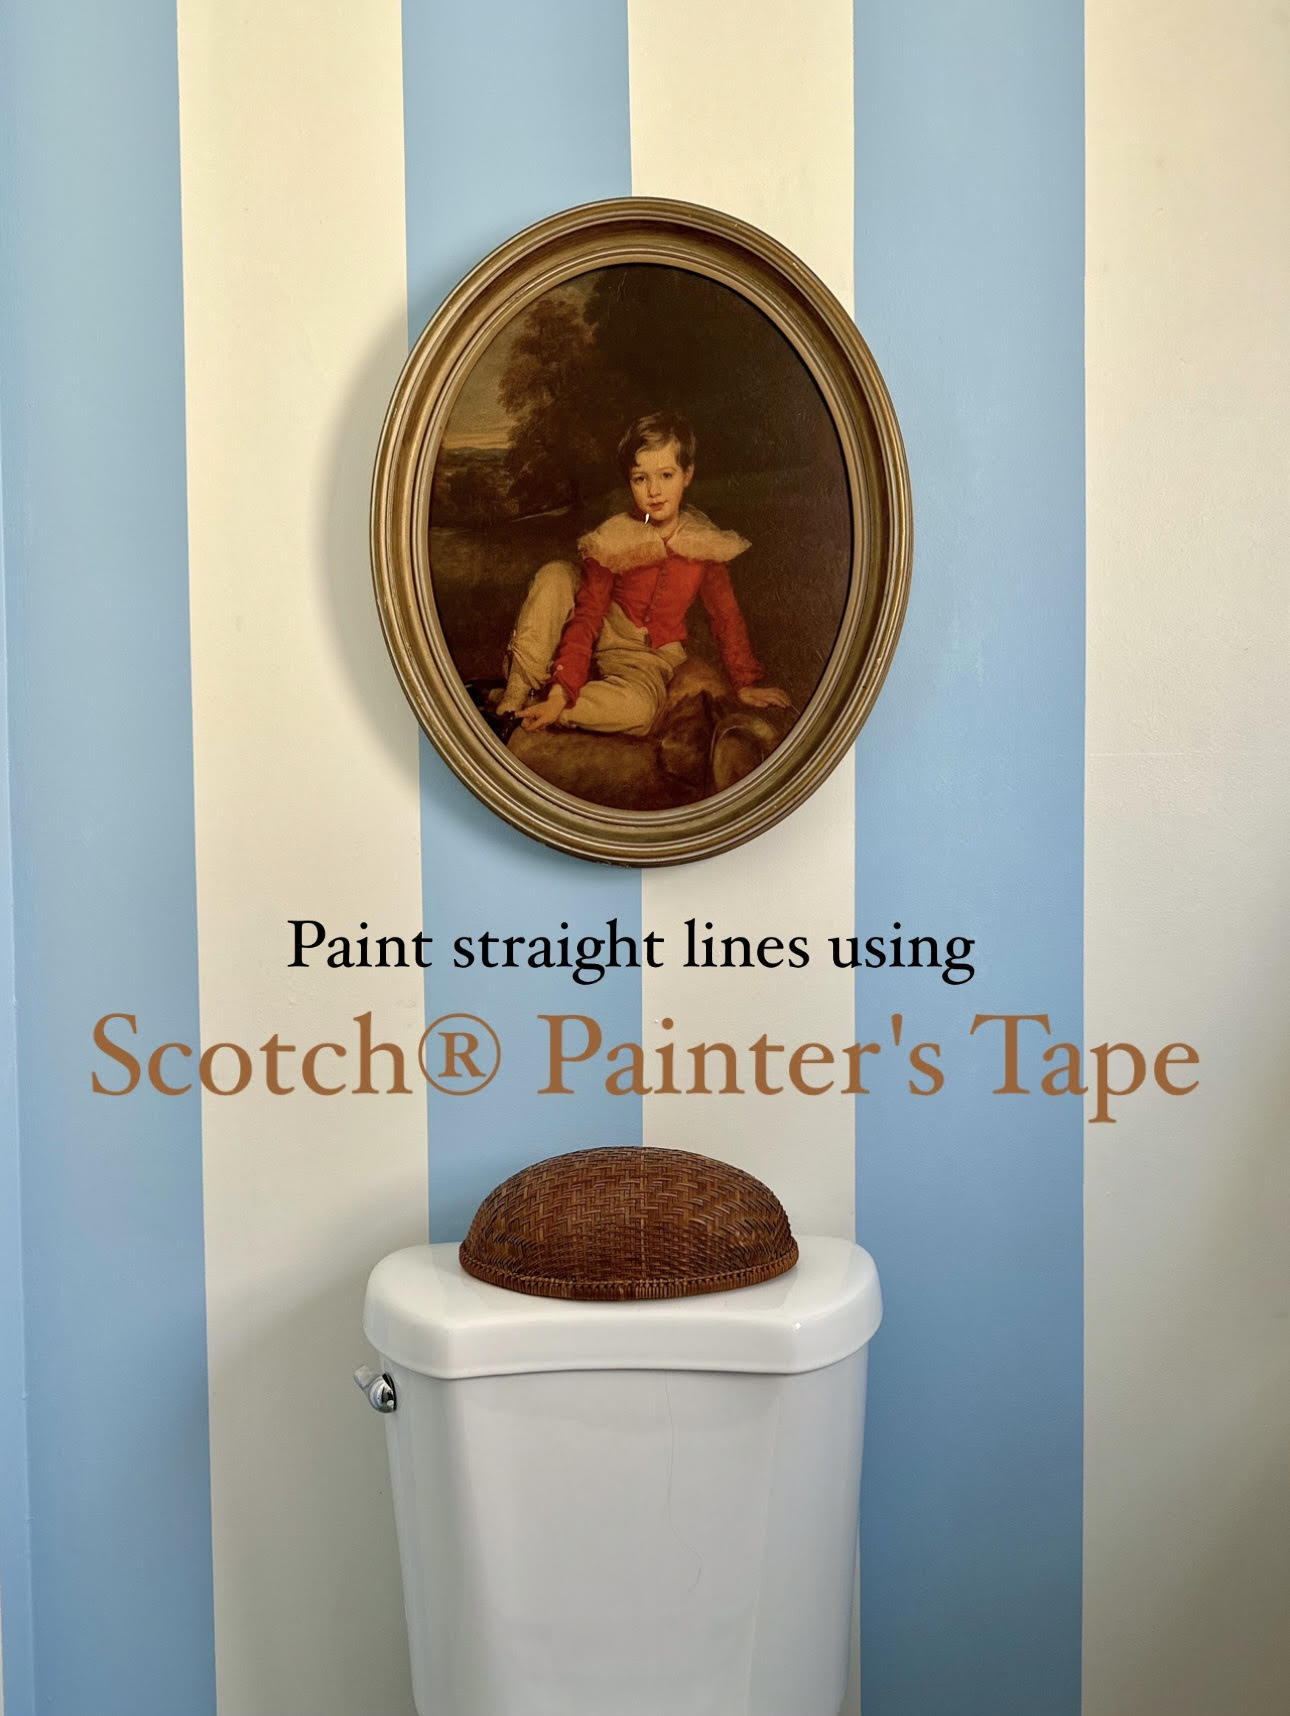
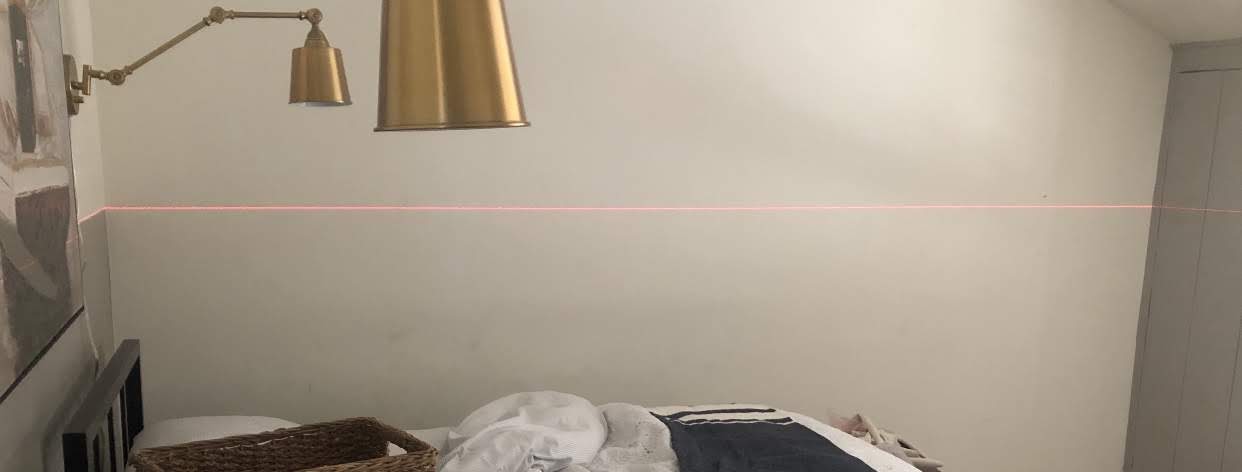 This is what the lazer looks like when it’s on, it’s pretty faint and isn’t as dark when you have a ton of sunlight coming in. I know some DIYers advise using painters tape to line up here, but I found it easier and simpler to grab a super thin paint brush and simply tracing the line.
 Once I did that, I took a slightly thicker paint brush just to paint a thicker edge–that way when I used the paint roller I didn’t have to worry about accidentally painting over it. You can use any paint brushes, but I used this pack on Amazon–I used the smallest one to trace, and the largest brush to fill a wider space.
 And now you can turn the lazer light off and grab your paint roller–as you can see the only place I used painter’s tape was on the baseboard. I typically use 4-6 inch rollers, and for this wall I used a 6 inch. I did two coats of Greige from Clare Paint, and I was done.
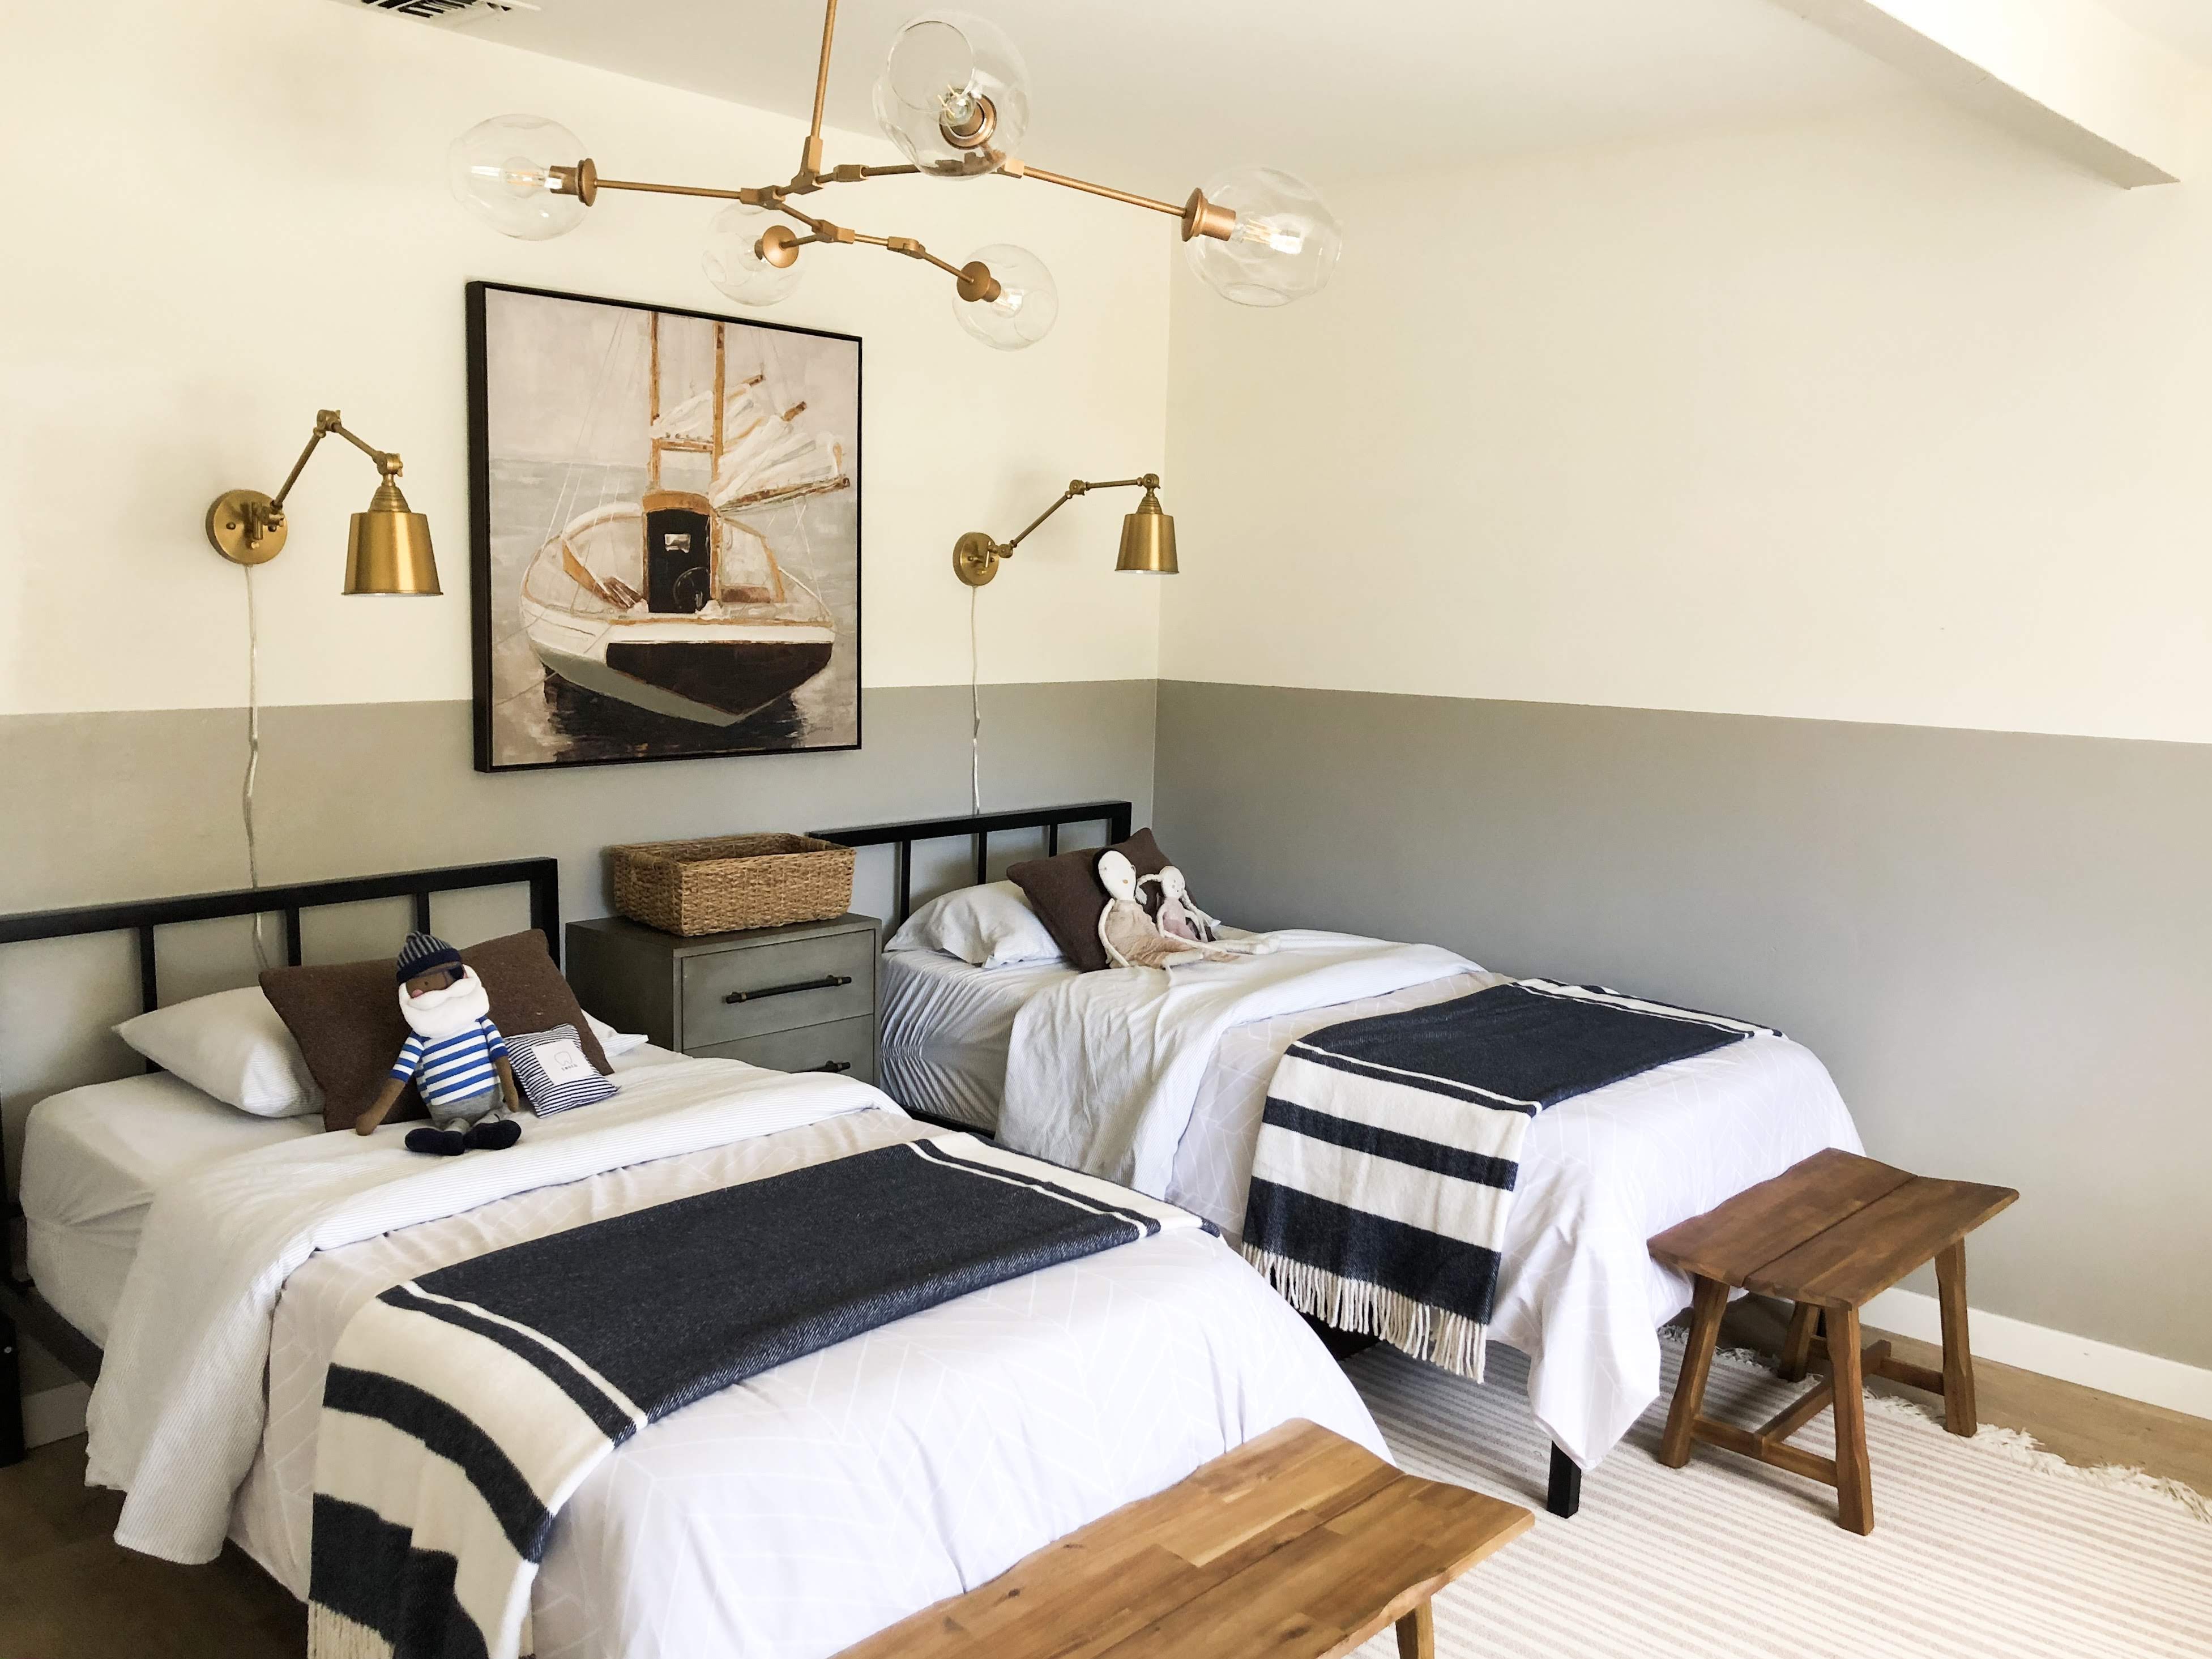
 Once I saw the one wall, I knew I had to complete the entire room.
 I was in love. This was so easy and did not take much time at all.
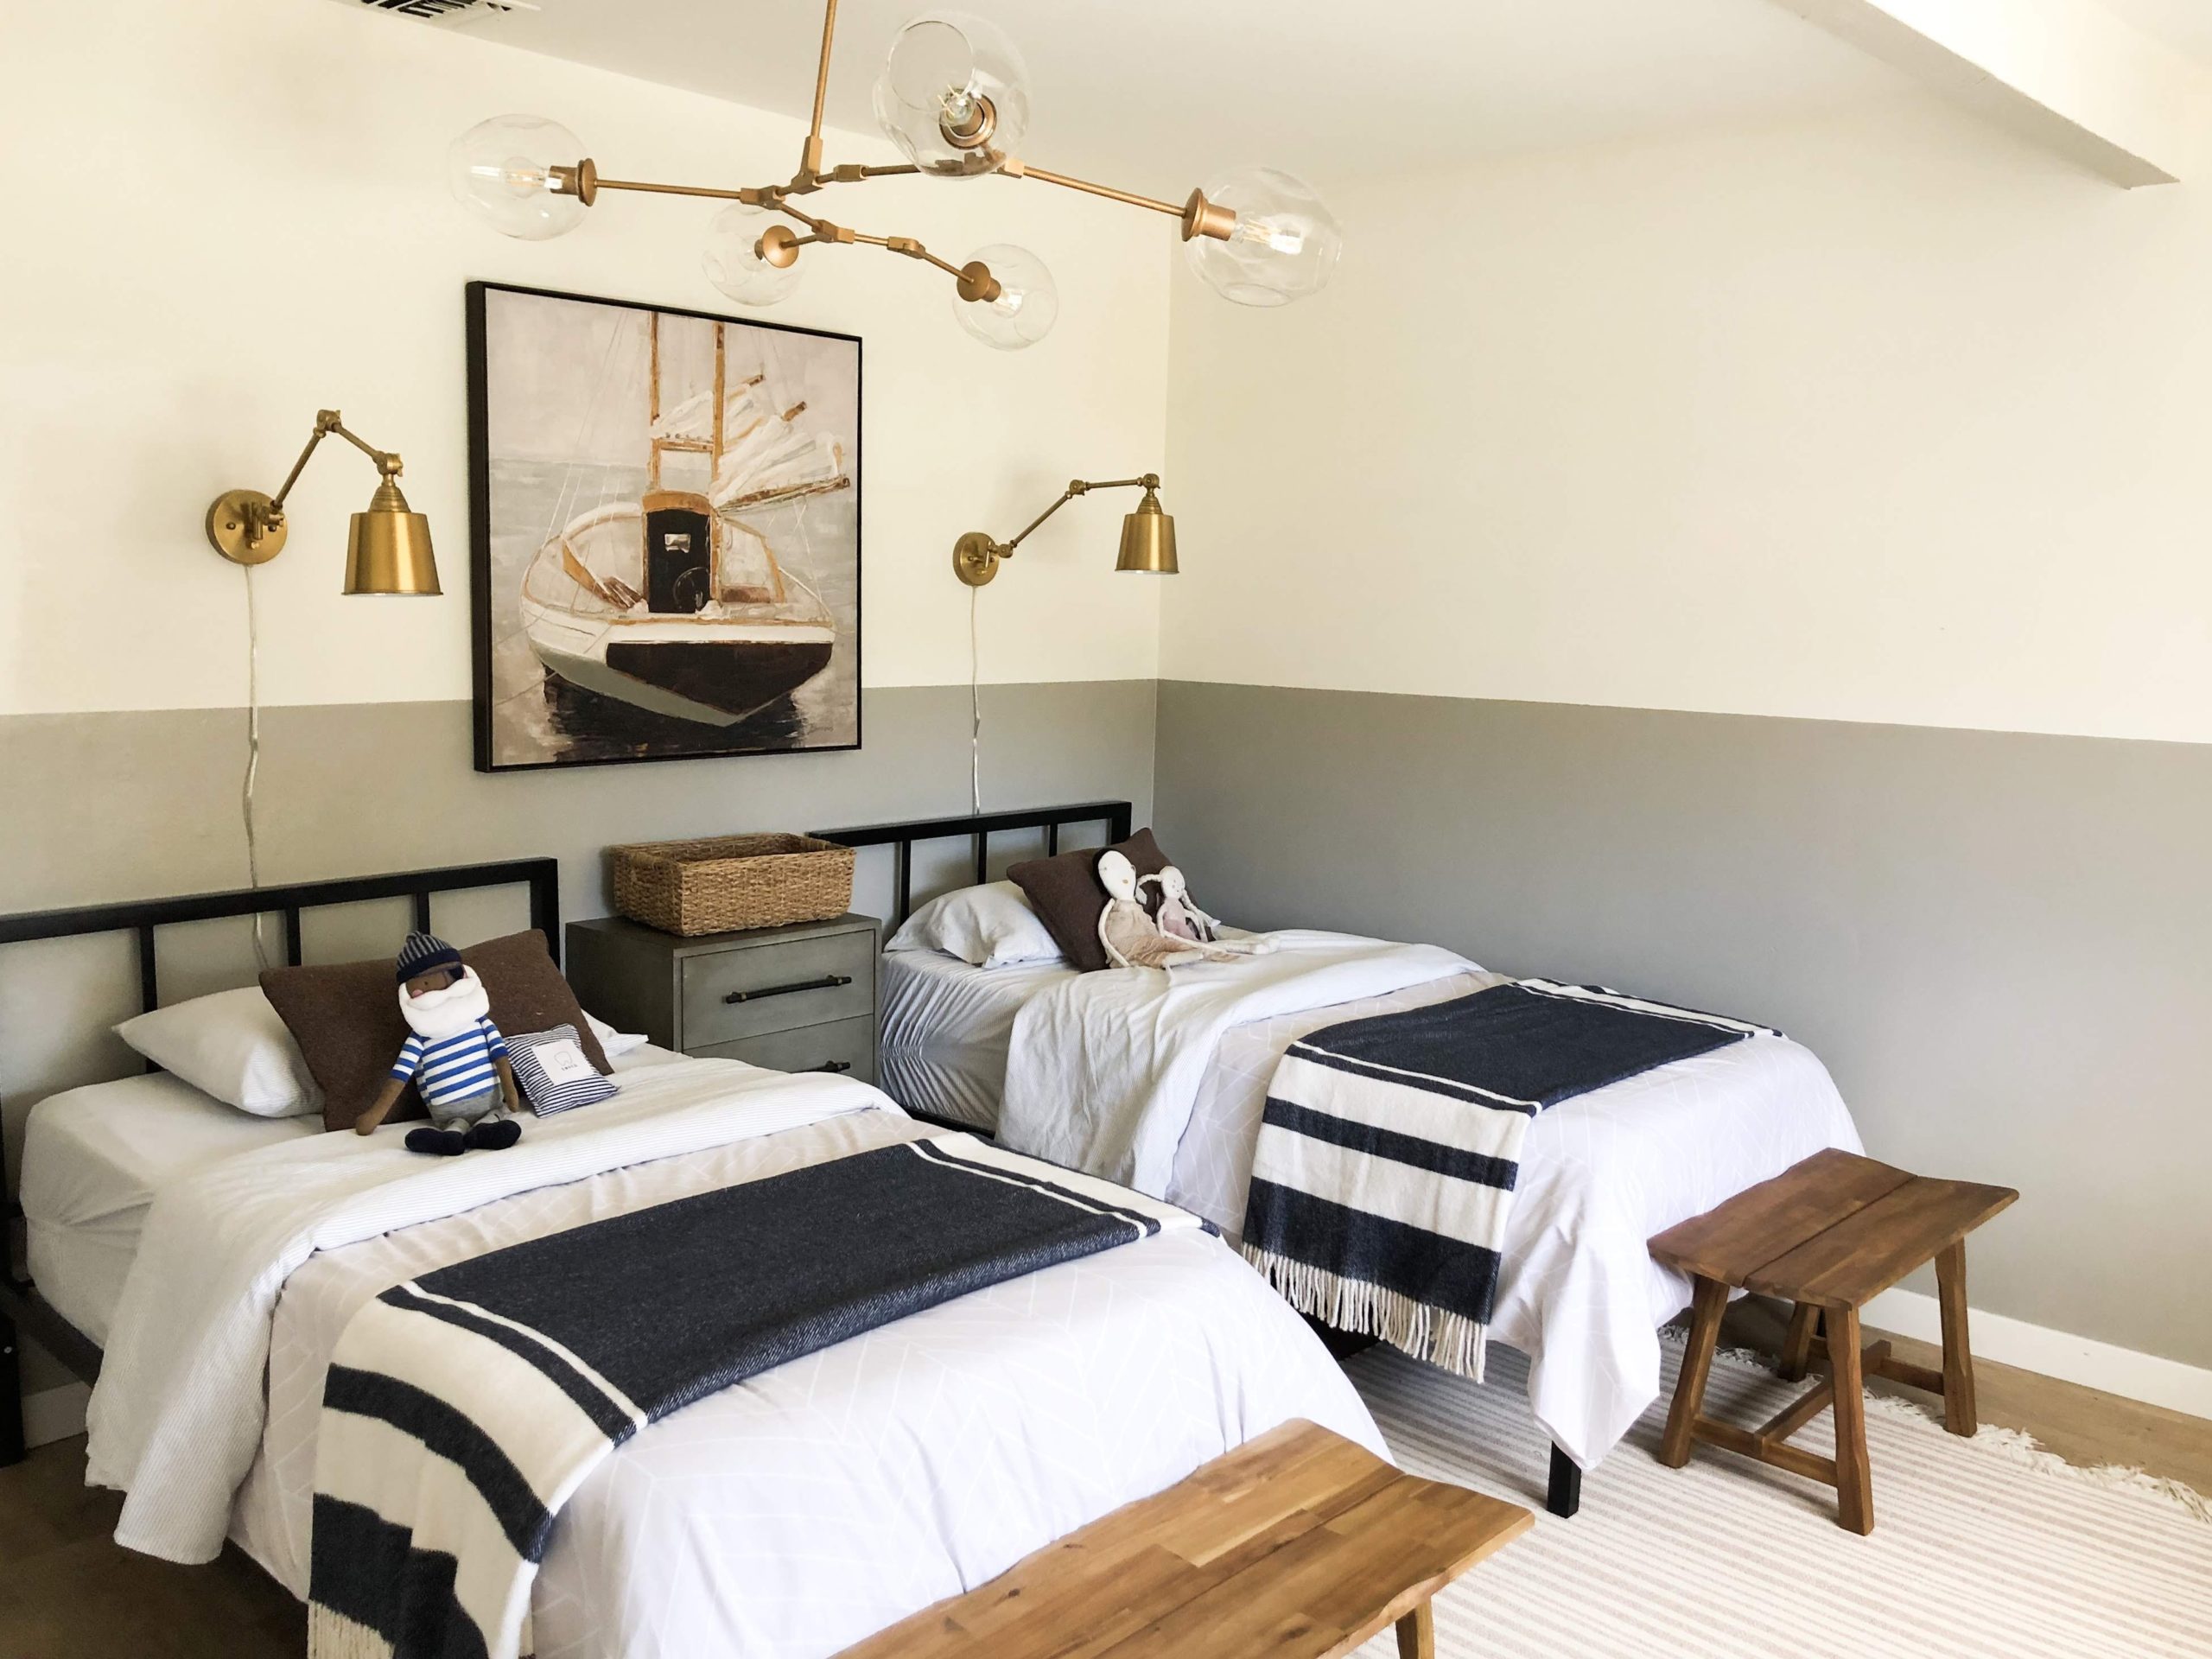
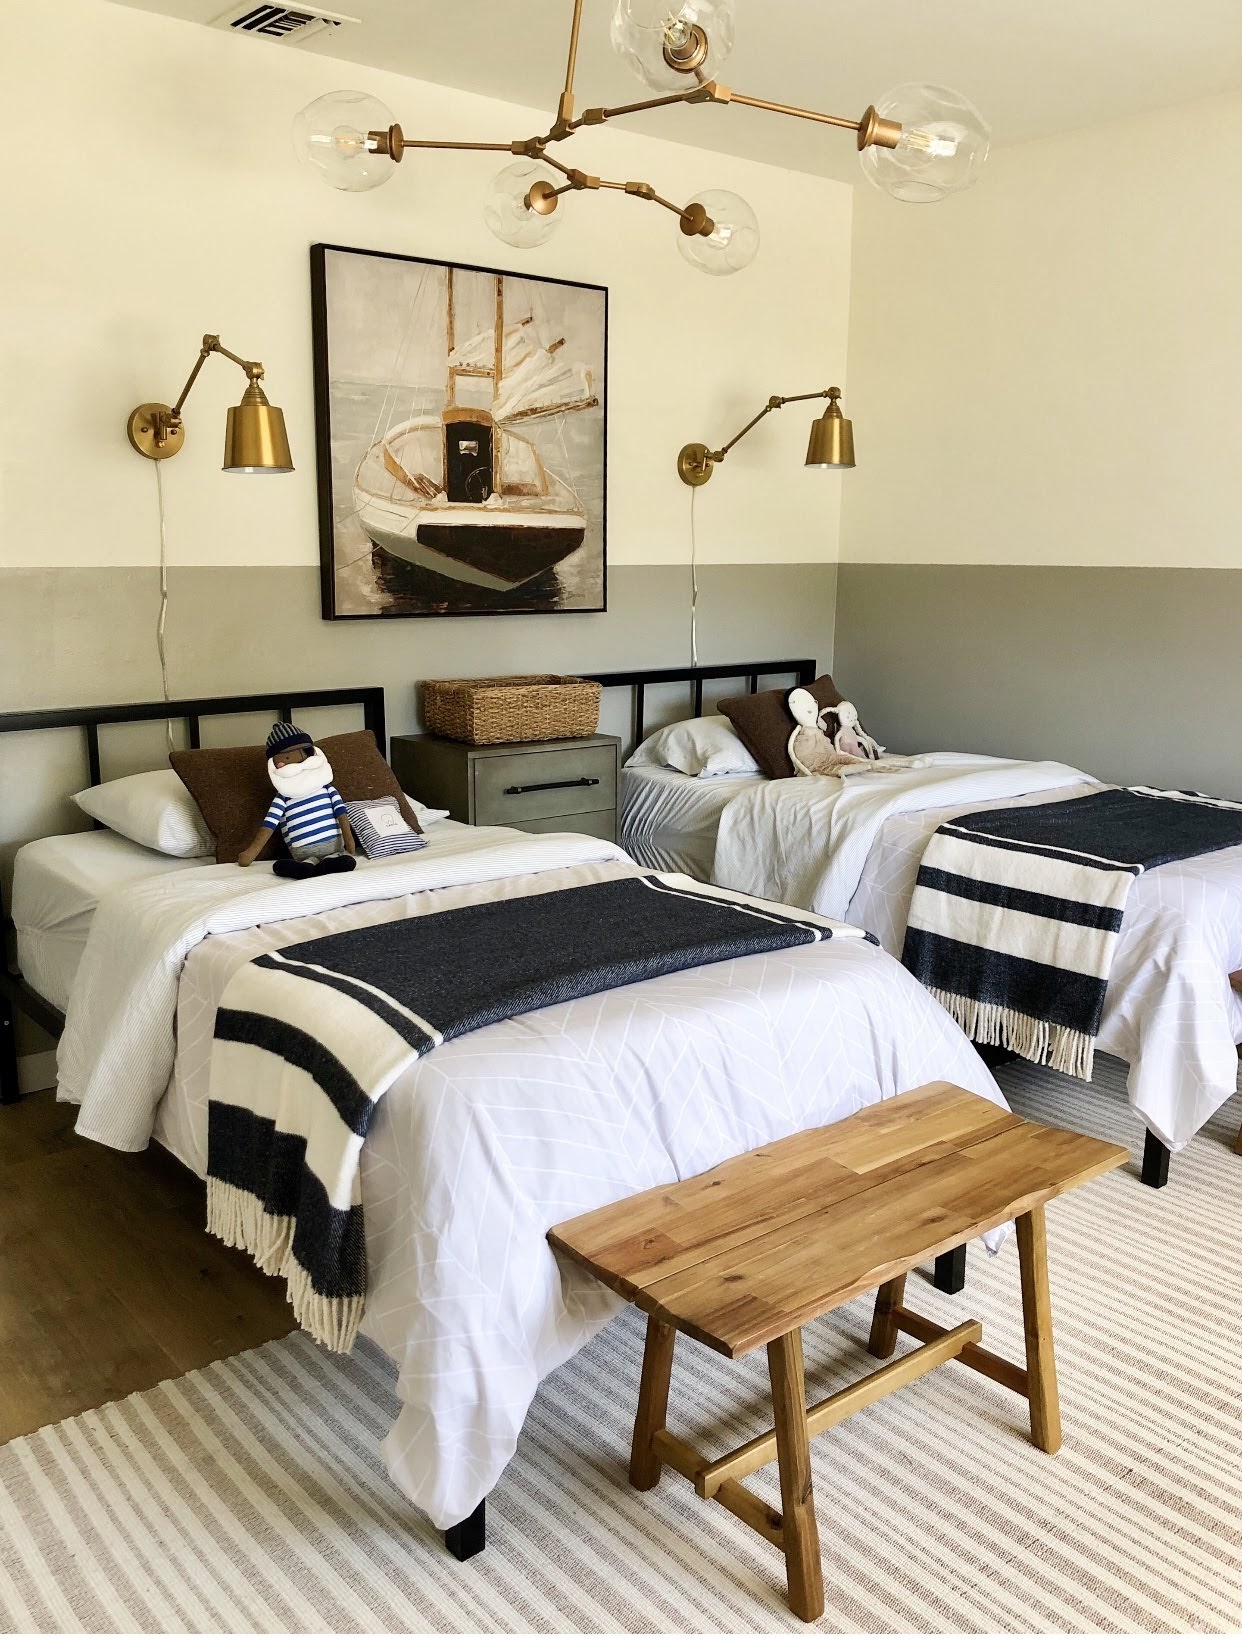
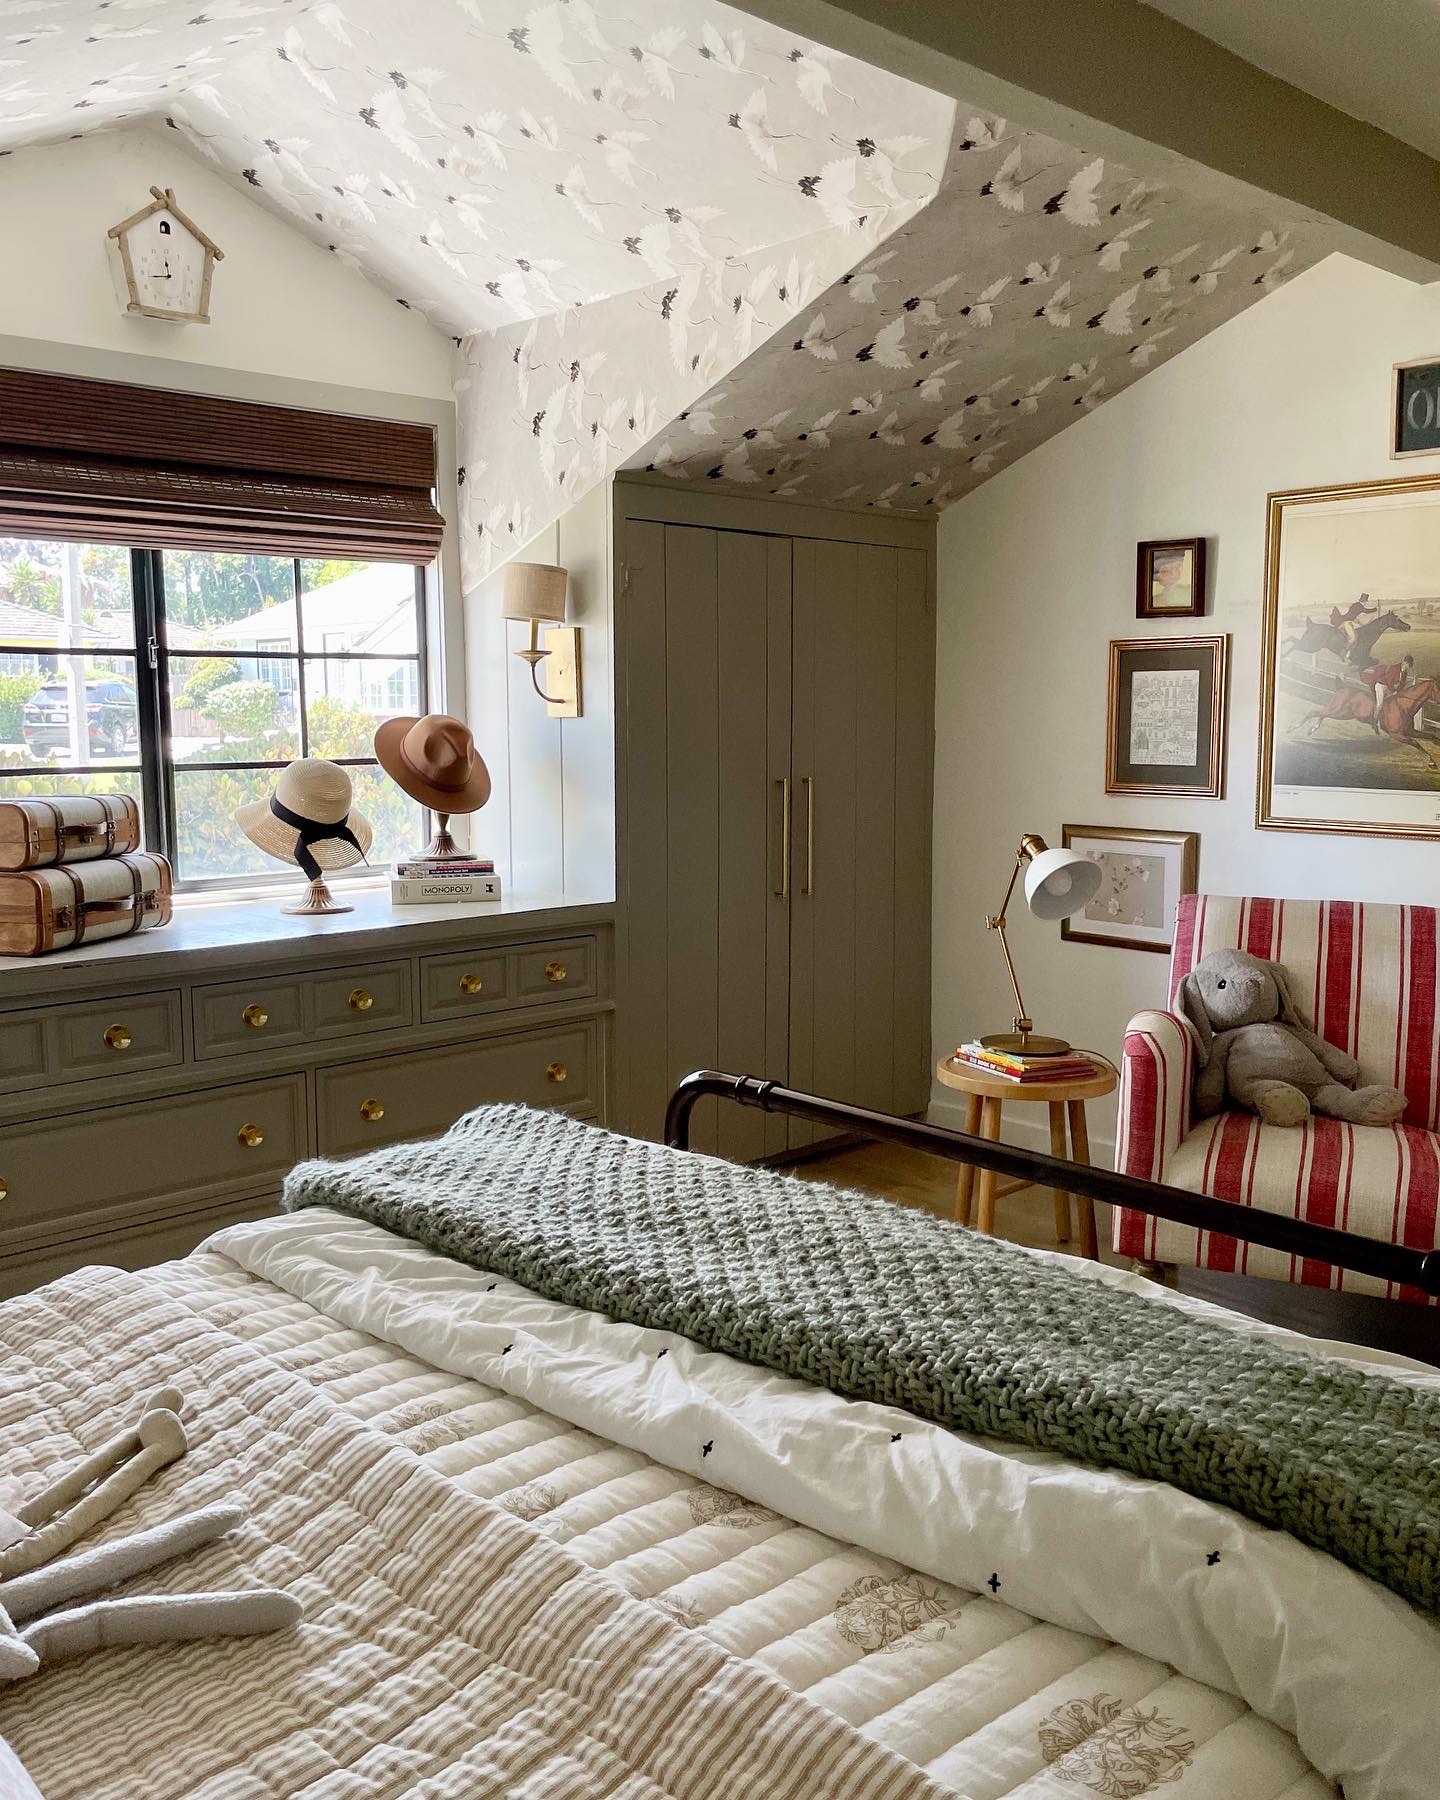
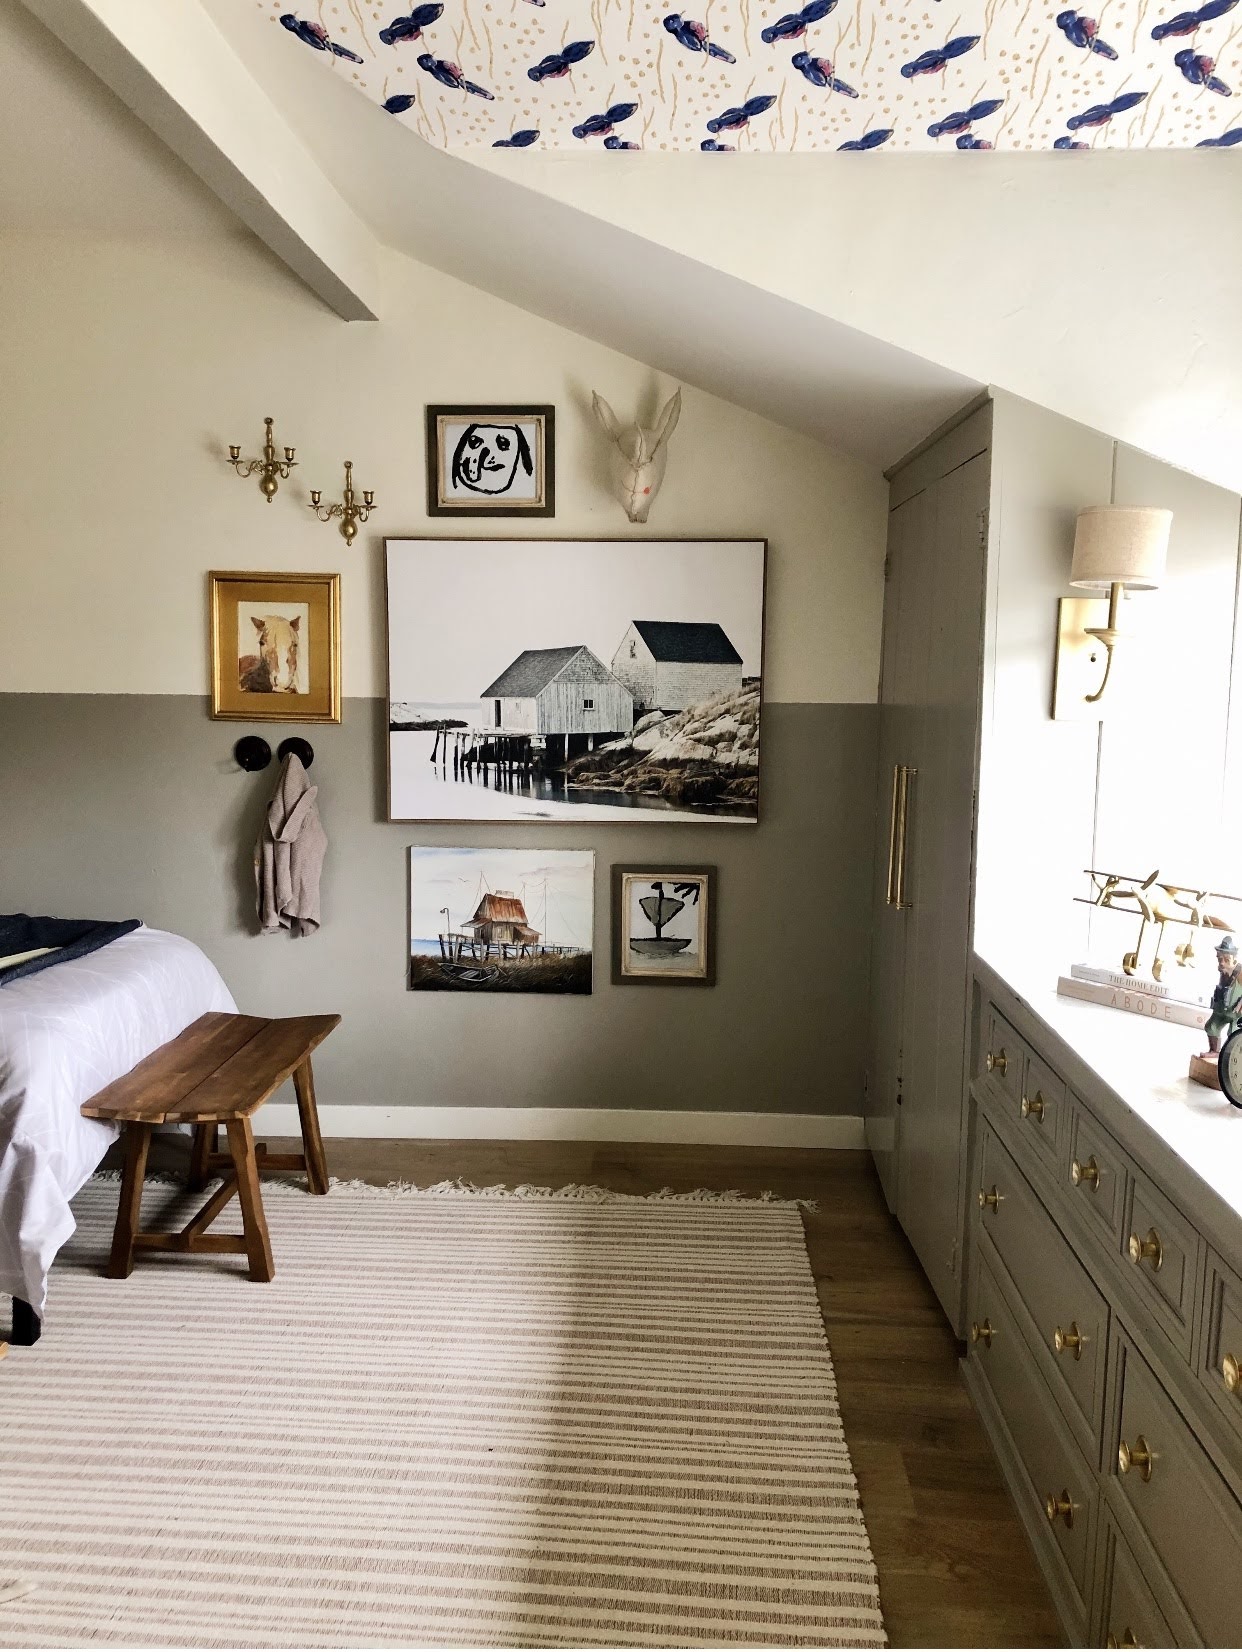 I ended up wrapping it all the way around the other side of the room too. It completely transformed the room, and flowed right into those built ins I worked on prior. And again, it was so easy!
Just to recap:
Step 1: Use a laser level to mark where you want to start the color.
Step 2: Use a thin paint brush to paint a thin line right on the lazer line.
Step 3: Take a slightly larger paint brush to fill out the line–that way when you use the roller, you don’t have to worry about accidentally going over the line.
Step 4: Use a roller brush to apply as many coats as you need–I did two coats.
And that’s it!
I ended up wrapping it all the way around the other side of the room too. It completely transformed the room, and flowed right into those built ins I worked on prior. And again, it was so easy!
Just to recap:
Step 1: Use a laser level to mark where you want to start the color.
Step 2: Use a thin paint brush to paint a thin line right on the lazer line.
Step 3: Take a slightly larger paint brush to fill out the line–that way when you use the roller, you don’t have to worry about accidentally going over the line.
Step 4: Use a roller brush to apply as many coats as you need–I did two coats.
And that’s it!
 And just for reference, I painted mine at 4 feet (my baseboards are 4 inches). And again, I used Greige by Clare Paint. Hope you like it, I know I do! And the best part? Super easy, quick, and cheap! As always, please DM me on Instagram if you try it. I would LOVE to see! If you’re interested in other ways I’ve used different paint techniques in other rooms of my house, check out my past blog posts below:
After removing the rest of the decals, this was the bare wall.
For starters, there is no way I could’ve gotten a straight line without my laser level linked here. I chose this because it was cheap and had great reviews on amazon–I will say that one thing I did NOT like about this level, was that the height can’t be adjusted. I literally had to stack it on top of a bunch of books to get it where I needed it–but it got the job done, and it was cheap.
This is what it looks like, it’s pretty small, and you can place it anywhere–another option (if you don’t want to use books), is to buy a stand for it.
This is what the lazer looks like when it’s on, it’s pretty faint and isn’t as dark when you have a ton of sunlight coming in. I know some DIYers advise using painters tape to line up here, but I found it easier and simpler to grab a super thin paint brush and simply tracing the line.
Once I did that, I took a slightly thicker paint brush just to paint a thicker edge–that way when I used the paint roller I didn’t have to worry about accidentally painting over it. You can use any paint brushes, but I used this pack on Amazon–I used the smallest one to trace, and the largest brush to fill a wider space.
And now you can turn the lazer light off and grab your paint roller–as you can see the only place I used painter’s tape was on the baseboard. I typically use 4-6 inch rollers, and for this wall I used a 6 inch. I did two coats of Greige from Clare Paint, and I was done.
Once I saw the one wall, I knew I had to complete the entire room.
I was in love. This was so easy and did not take much time at all.
I ended up wrapping it all the way around the other side of the room too. It completely transformed the room, and flowed right into those built ins I worked on prior. And again, it was so easy!
Just to recap:
Step 1: Use a laser level to mark where you want to start the color.
Step 2: Use a thin paint brush to paint a thin line right on the lazer line.
Step 3: Take a slightly larger paint brush to fill out the line–that way when you use the roller, you don’t have to worry about accidentally going over the line.
Step 4: Use a roller brush to apply as many coats as you need–I did two coats.
And that’s it!
And just for reference, I painted mine at 4 feet (my baseboards are 4 inches). And again, I used Greige by Clare Paint. Hope you like it, I know I do! And the best part? Super easy, quick, and cheap! As always, please DM me on Instagram if you try it. I would LOVE to see! If you’re interested in other ways I’ve used different paint techniques in other rooms of my house, check out my past blog posts below:
- Faux DIY Backsplash Using Paint And A Dish Sponge
- DIY Sponge Paint Wall–Small Budget, Huge Impact
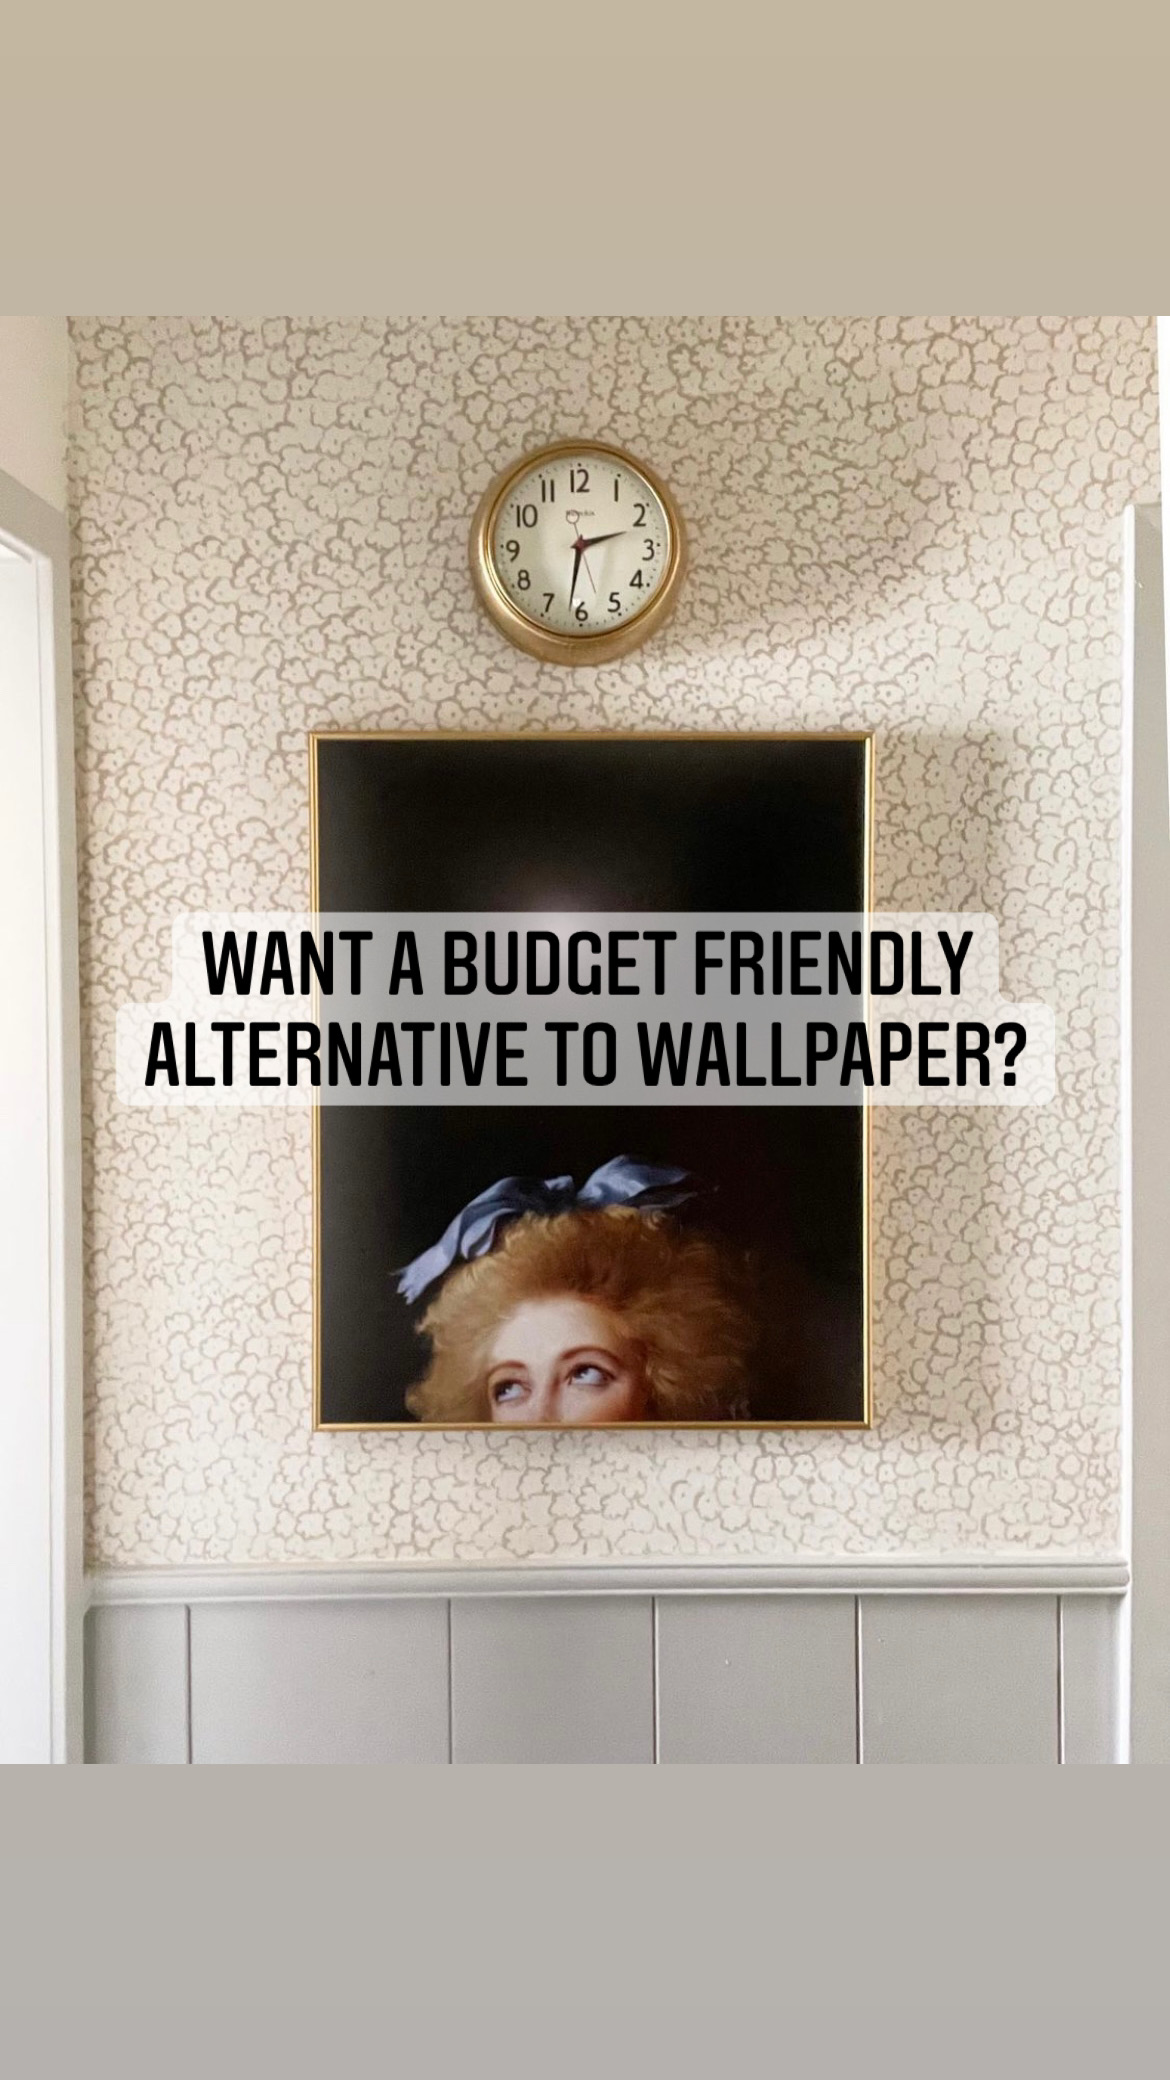
- DIY Faux Wallpaper Ideas


okay, im obsessed with your site! Love all the DIYs – especially seeing how much we’re stuck inside at the moment, I’ve been wanting to referesh our apartment xx
Oh thank you!!!
[…] transformed the room. And if you’d like to know how I color blocked this wall, check out my easy DIY here. Let me know if you’ve done something similar, or plan to do something […]