


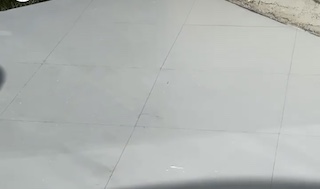
Two weeks ago I embarked on the most agonizing DIY I’ve done to date: painted checkered floors. I realize this doesn’t sound appealing, but I promise you, the story does end well. Allow me to share the eye sore that we used to call our patio:
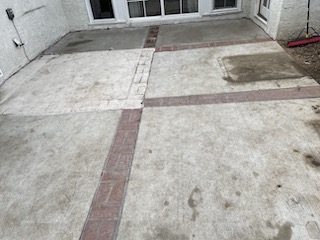
This space has been the bane of my existence for awhile. And with summer coming up, we wanted to get our patio ready. We got some quotes from contractors, and cue dramatic music, everything cost thousands of dollars. My husband and I laughed and laughed, and then we decided I would paint it instead. Yay, for me.
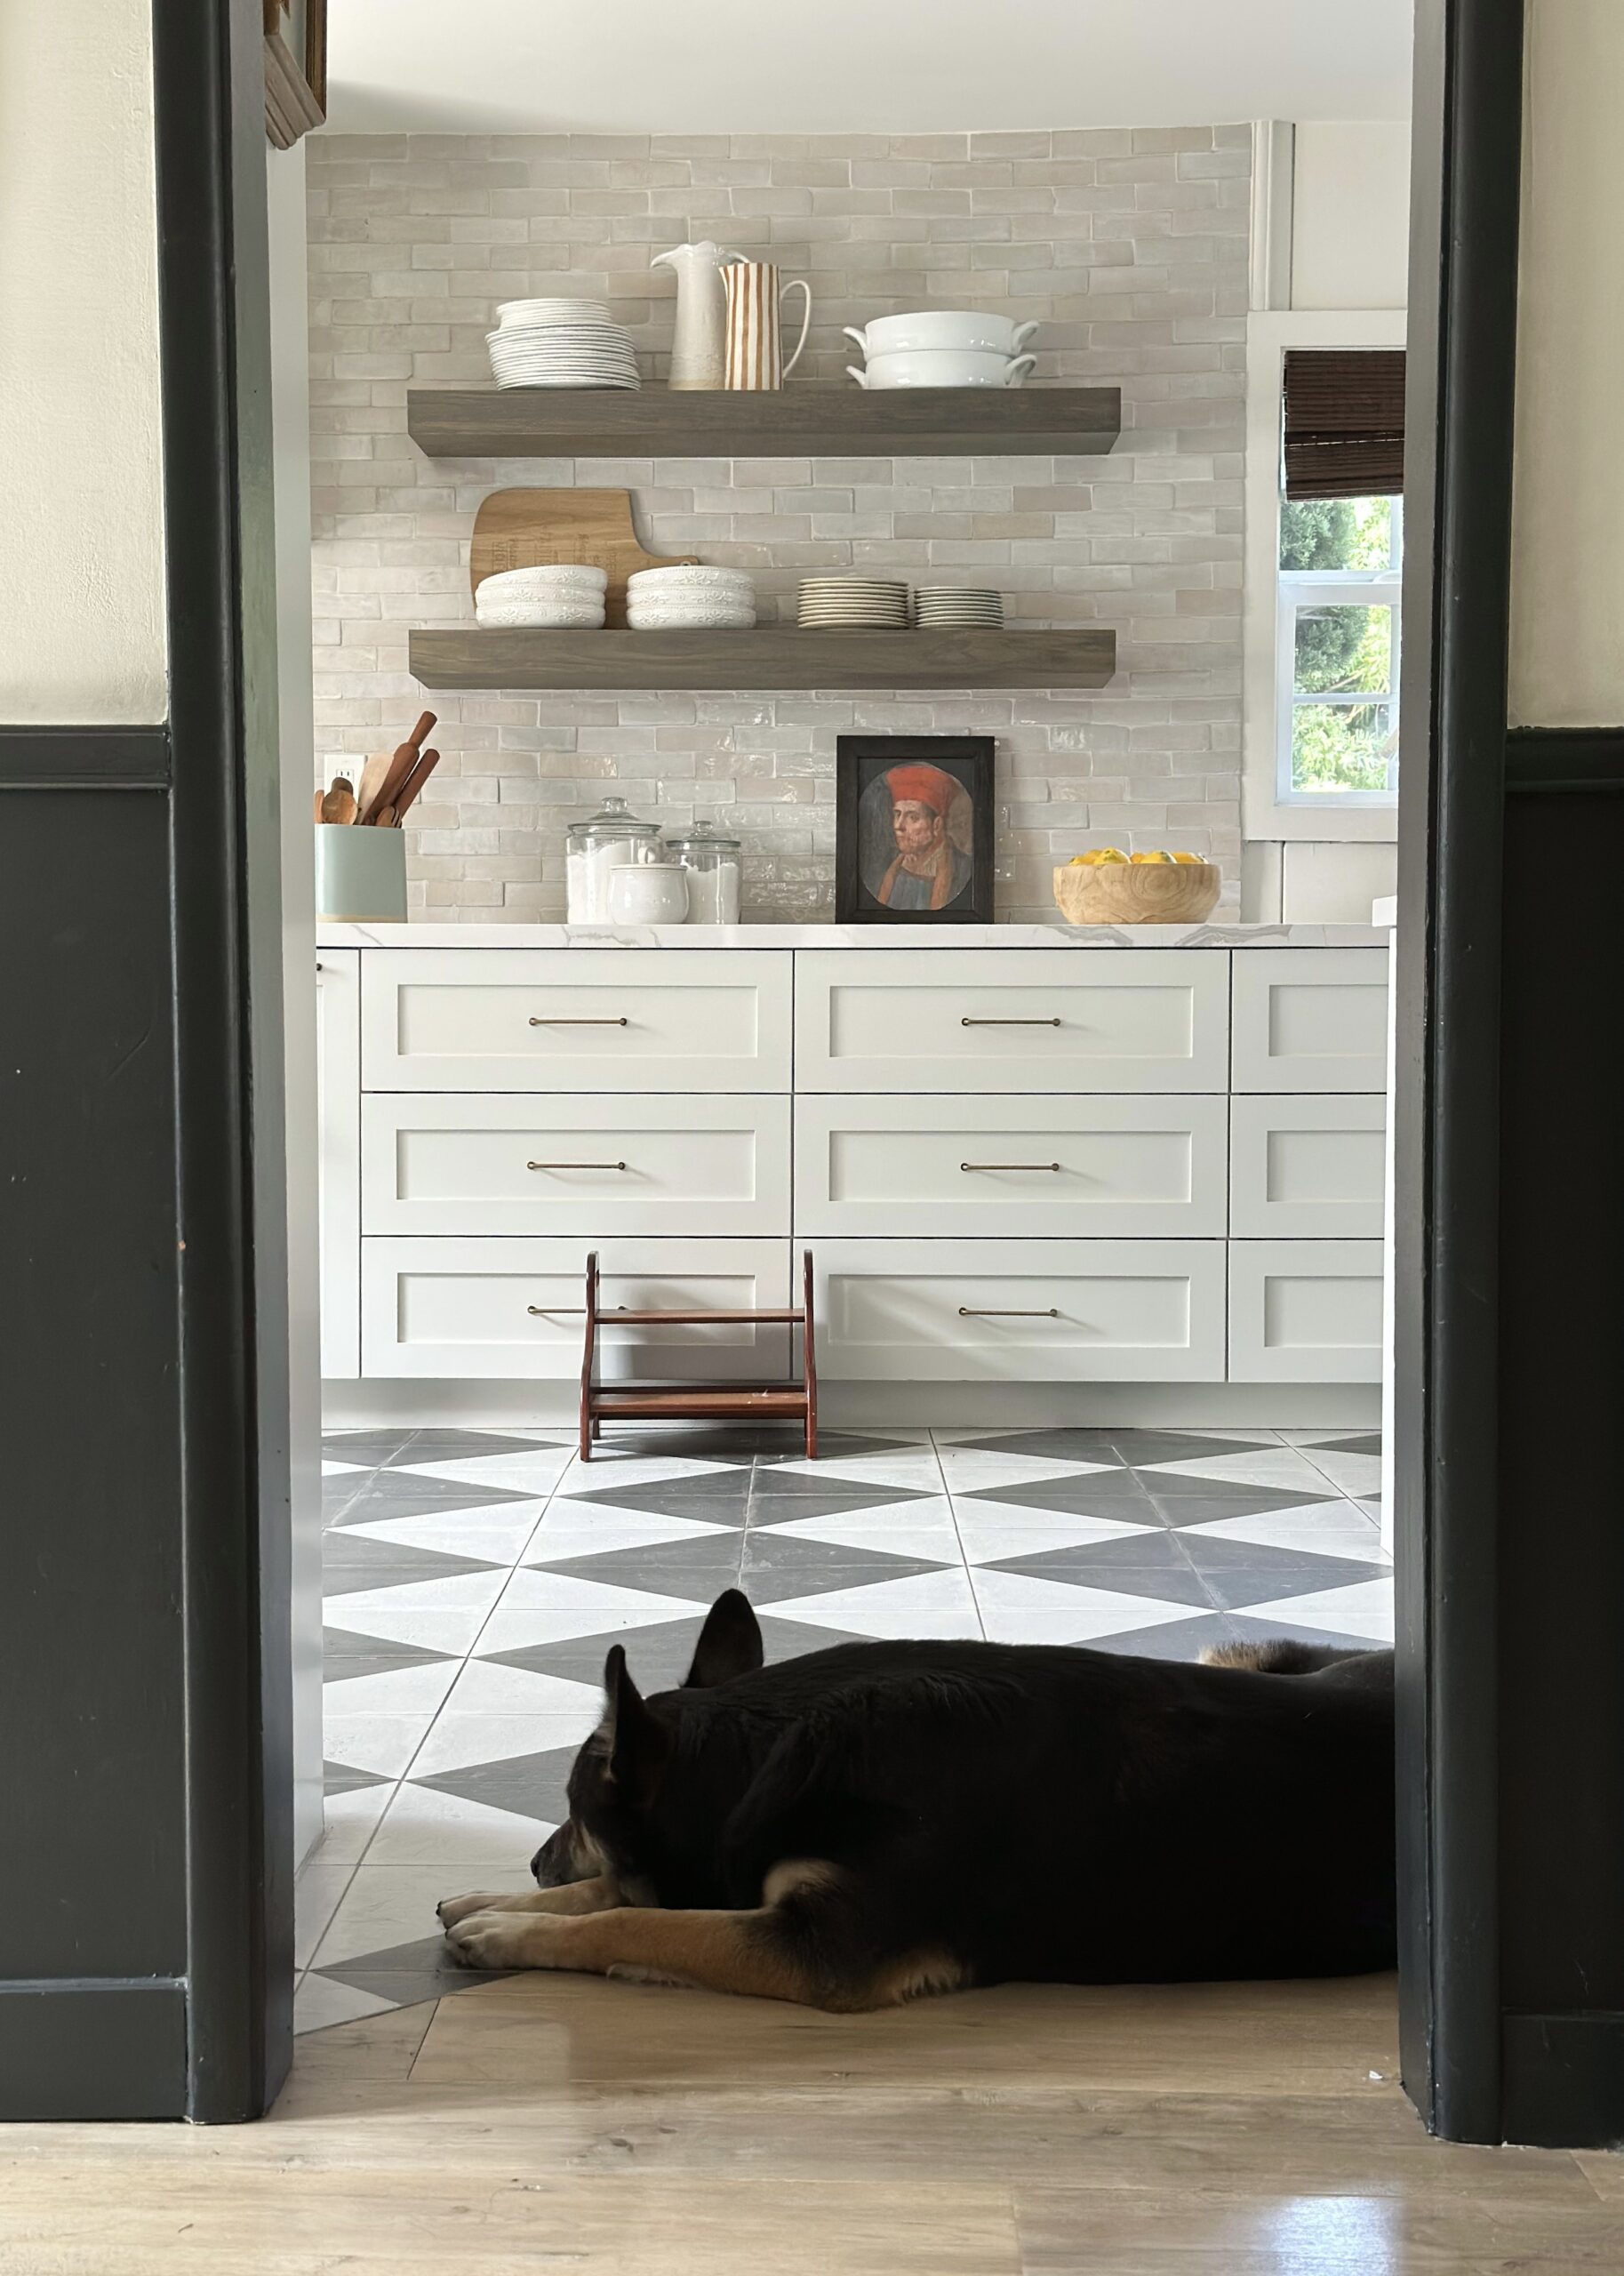
I’ve always loved checkered floors, they’re classic and so fun.
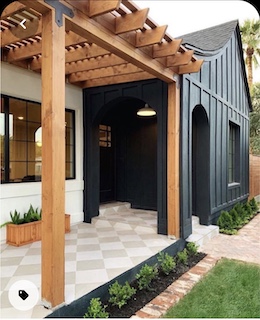
I had saved Jenny Komenda’s patio a million times on Pinterest, and when I saw a few ladies I follow on Instagram attempt a similar pattern with just paint, I figured I’d give it a shot. Getting tips from both Megan and Nedra really helped guide my process. They both have highlights saved on their profile that are super helpful! I had tons of hiccups along the way, but I’ll save you the drama and share what worked best.
1. Power wash
Sweep up the patio and power wash that sucker. This is the power washer I used, and highly recommend. And while this is not a necessary step, if you have cracks, you can use this concrete crack sealant to smooth out the concrete. Look how much cleaner it looked already!
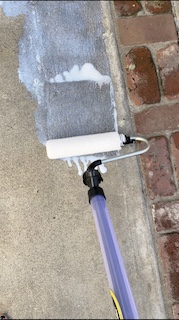
2. Prime it
I used a good old fashioned paint roller to do this. One coat and you’re done. This is the primer I used. I let this sit for 24 hours before I painted. I used about a half gallon.
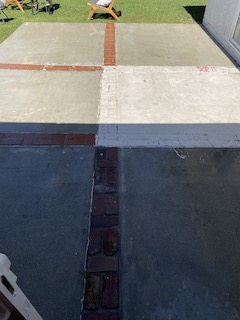
3. Paint
I used this paint for the base, and I did three coats.
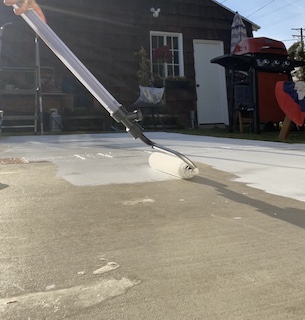
I probably could’ve done two coats, but I applied pretty thin layers. For reference, I used one can for my 21’x14′ patio.
(FYI I had existing brick in the middle of my patio that I painted. I skipped sharing this part because it’s likely not relevant to most of you)
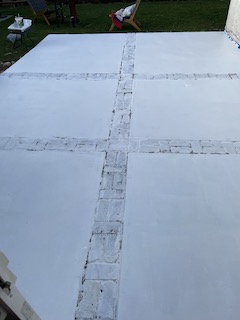
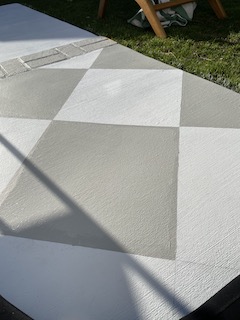
4. Tracing squares
While there are many ways to do this part, I found that tracing an 18″x18″ tile was the easiest way for me. I picked one up from the hardware store, however, you can likely trace and cut a piece of foam or cardboard too. You’ll also need a tool to help guide the straight lines.
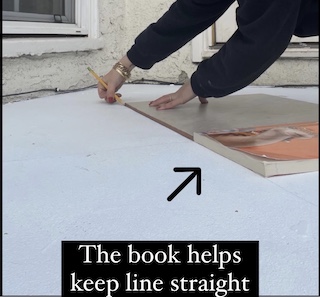
If you have a carpenter ruler use it. If not, I used a book and it worked just fine. All I did was start with one square, and line up all the corners.
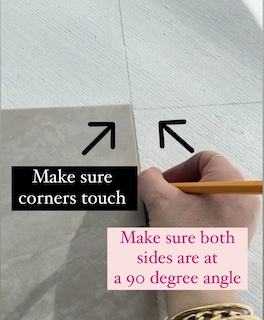
Take your time with this part, straight lines are key. And don’t worry about the pencil marks, the paint will cover those up!
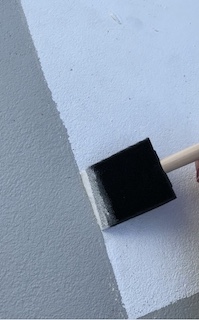
5. Paint the squares
For the painted squares, I opted not to use painter’s tape. The time it would’ve taken me to lay out all the tape and align it exactly with the lines (and seal it with white so there’s no bleeding) would’ve taken me much longer. I found this tool very easy to use for the tracing.
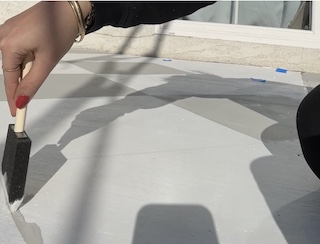
This is also the same tool I used to fix any touch ups. After everything was traced, I used a 6-inch roller brush to fill in the squares.
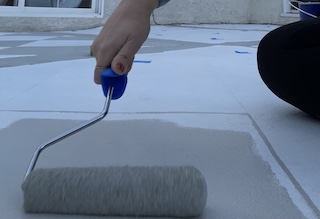
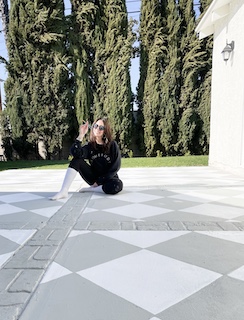
As soon as I painted my first few squares, I was geeking!
I did two coats for all the squares, and I used up one gallon of paint.
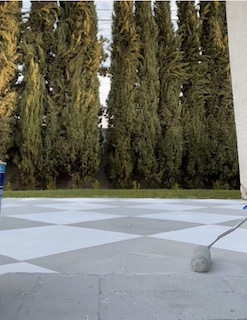
I don’t have a link for the paint because I took an interior paint and had it made for exterior surfaces. However, I used Sherwin Williams “Into The Gloaming” exterior paint (Matte finish).
6. Touch ups
I used the same tool for the tracing as I did for the touch ups. It worked great to smooth out the lines.
7. Seal it
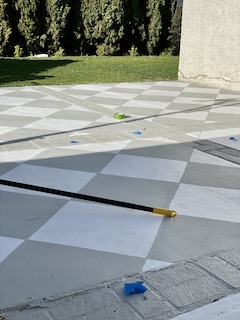
Last thing I did was sweep the ground one last time, and seal it.
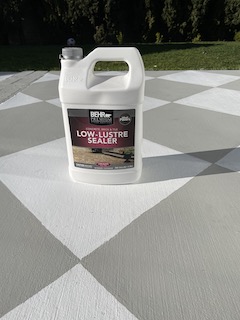
I used this sealer, and FYI you need to use a very thin coat. I used the same roller brush as I did for the paint, and applied a thin layer. I waited till the next day and did one last coat. You then need to wait 72 hours before you can place furniture on it. Now pat yourself on the back because you are done!
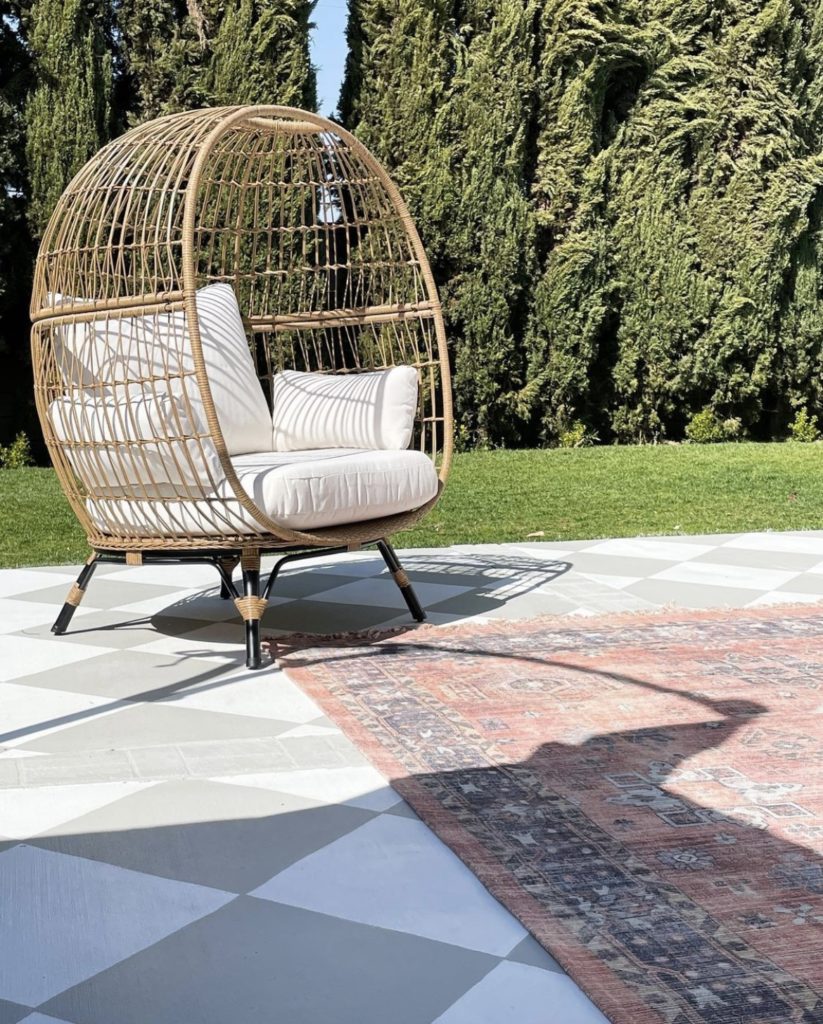
What do you think, would you try it? I have all the videos saved on my Instagram, I’d love it if you checked those out and said hello! And let me know if you found this useful and end up trying it, I would love to see it! As always, thanks for being here.
Love,
Deema
Feedback? Comment below.